
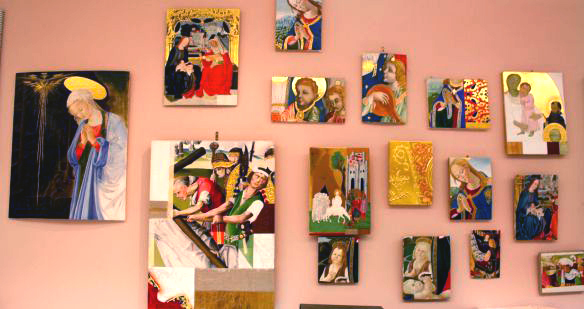
Pia and I are currently first-year students at the Hamilton Kerr Institute (HKI). During the three-year training program, we will receive theoretical and practical instruction in the conservation treatments of easel paintings. We work in the studio alongside two third-year students, six interns, and staff members.The best way to learn about the materials and techniques used by past artists is to make reconstructions of paintings. Any visitor only needs to look at the walls of the HKI office to realize how big a role reconstructions play in the work of the Institute. They are covered with copies of paintings – from 15th-century Italian to Impressionist! Many of them are extensive research projects completed by previous third-year students and interns. Practical research can provide unique insights into the working practices of different artists. Some answers can only be obtained by getting your hands dirty!
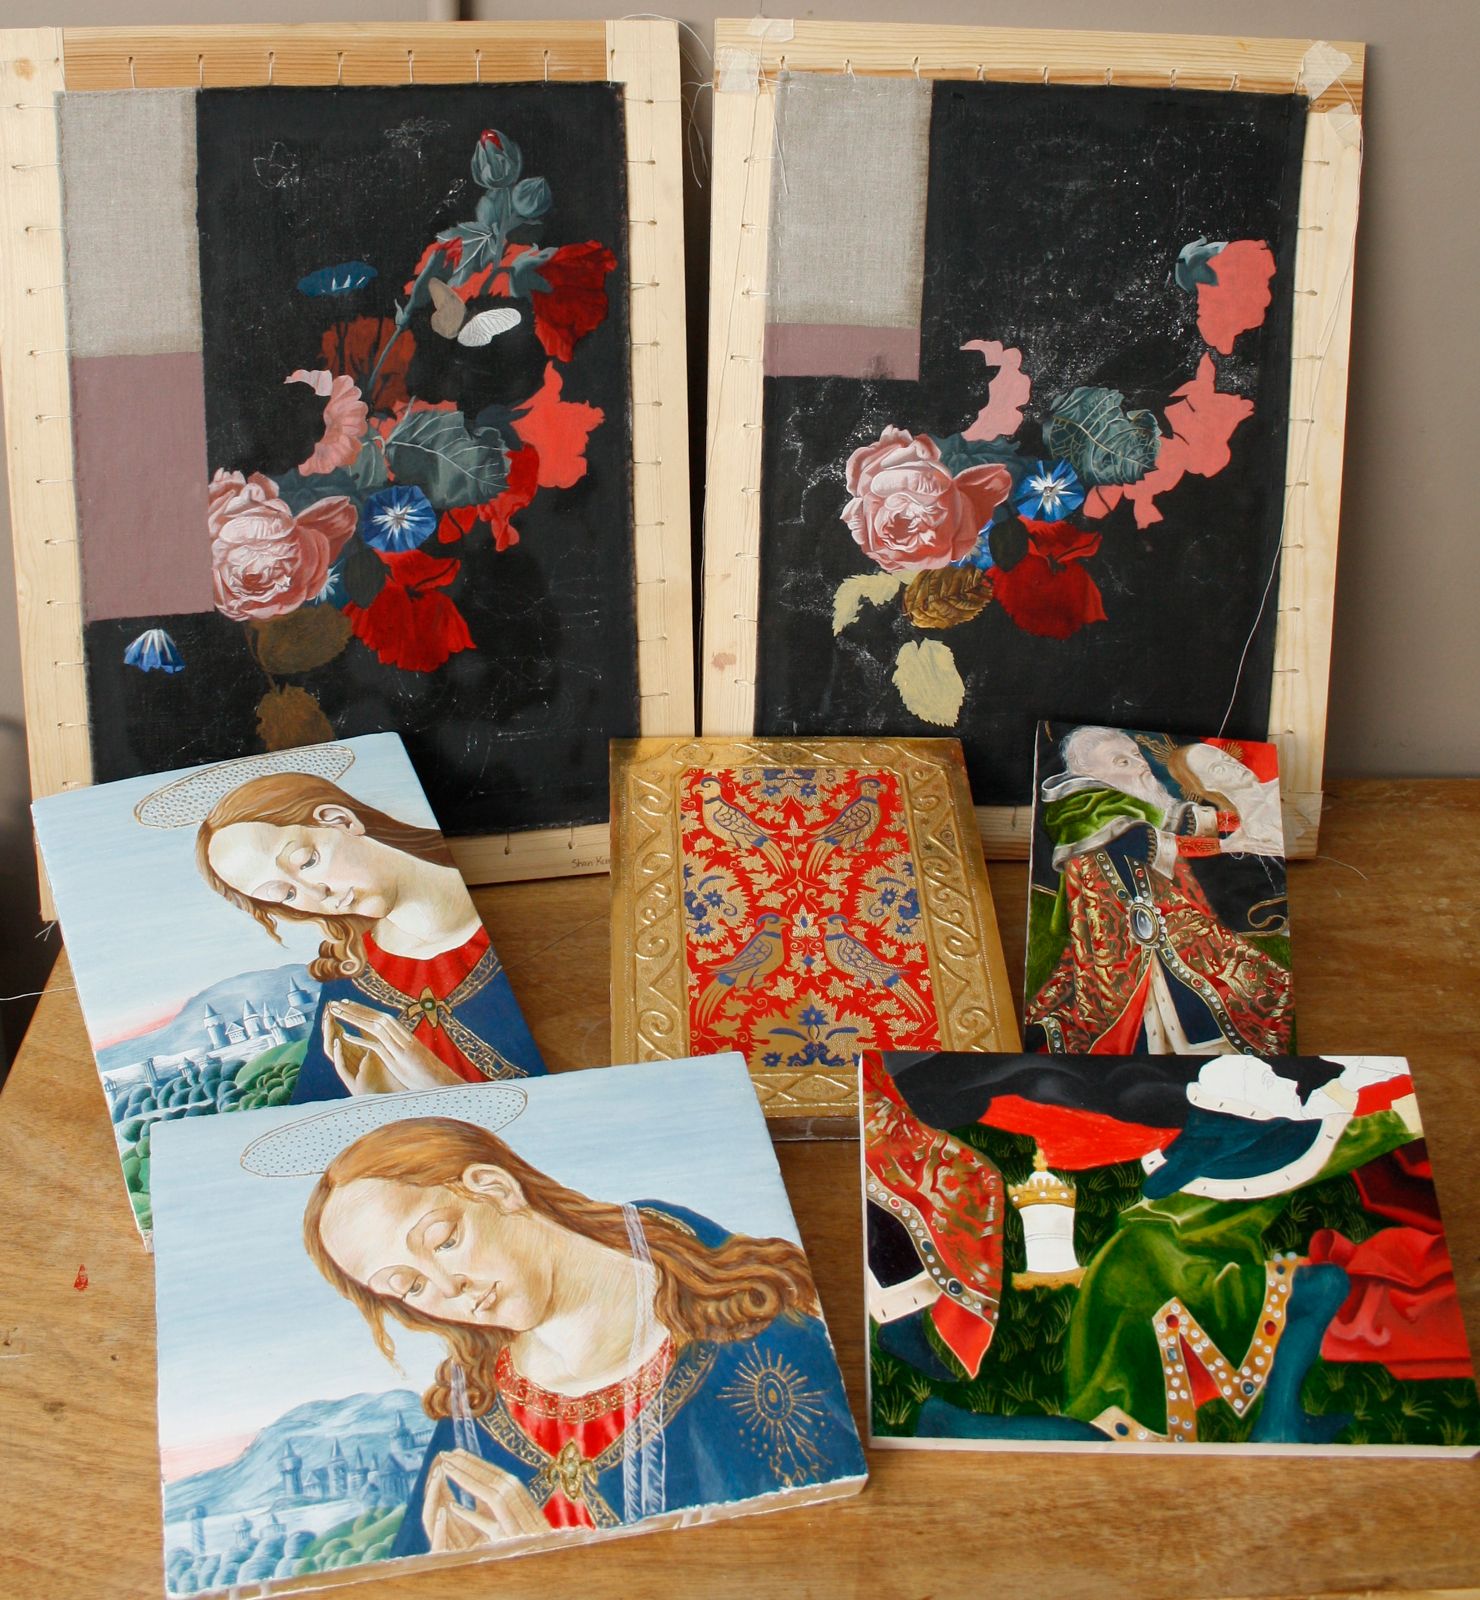
In our first term, Pia and I made four small reconstructions of paintings from different periods and regions. They ranged from 14th-century Italian to 17th-century Dutch. Our task was to reconstruct the artists’ methods, so we used authentic materials and techniques of the period as much as possible. This was a wonderful way for us to explore the construction of different easel paintings – the same objects we are now learning to conserve. In addition, as I came from a science background, it was an opportunity for me to get more practice handling various artists’ materials. Over the next series of posts, we will walk though the making of each copy and share our experiences.
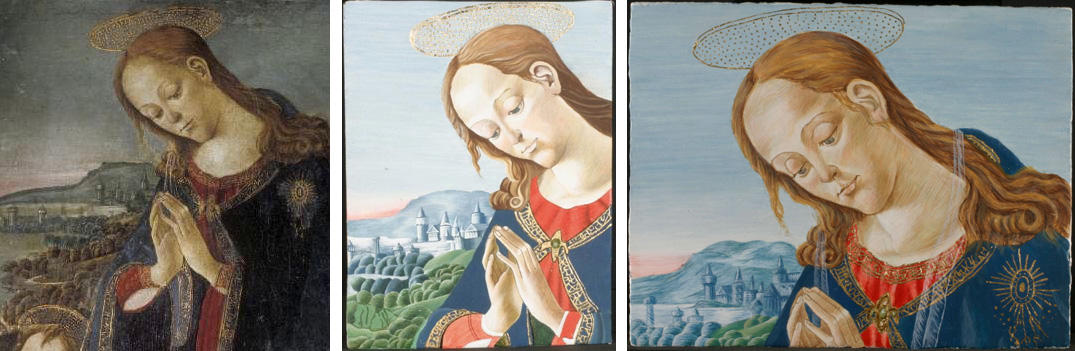
Our first painting is from the Fitzwilliam Museum: Virgin Adoring the Child by Jacopo del Sellaio (dated c. 1473). It is painted using tempera (egg + pigment) on wood panel. We chose a small section to copy. It was great having the original painting in front of us; we were able to analyse it very closely to try to figure out how it was constructed. Most paintings of this age have gone through a lot: taken out of its setting, separated from its original frame, aged, and damaged. Our job was to see past layers of dirt, discoloured varnish, discoloured materials, and past restorations. For example, most of the blues and greens in the landscape and robes had gone very dark due to natural ageing. We made the copies to look as if they were freshly painted in Sellaio’s workshop. Sometimes, we were unsure of the material (i.e. type of pigment) or the technique used, even upon close examination. In those instances, we headed to the library to consult written sources, particularly Cennino Cennini’s treatise Libro dell’Arte (from around 1400).
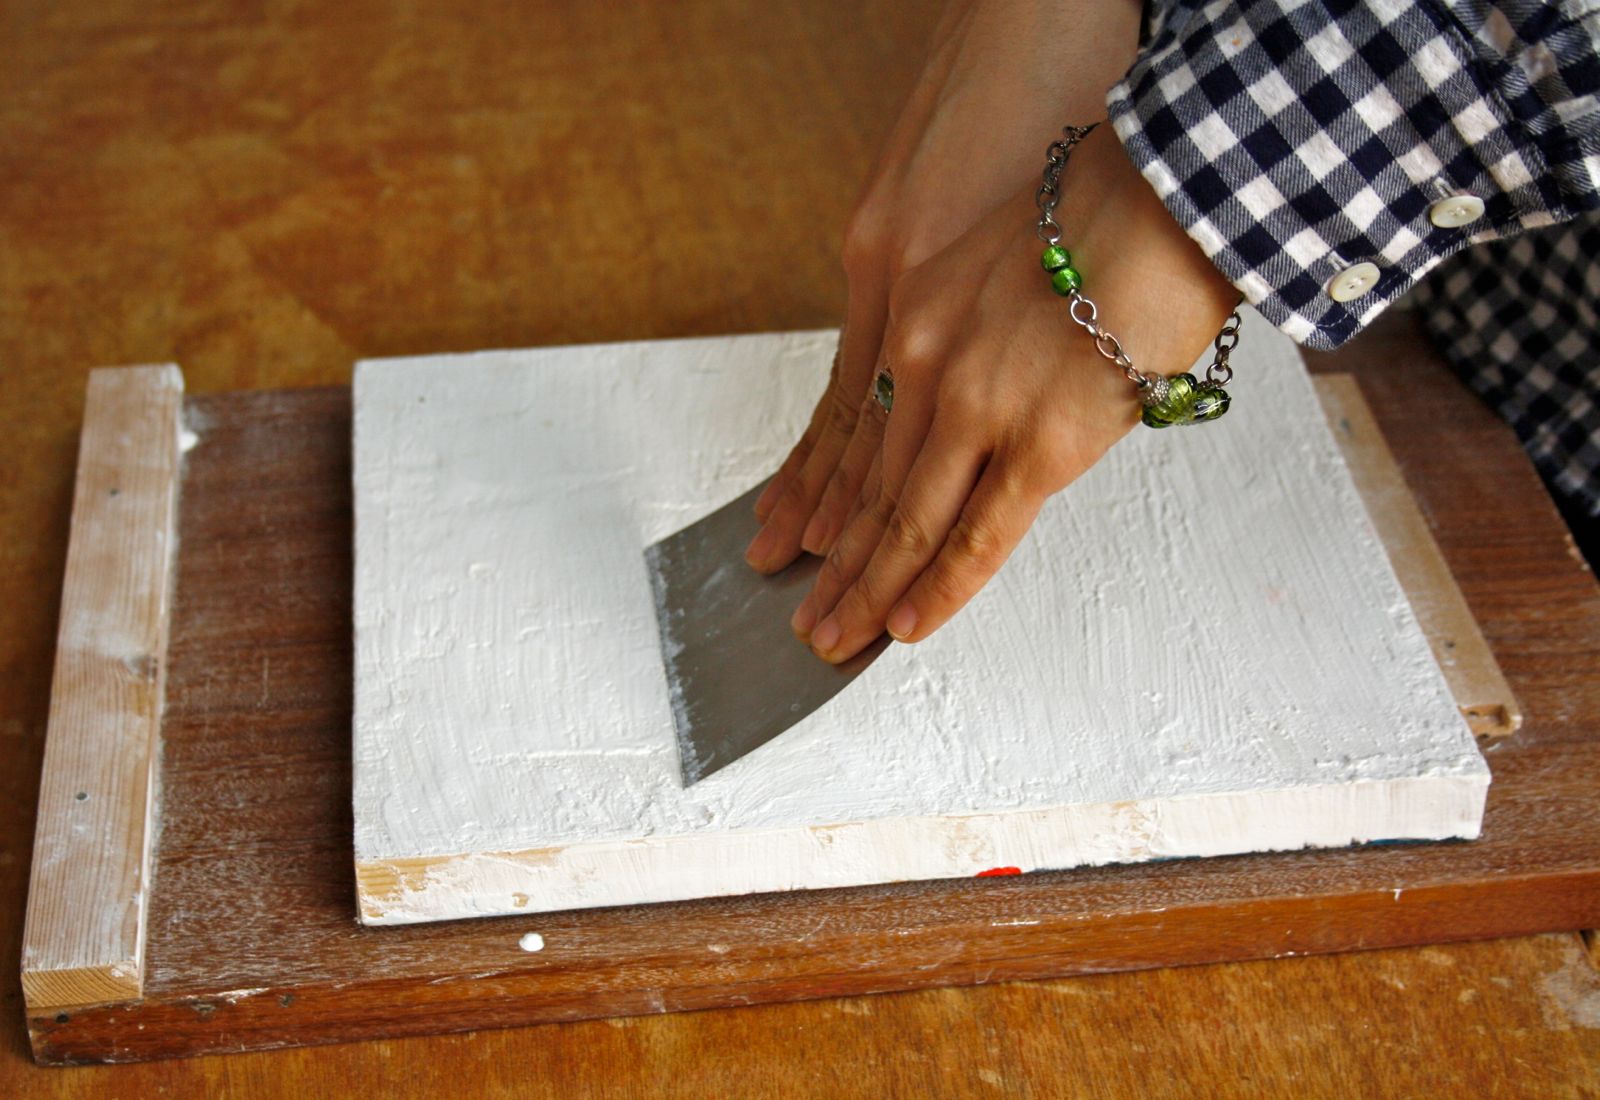
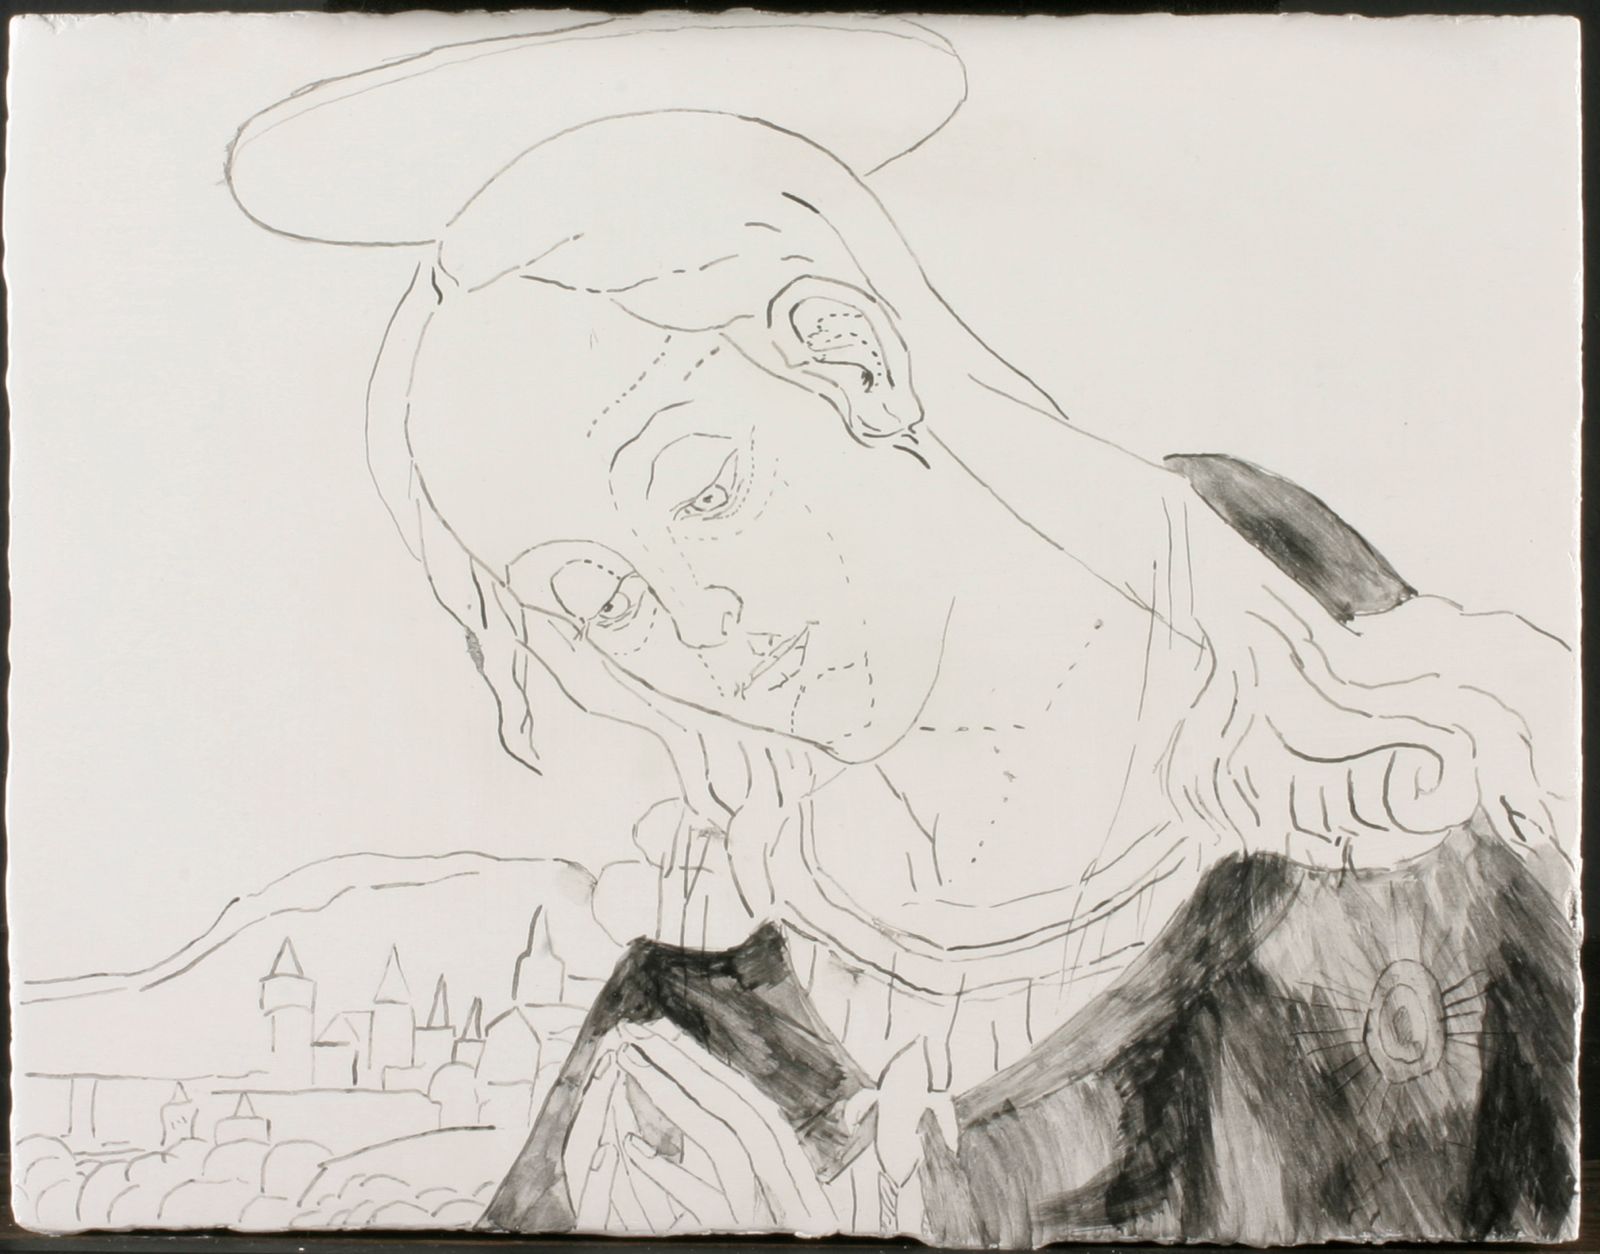
First, the wooden panel was prepared by brushing on several layers of rabbit skin glue (called size). A piece of linen soaked in size was then used to cover the panel, smoothing out knobs or other impurities in the wood. A coarse layer of gesso – a mixture of glue and plaster of Paris (calcium sulfate) – was applied and scraped smooth. After, 6 layers of a finer mixture of gesso was brushed on and sanded smooth.The drawing was transferred onto the panel by tracing over a paper sketch with charcoal coated on the back. The pressure applied by the stylus causes charcoal pigment to be imparted on the panel, akin to how carbon copy paper works. These lines were then reinforced with ink using a quill.
It is now ready for painting! First, though, we had to make our own paint. Egg tempera was made by grinding egg yolk with powdered pigment using a glass muller. The choice of pigments available to artists was limited, and many of them (i.e. lead white, red lead, vermillion) are no longer available for regular use due to health hazards. The proportion of egg to pigment is extremely important, as we found out the hard way. Too much pigment… the paint will crumble. Too much egg… the paint will peel away. Trying tempera for the first time, I was surprised by how different its properties are from other paints I have used. It dries so quickly that I cannot blend while painting (as opposed to oil paint). The paint is laid on in a hatching manner akin to drawing with coloured pencils.

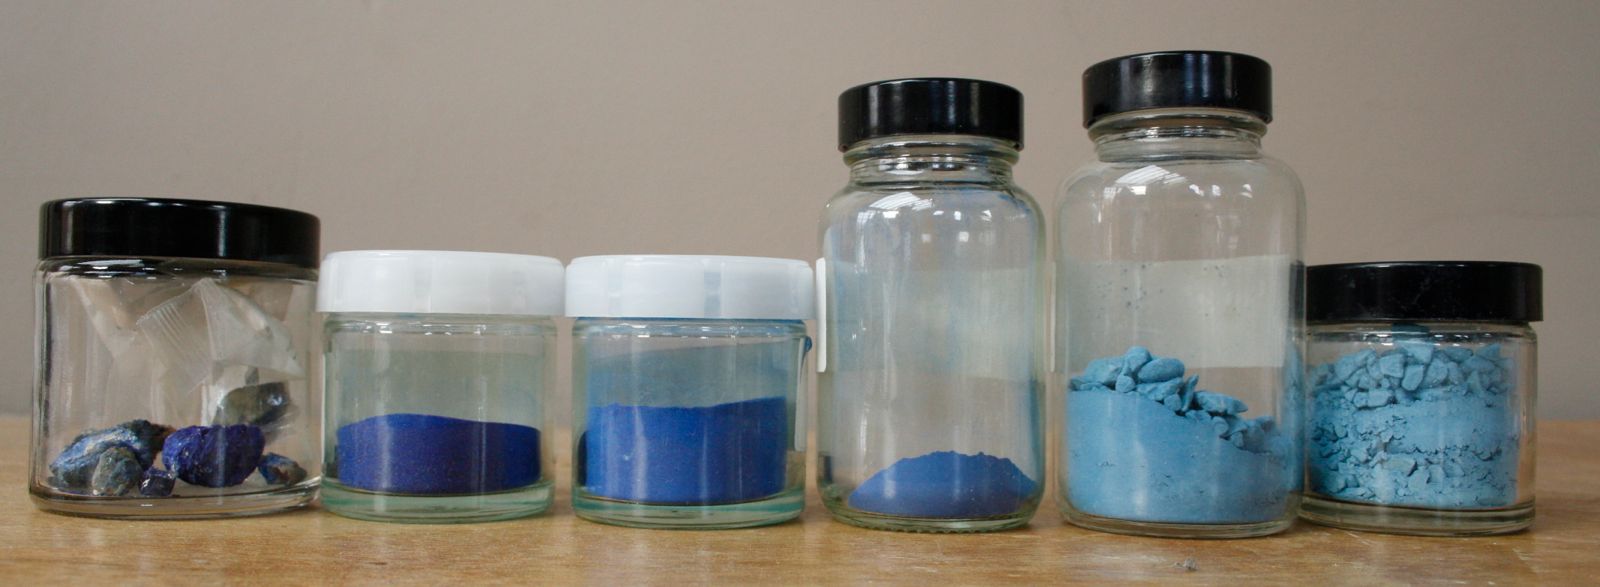
The painting was completed in stages, moving from one area to the next. The sky and landscape were completed using lead white, azurite (blue), and malachite (green). The robe has an initial black layer to make the blue azurite layer on top appear deeper. Azurite comes in different grades. Grade 1 particles are big, brilliant blue, and of high quality. Other grade particles are increasingly smaller, greener, and less expensive. Therefore, grade 1 was only reserved for the final, top layer of paint on the Virgin’s robe, whereas grade 3 was used elsewhere.
The initial green underlayer for the flesh tones is painted using a pigment called terre verte. It remains partially visible through the subsequent layers of paint. Strange as the color choice may seem, it plays an important role in neutralizing the warm flesh tones painted above it. Lead white, vermilion (red), and earth pigments (yellow, brown) were then used to paint the flesh.
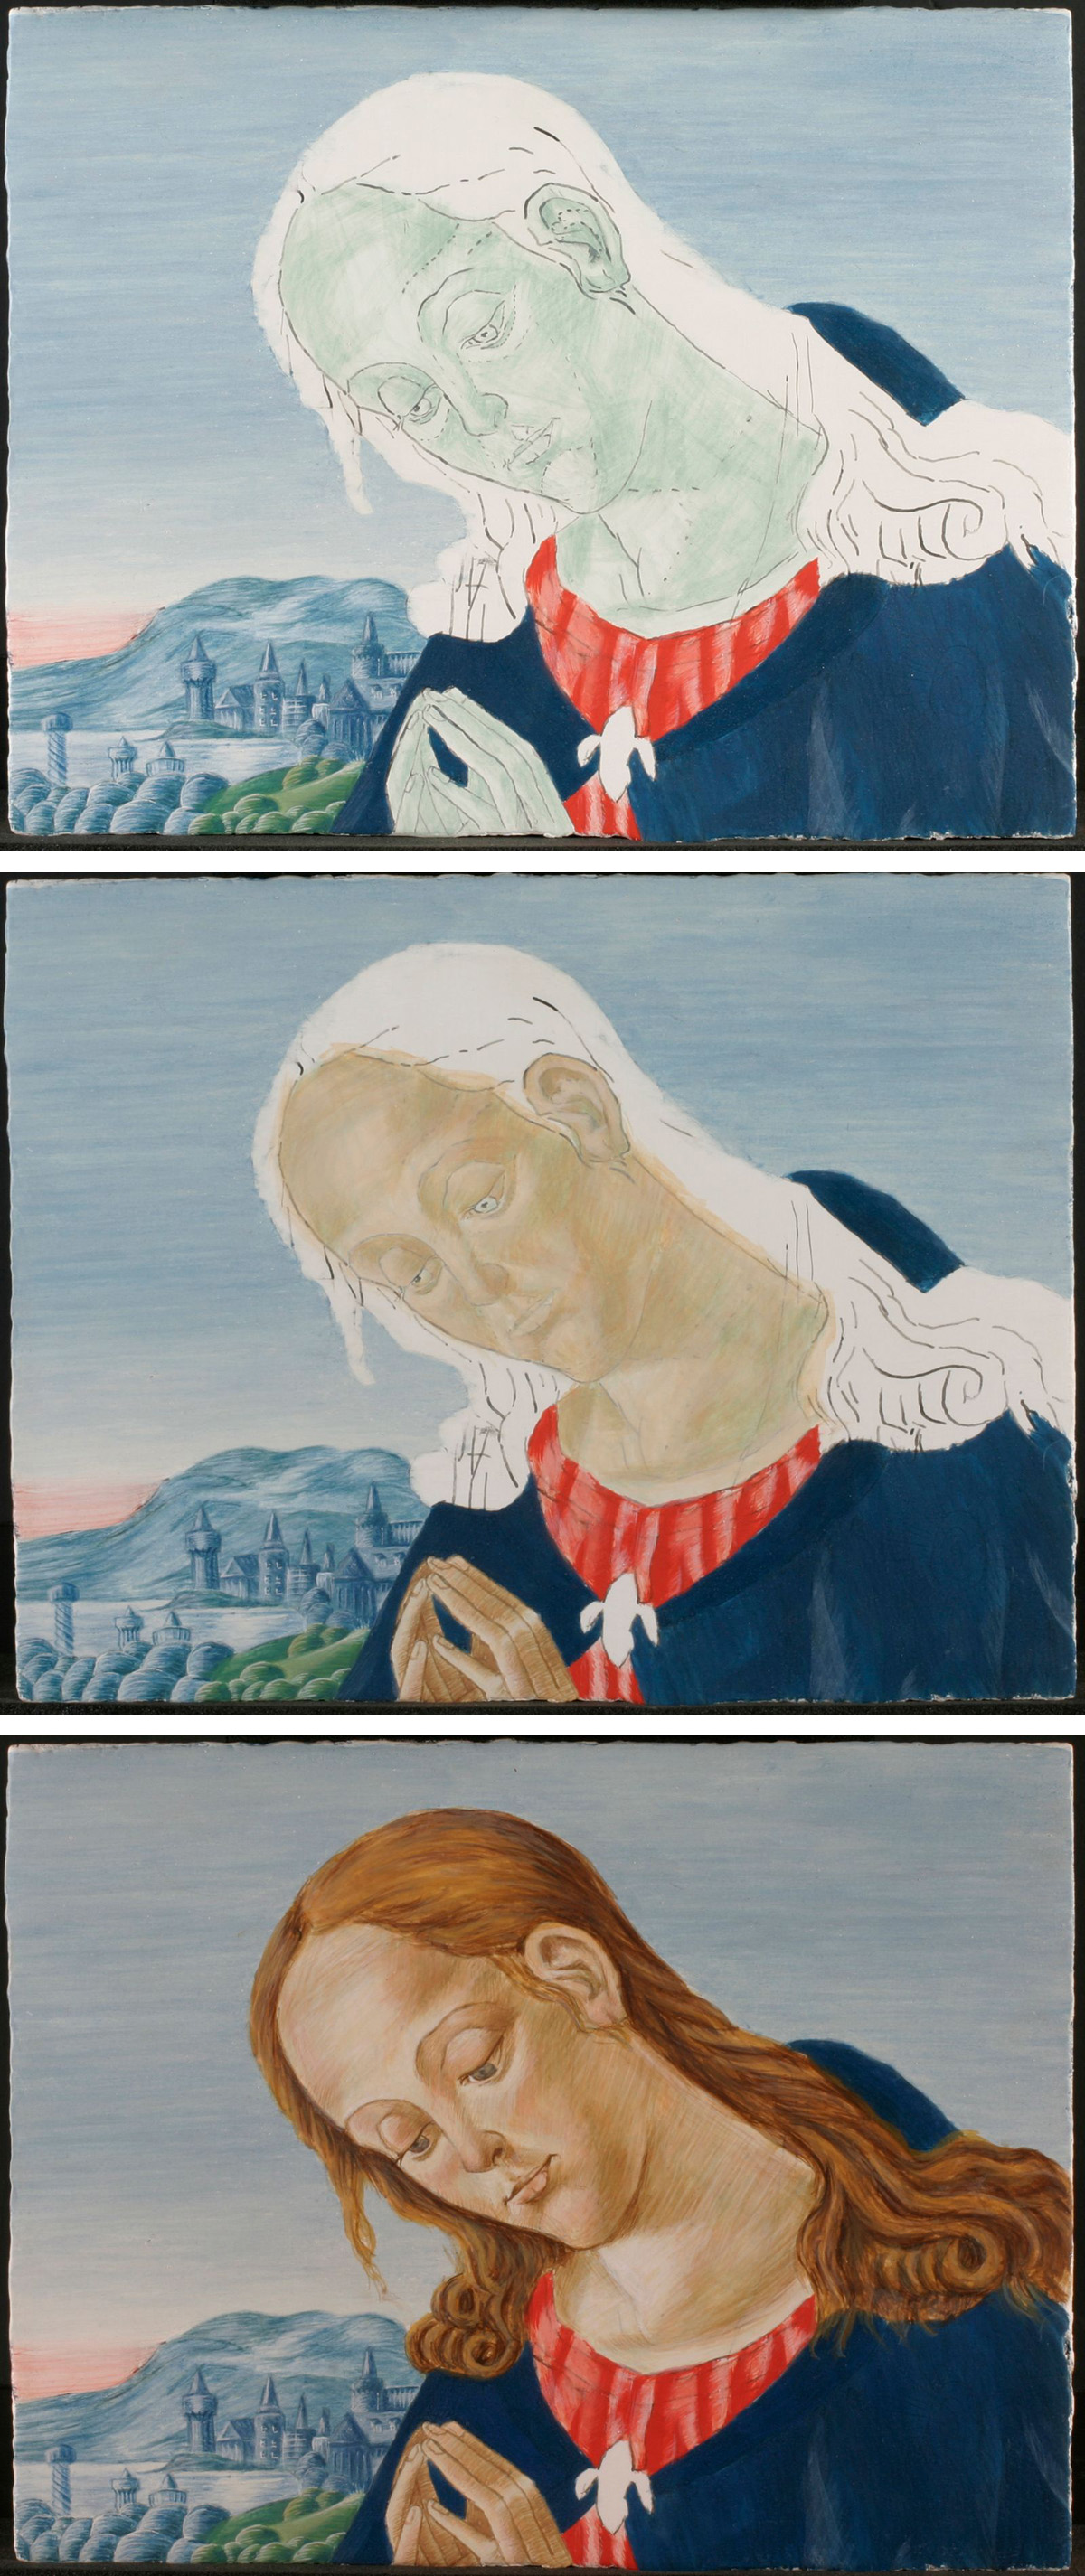

For final touches, the red robe receives red oil glazes made with madder lake pigment. Glazes are transparent, so as more layers are painted, the red becomes richer and deeper. The golden halo and decorative trims on the Virgin’s robe were added using a method called mordant gilding. The designs were painted with a tacky adhesive (oil + resin). Gold leaves are then laid over the area. Any gold not adhered to the mordant is brushed away, revealing the desired pattern.
Making this copy, we gained valuable experience learning how to handle egg tempera paint. This skill is particularly useful since egg tempera retouching is often employed in the conservation work at the Institute. In addition, we obtained a good sense of what age can do to the aesthetics of early Italian paintings. We were quite surprised by the purity and brightness of the colours that these paintings would originally have. In the next post, I will discuss gilding, another significant technique employed in the making of early Italian artworks.
– Shan
I found this shared experience very interesting indeed! I have studied Renaissance Florence art and it never ceases to amaze me how delicate and engrossing this kind of work is. By the way is the technique of putting the pigment terre verte akin to what some women (and I have tried it) do with a green tinted make-up base to reduced redness of the skin?