
For our second reconstruction, an example of early Northern panel painting, Anna Don and I both chose a Madonna and Child by the Flemish painter Joos van Cleve. The painting was at the Hamilton Kerr in preparation for the exhibition “Madonnas and Miracles“. It was examined and treated by Camille Polkownik in 2016 and you can view and read the treatment here.
This was a distinct change from our early Italian copies as we were not only working from the same panel, but we also chose similar sections of the panel to replicate. As can be expected, this lead to a lot of dialogue between us as we came up against the various challenges of reconstructing this beautiful painting. We have decided therefore, to share with you some of that dialogue and present our reconstructions of Joos van Cleve’s Madonna and Child together and in our two voices, each paragraph is named at the start with the author.
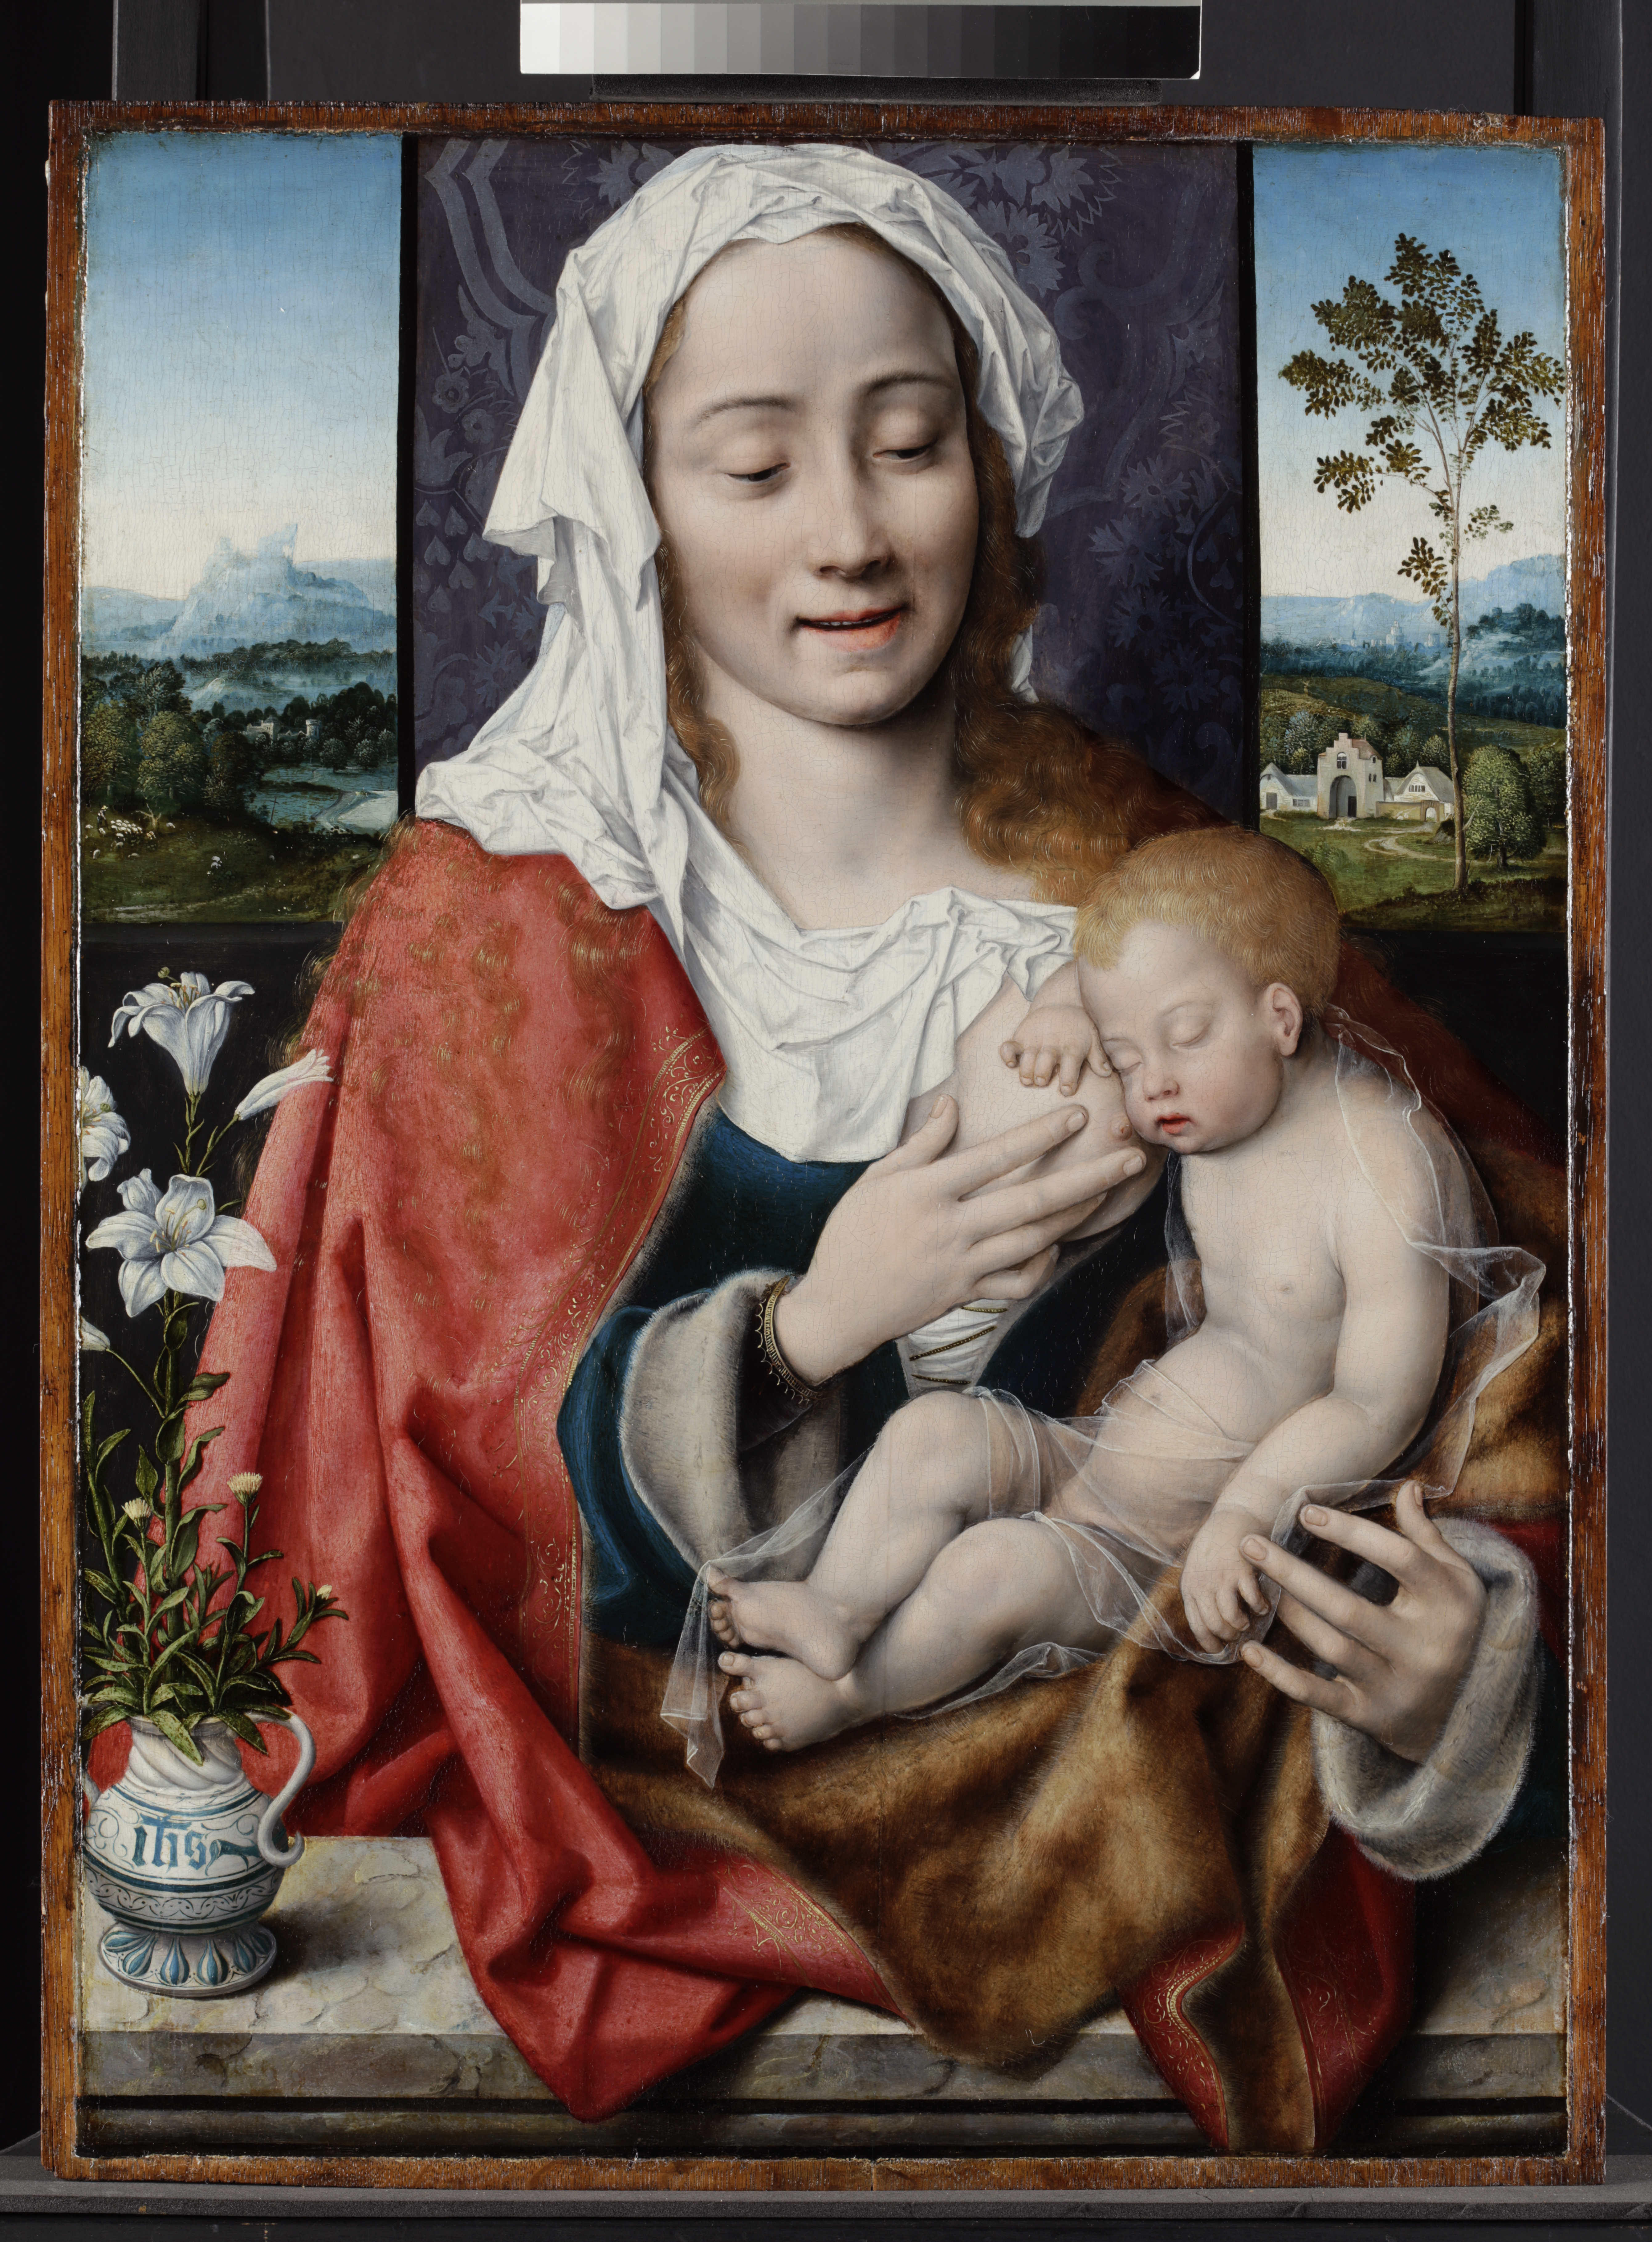
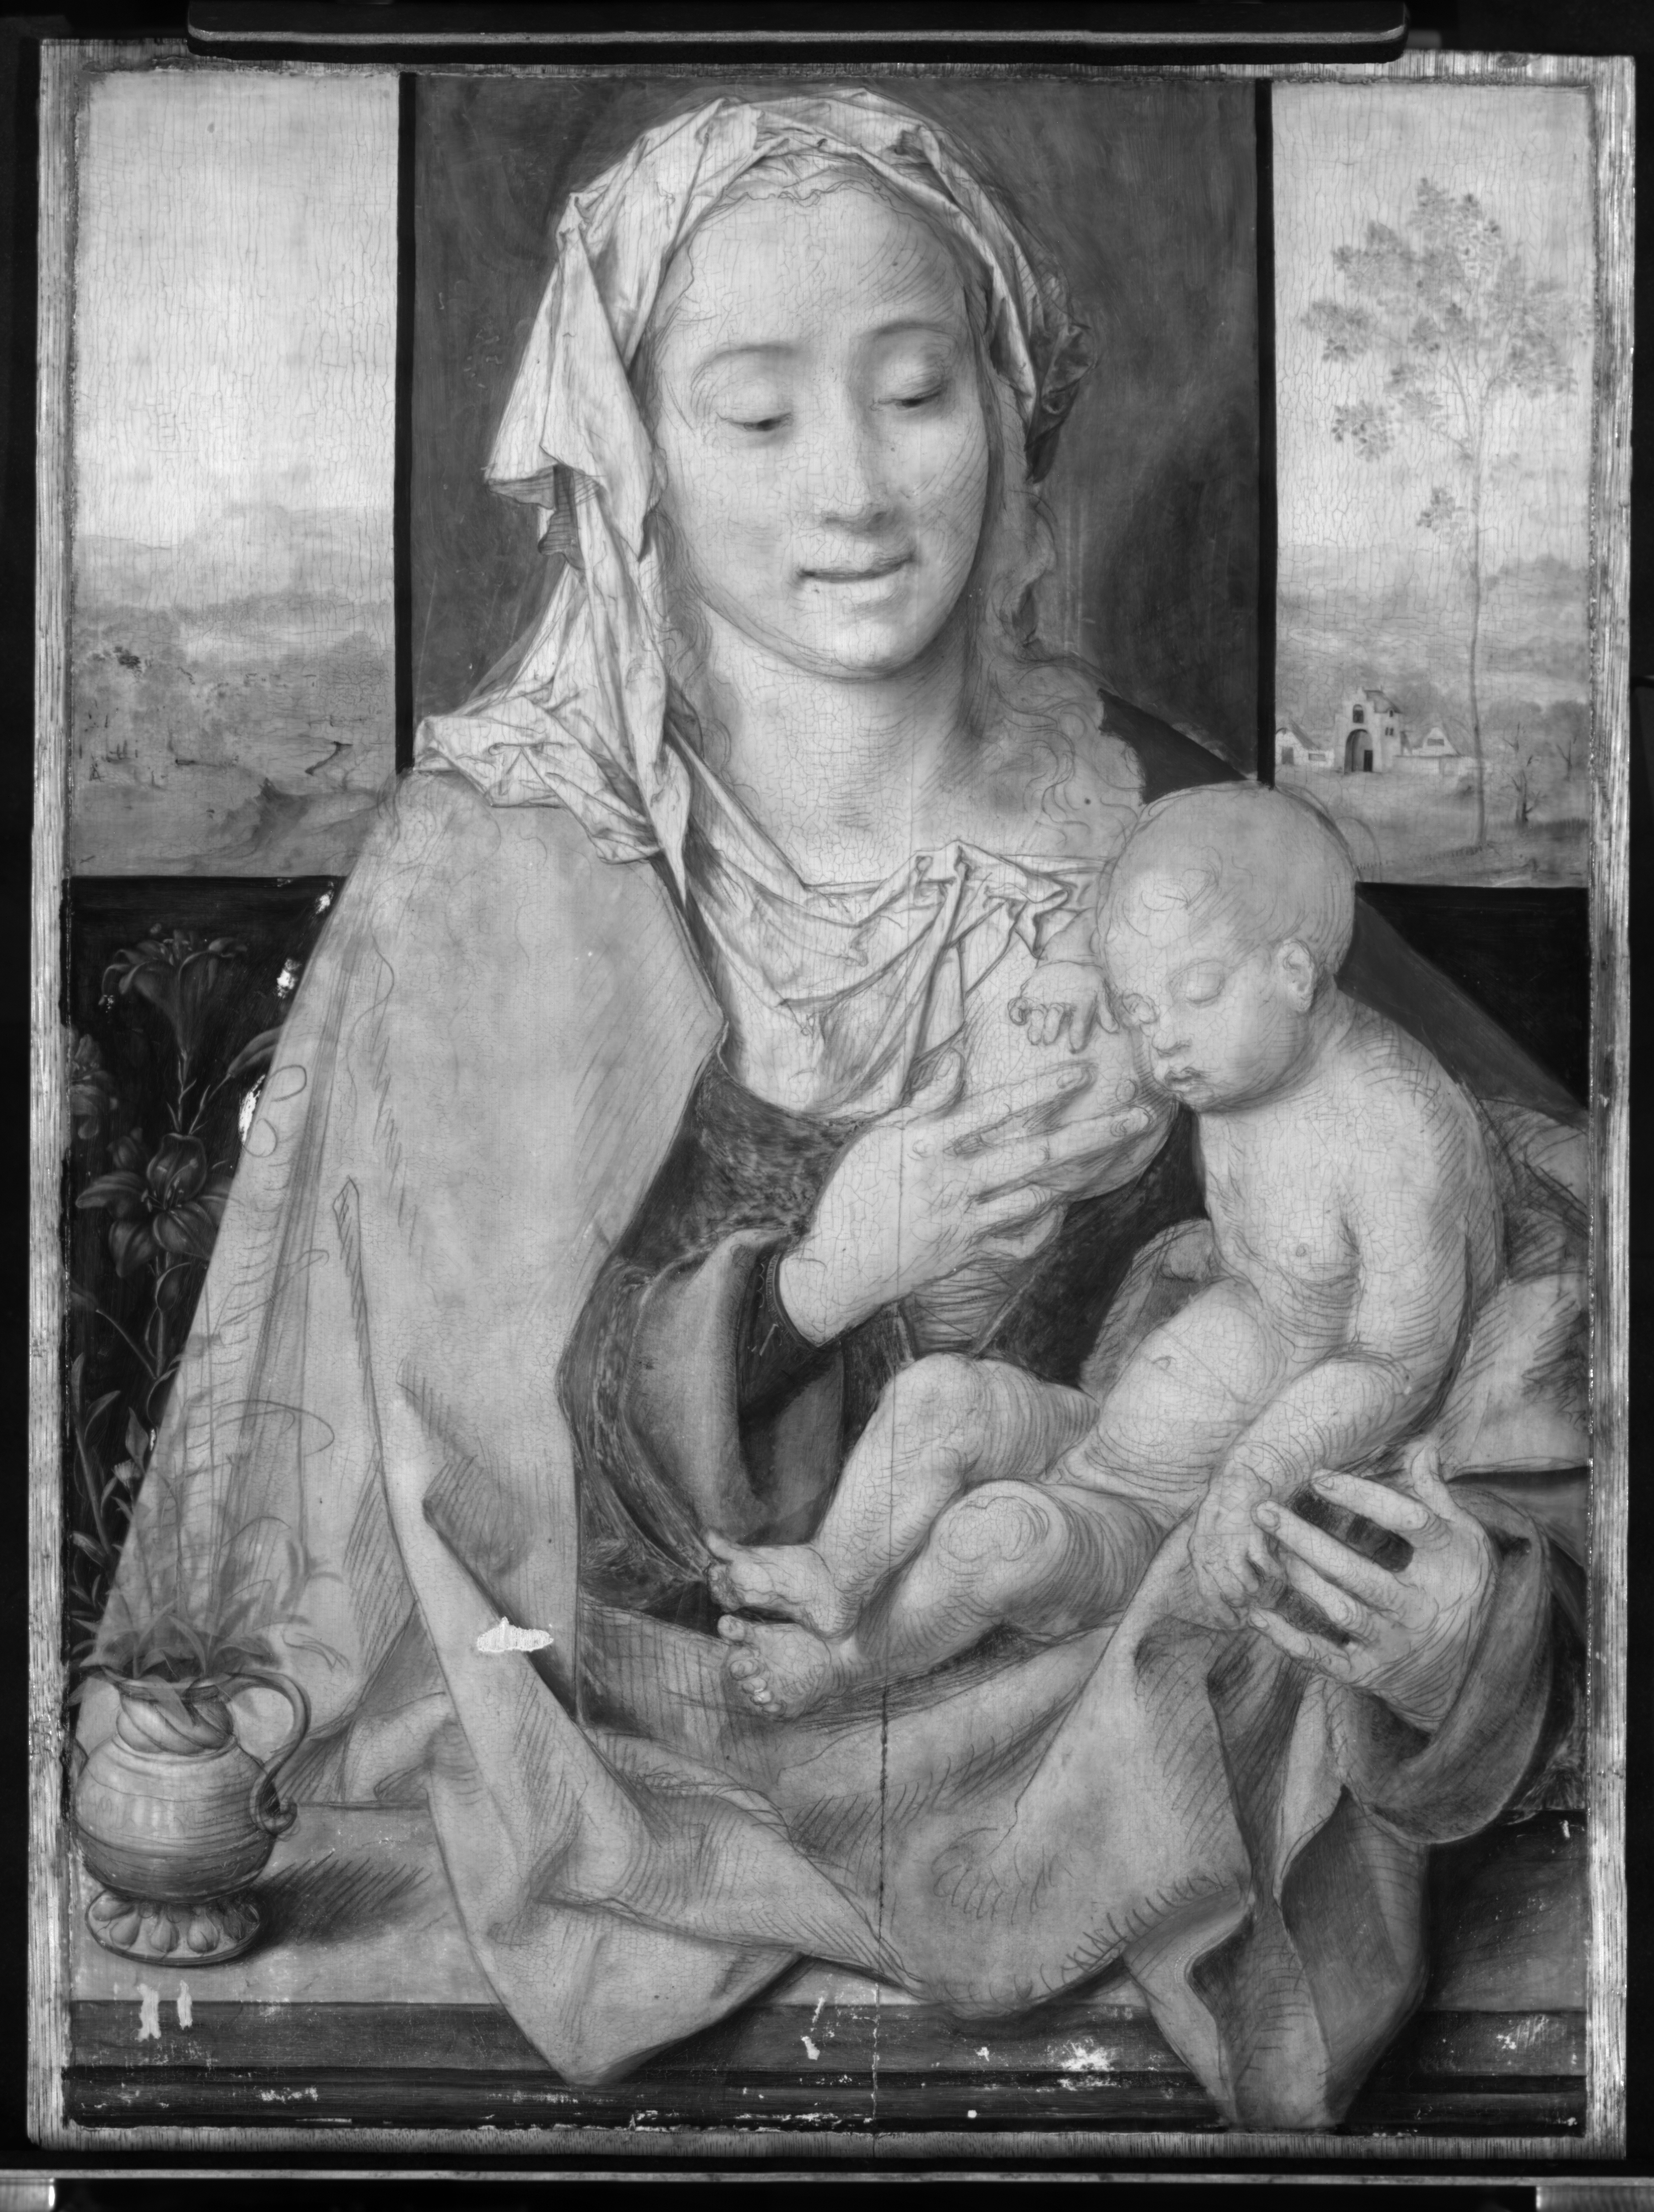
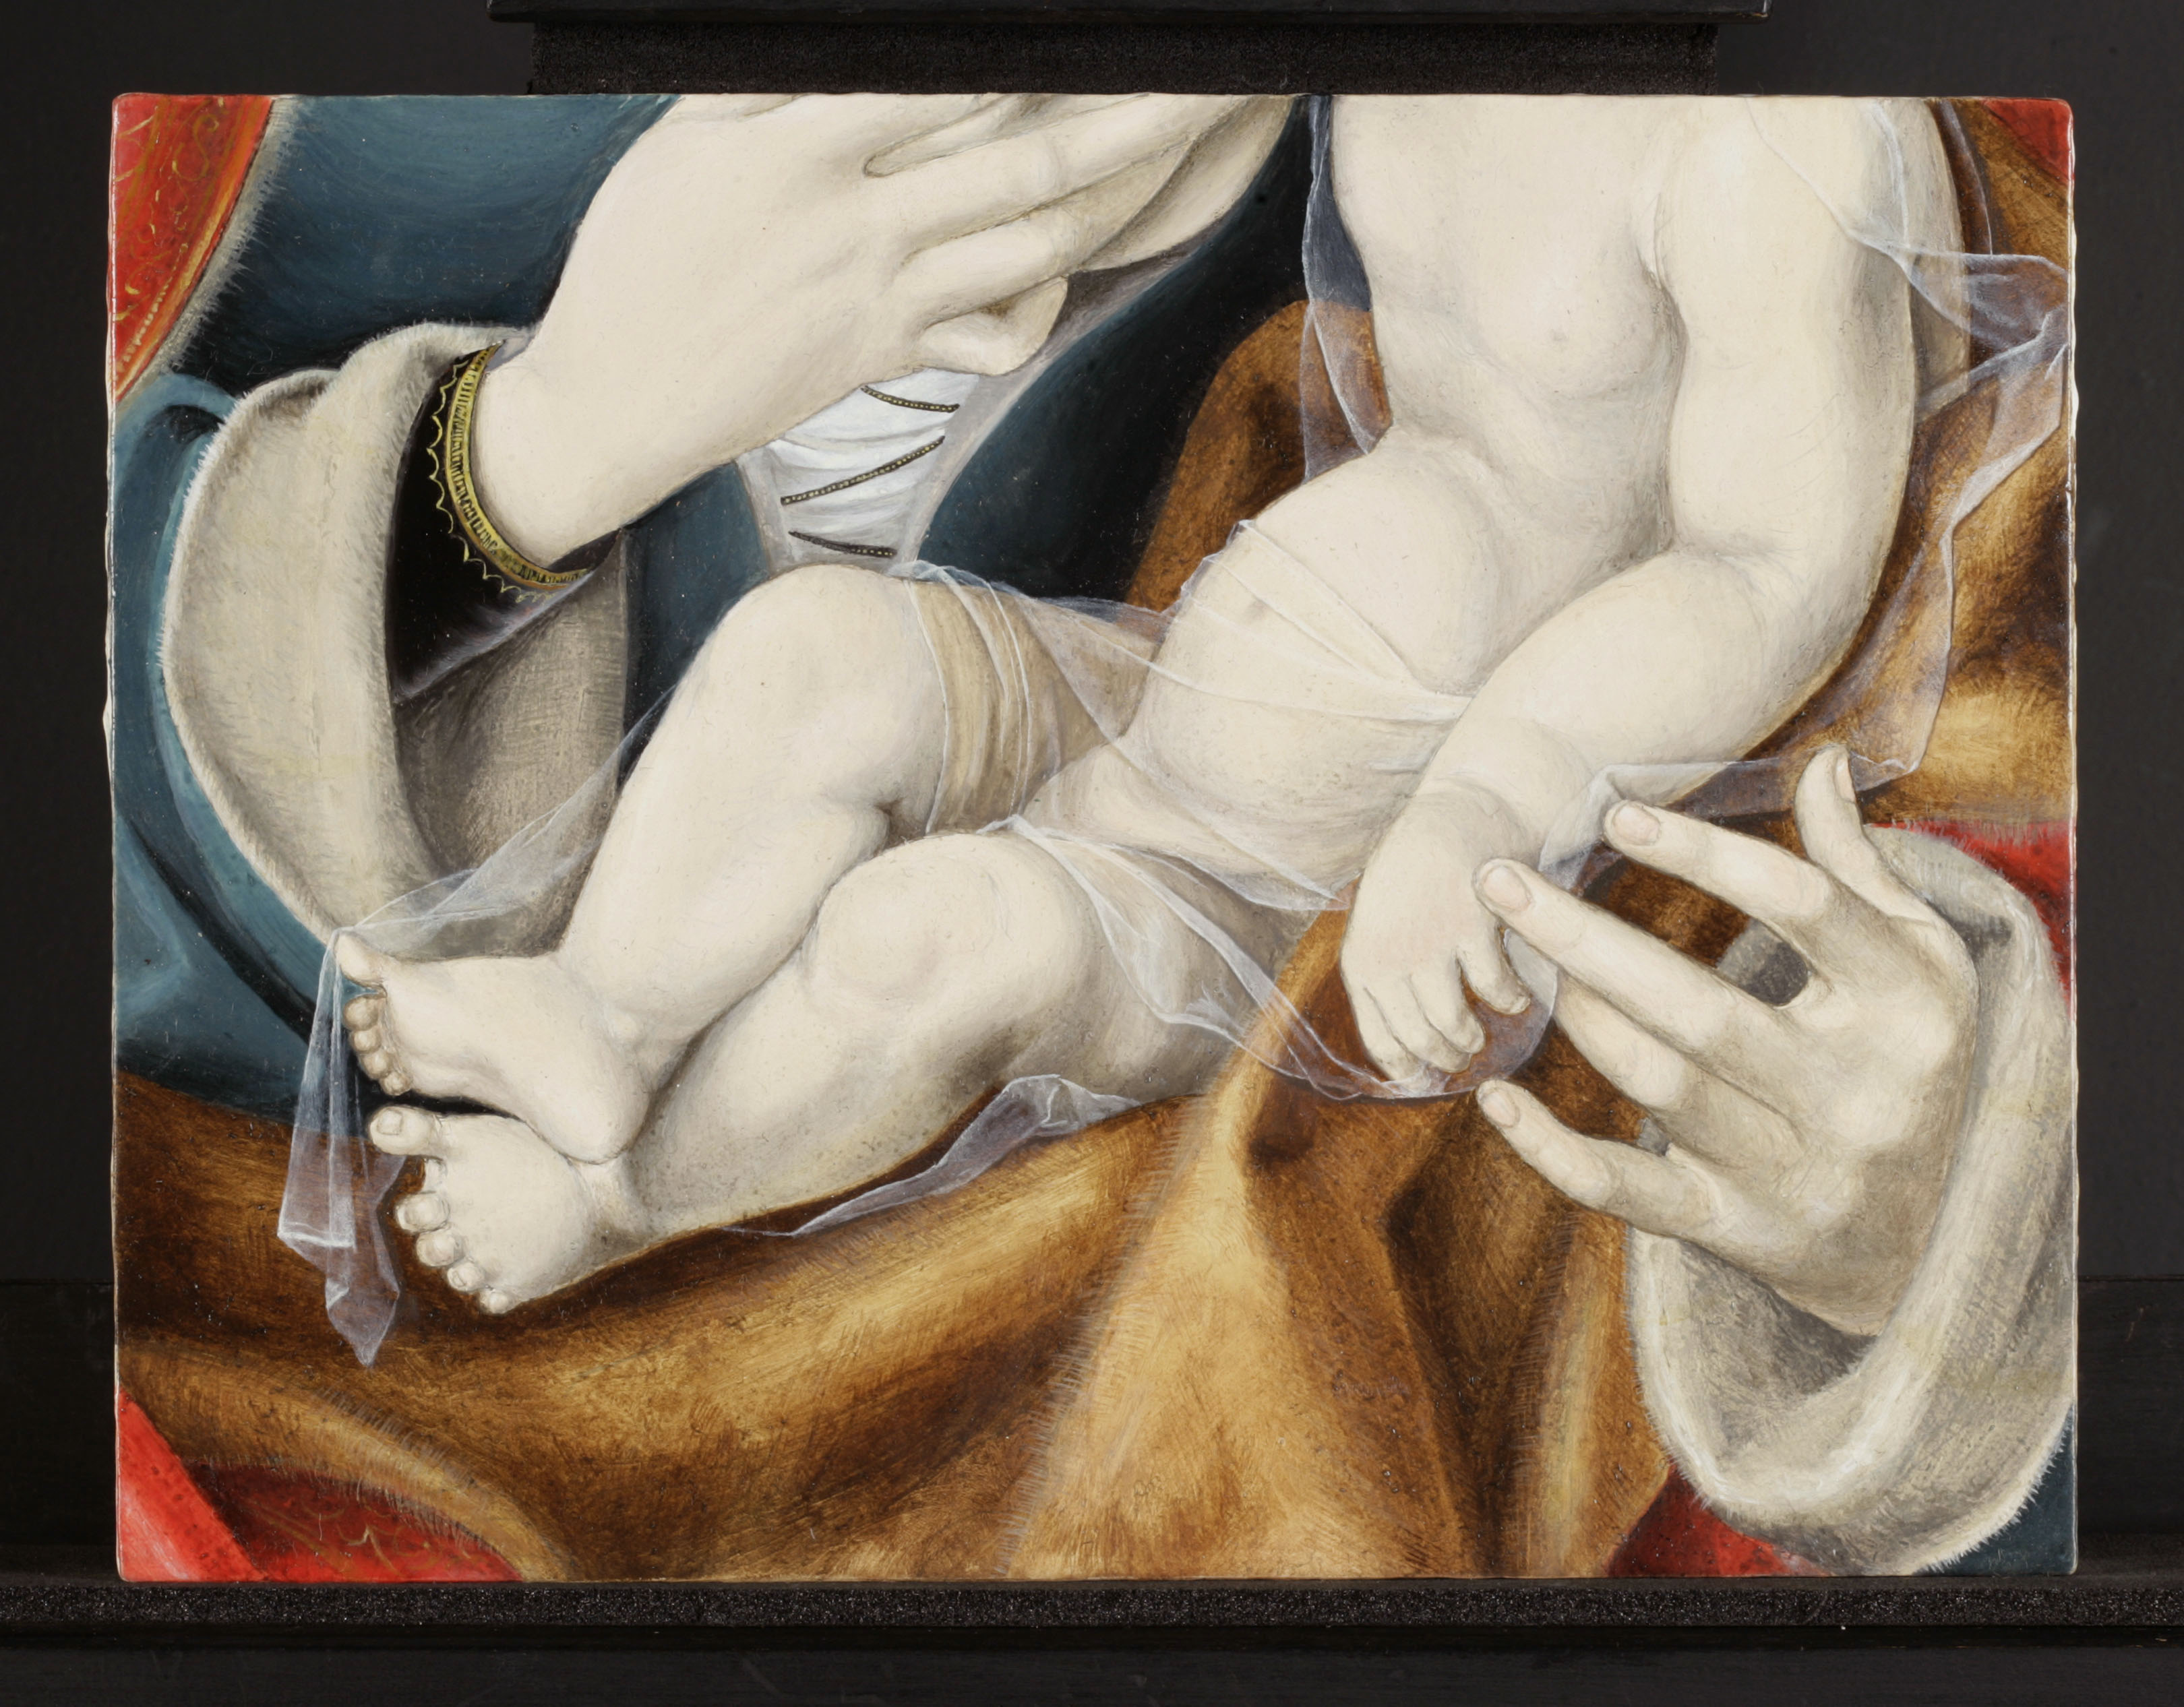
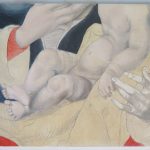
Anna: Joos van Cleve (1485-1541) was mainly active in Antwerp in the early part of the 16th century. He seems to be a very typical painter of this period, as he had a very large successful workshop that managed to weather a recession in Antwerp in 1525, by remaining incredibly adaptable to what the market wanted. Therefore, his style is quite representative of the tastes and culture of the time. For example, in the early part of his career he produced a lot of large altarpieces, but after Antwerp began to struggle he moved to producing a huge amount of small, almost mass-produced devotional pieces that could be purchased by individuals. The painting that we copied, Virgin and Child (1525-29) from the Fitzwilliam Museum, is on the cusp of this change (Fig. 1). Joos van Cleve held various important positions in the Guild of St Luke in Antwerp, so it is possible to assume that his standards and practices were demonstrative of the guild’s outlines. [1]
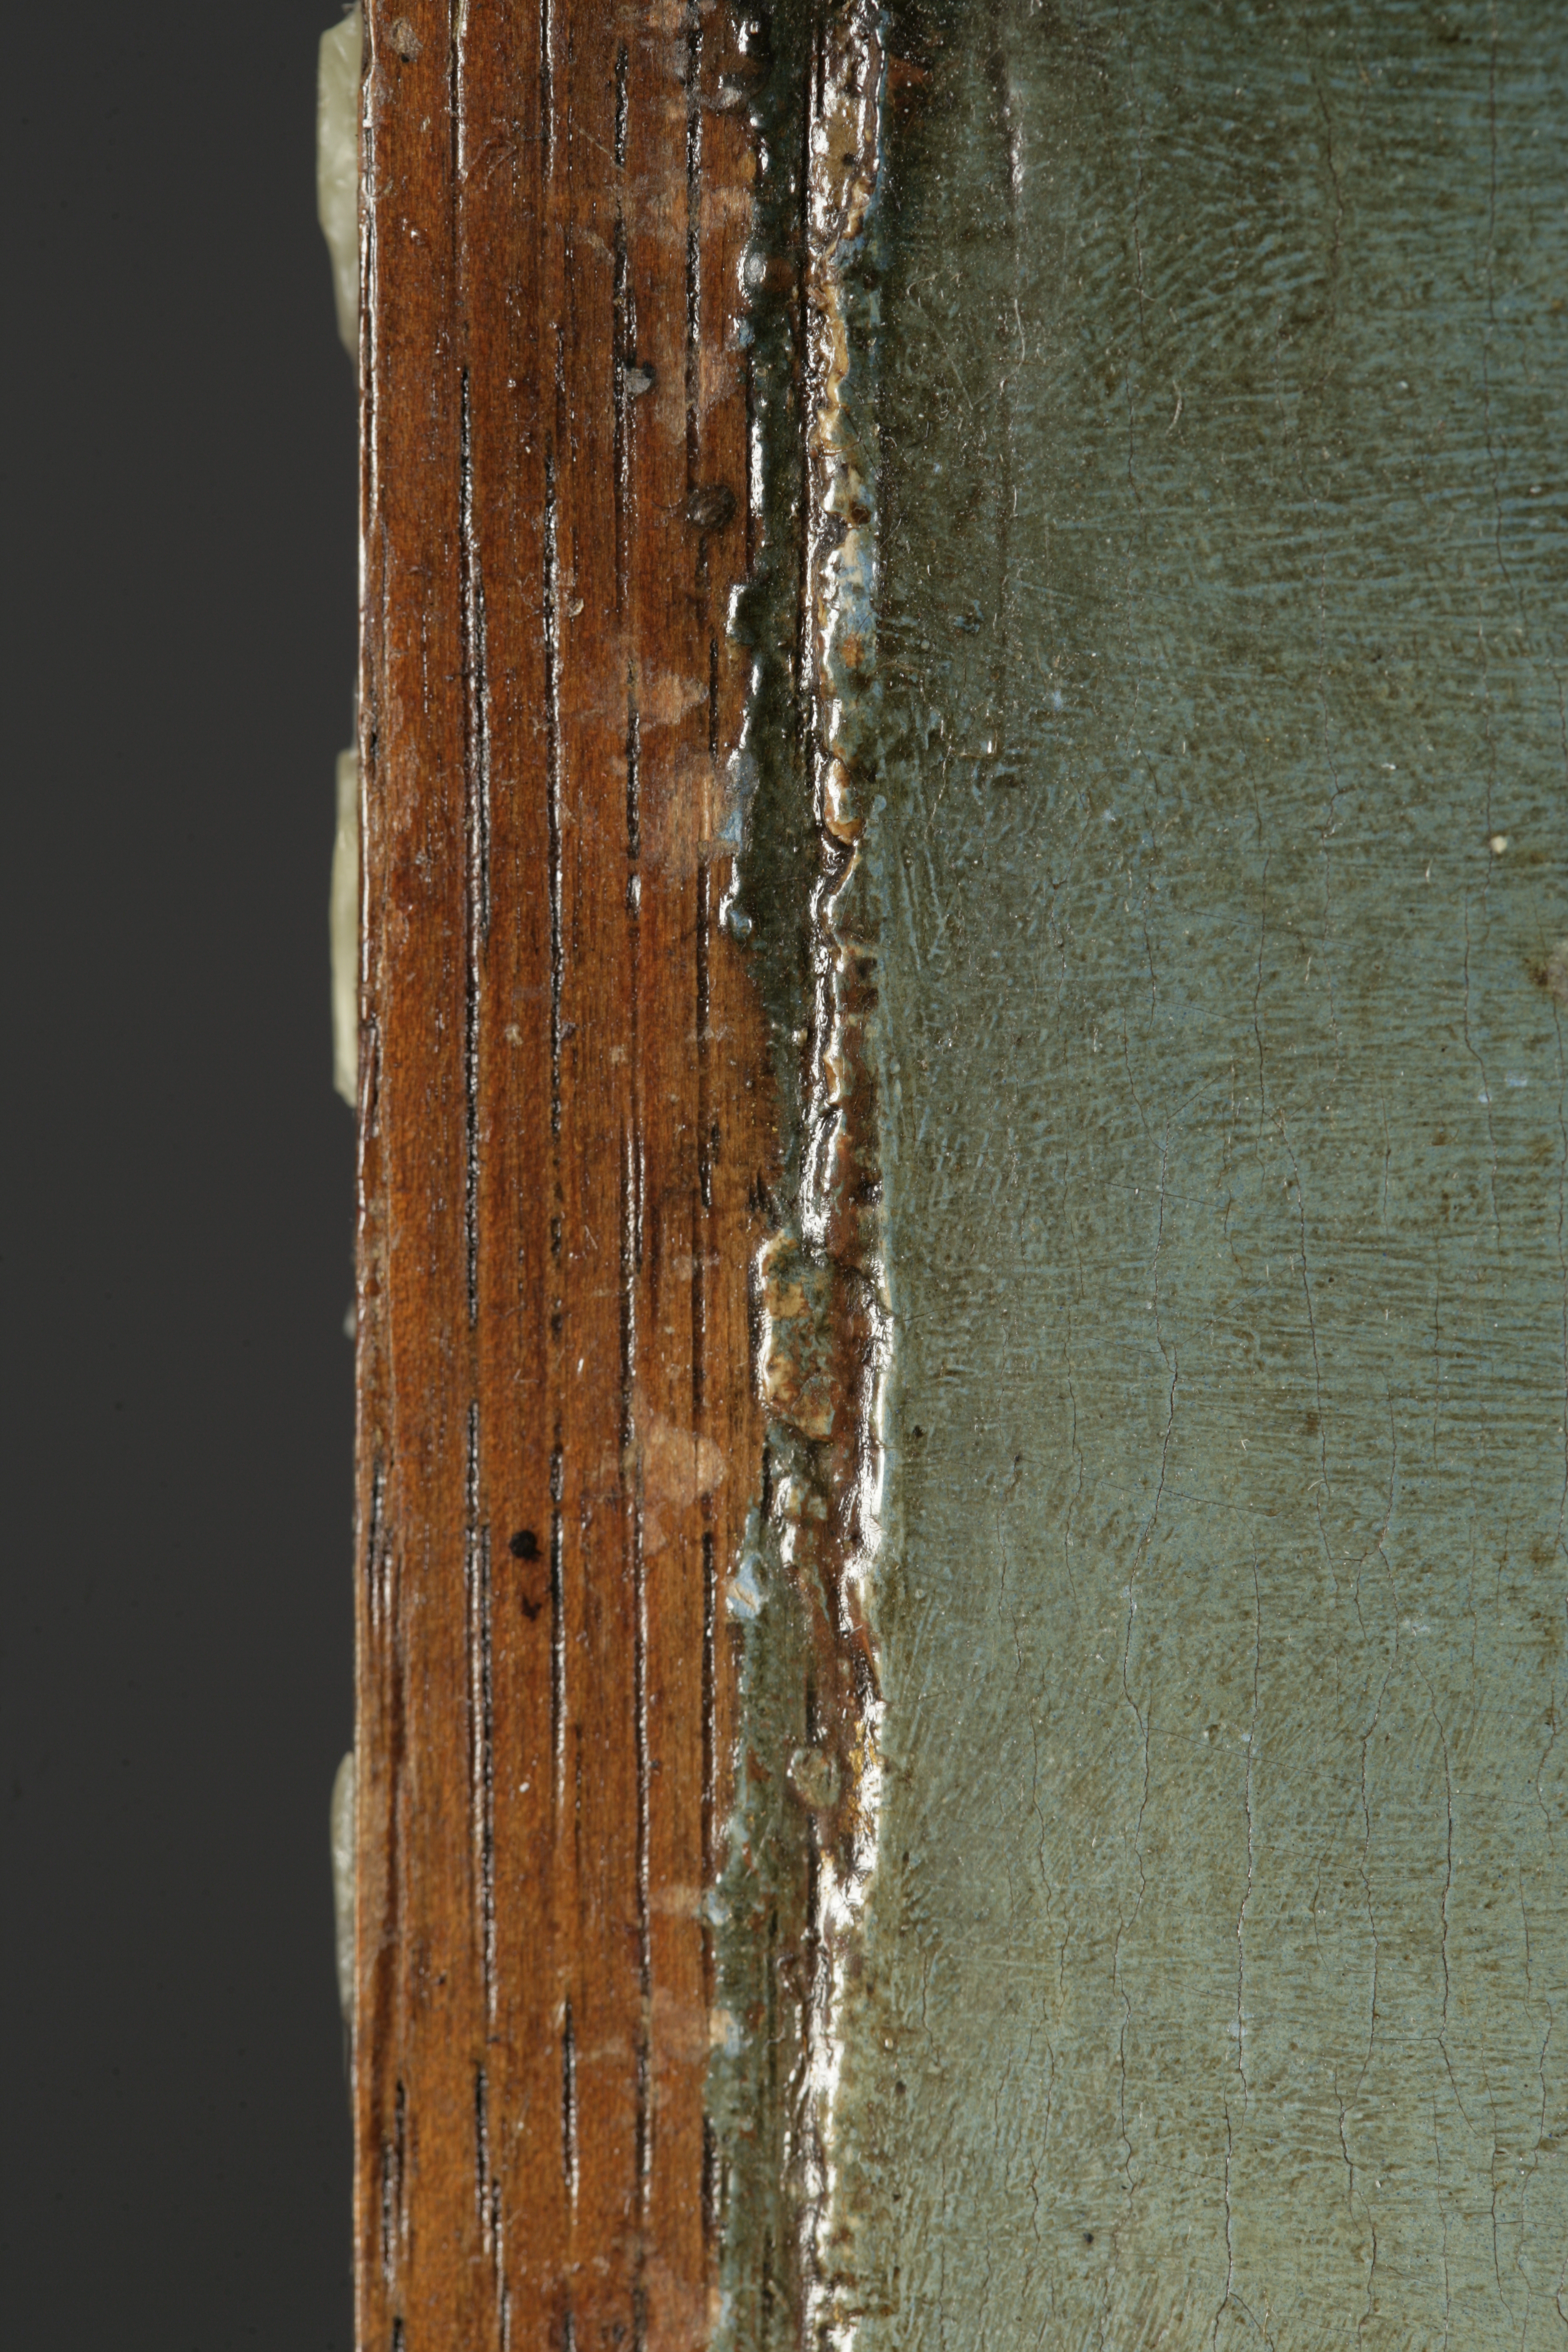
Anna: Panel makers were members of the Guild of St. Luke in Antwerp, where the first surviving regulations date from the late 15th century. The guilds stipulated that that wood should be seasoned for roughly 2-5 years, depending on its thickness. Earlier in the 15th century, when boards were thicker, boards could be seasoned for up to 10 years. In Flanders, panels were often hand-sawn (there were no sawmills in Antwerp until the early 17th century). Machine cut boards display straight and parallel marks, unlike hand-sawn. The panels were often butt-joined, possibly with some heartwood on the outer edges, and boards could be adhered with casein or animal glue, and then planed down.
There was an unpainted border around the panel, and the edge of the paint is slightly raised, indicating that the ground and paint layers were applied within an engaged frame (Fig. 2). The back of the painting is bevelled, making it easier to insert into a frame. In our case the support for the reconstructions was pine, rather than oak. The calcium carbonate used for grounds in Northern Europe was simple to prepare, impurities would be removed with washing and then it would be mixed with animal skin glue. Sometimes this ground was applied quite thinly in Northern European panel paintings.
Elisabeth: After the multi-step complexity of gesso preparation, the chalk grounds favoured by artists in the Northern parts of Europe were a delight to apply.
Anna: One issue that I encountered, which Elisabeth didn’t, was small pinprick holes forming in the ground. I wondered if this was due to the fact that we had to apply the chalk ground over two days and so the initial layers had been allowed to dry, and though I wetted the ground before applying the next layers, perhaps it were still too dry. I ended up rubbing the chalk ground with my fingers, using quite a lot of force, filling the holes and as a result the pin-prick holes disappeared. This also got quite a smooth layer, but wouldn’t be very practical over a larger area.
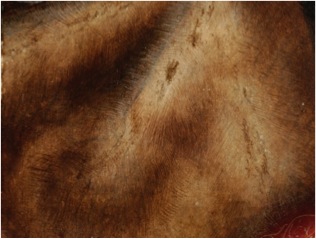
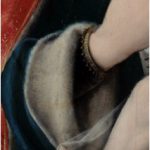
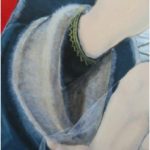
Anna: Most of the sources on early Northern painting discuss doing the underdrawing prior to an oil-priming layer, however the other way around was also possible. We did the latter, and applied an unpigmented layer of lead drying oil. Our reasoning for not pigmenting this layer is that there was no evidence of it in a cross-section taken from the painting. Accounts of early Northern technique mention the fact that these priming layers can be a thin layer of oil alone or possibly an oil layer often mixed with lead white pigment. Later a beige coloured priming layer, similar to the one Karel van Mander mentions in his early 17th century book Het Schilder-Boeck discussing the technique of early Netherlandish painters, was found to be helpful in providing a mid-tone. During the process of painting I realised there was a transparent beige tone coming through in some areas perhaps due to the oil layer making the ground more transparent, possibly more through ageing. This is especially visible in the fur worn by the Virgin (Fig. 3).
Elisabeth: Yes, a warmer priming layer would have helped bring life to the flesh tones. I felt we had to compensate a little with additional paint layers to try and achieve the same effect.
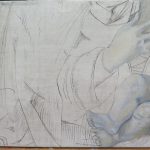
Anna: Underdrawings could be carried out in a range of materials, either wet or dry. Although underdrawings in dry materials, such as black chalk or charcoal, were less common, Joos van Cleve was known to work with these. Infrared images of his paintings reveal a distinctive style of underdrawing (Fig. 4); the drawing attributed to van Cleve’s hand is very free and sketchy, often carried out in a dry material, while the underdrawing style of his assistants is much more precise and contained, and executed in a wet material, for example a carbon-based black in a medium.
Elisabeth: This was a compromise for us when approaching the underdrawing. We did use a melinex transfer to get the proportions of features like the hands but this meant losing the fluidity of the original sketch. I decided to apply most of the underdrawing freehand directly with carbon black in gum arabic, applied with a brush, and although this was not applied dry to try and recreate the style of van Cleve’s composition.
Anna: Another nuance of Joos van Cleve’s underdrawing is the absence of drawing in the landscape. Joos van Cleve frequently had a landscape specialist carry out these areas, for which a model drawing was used.
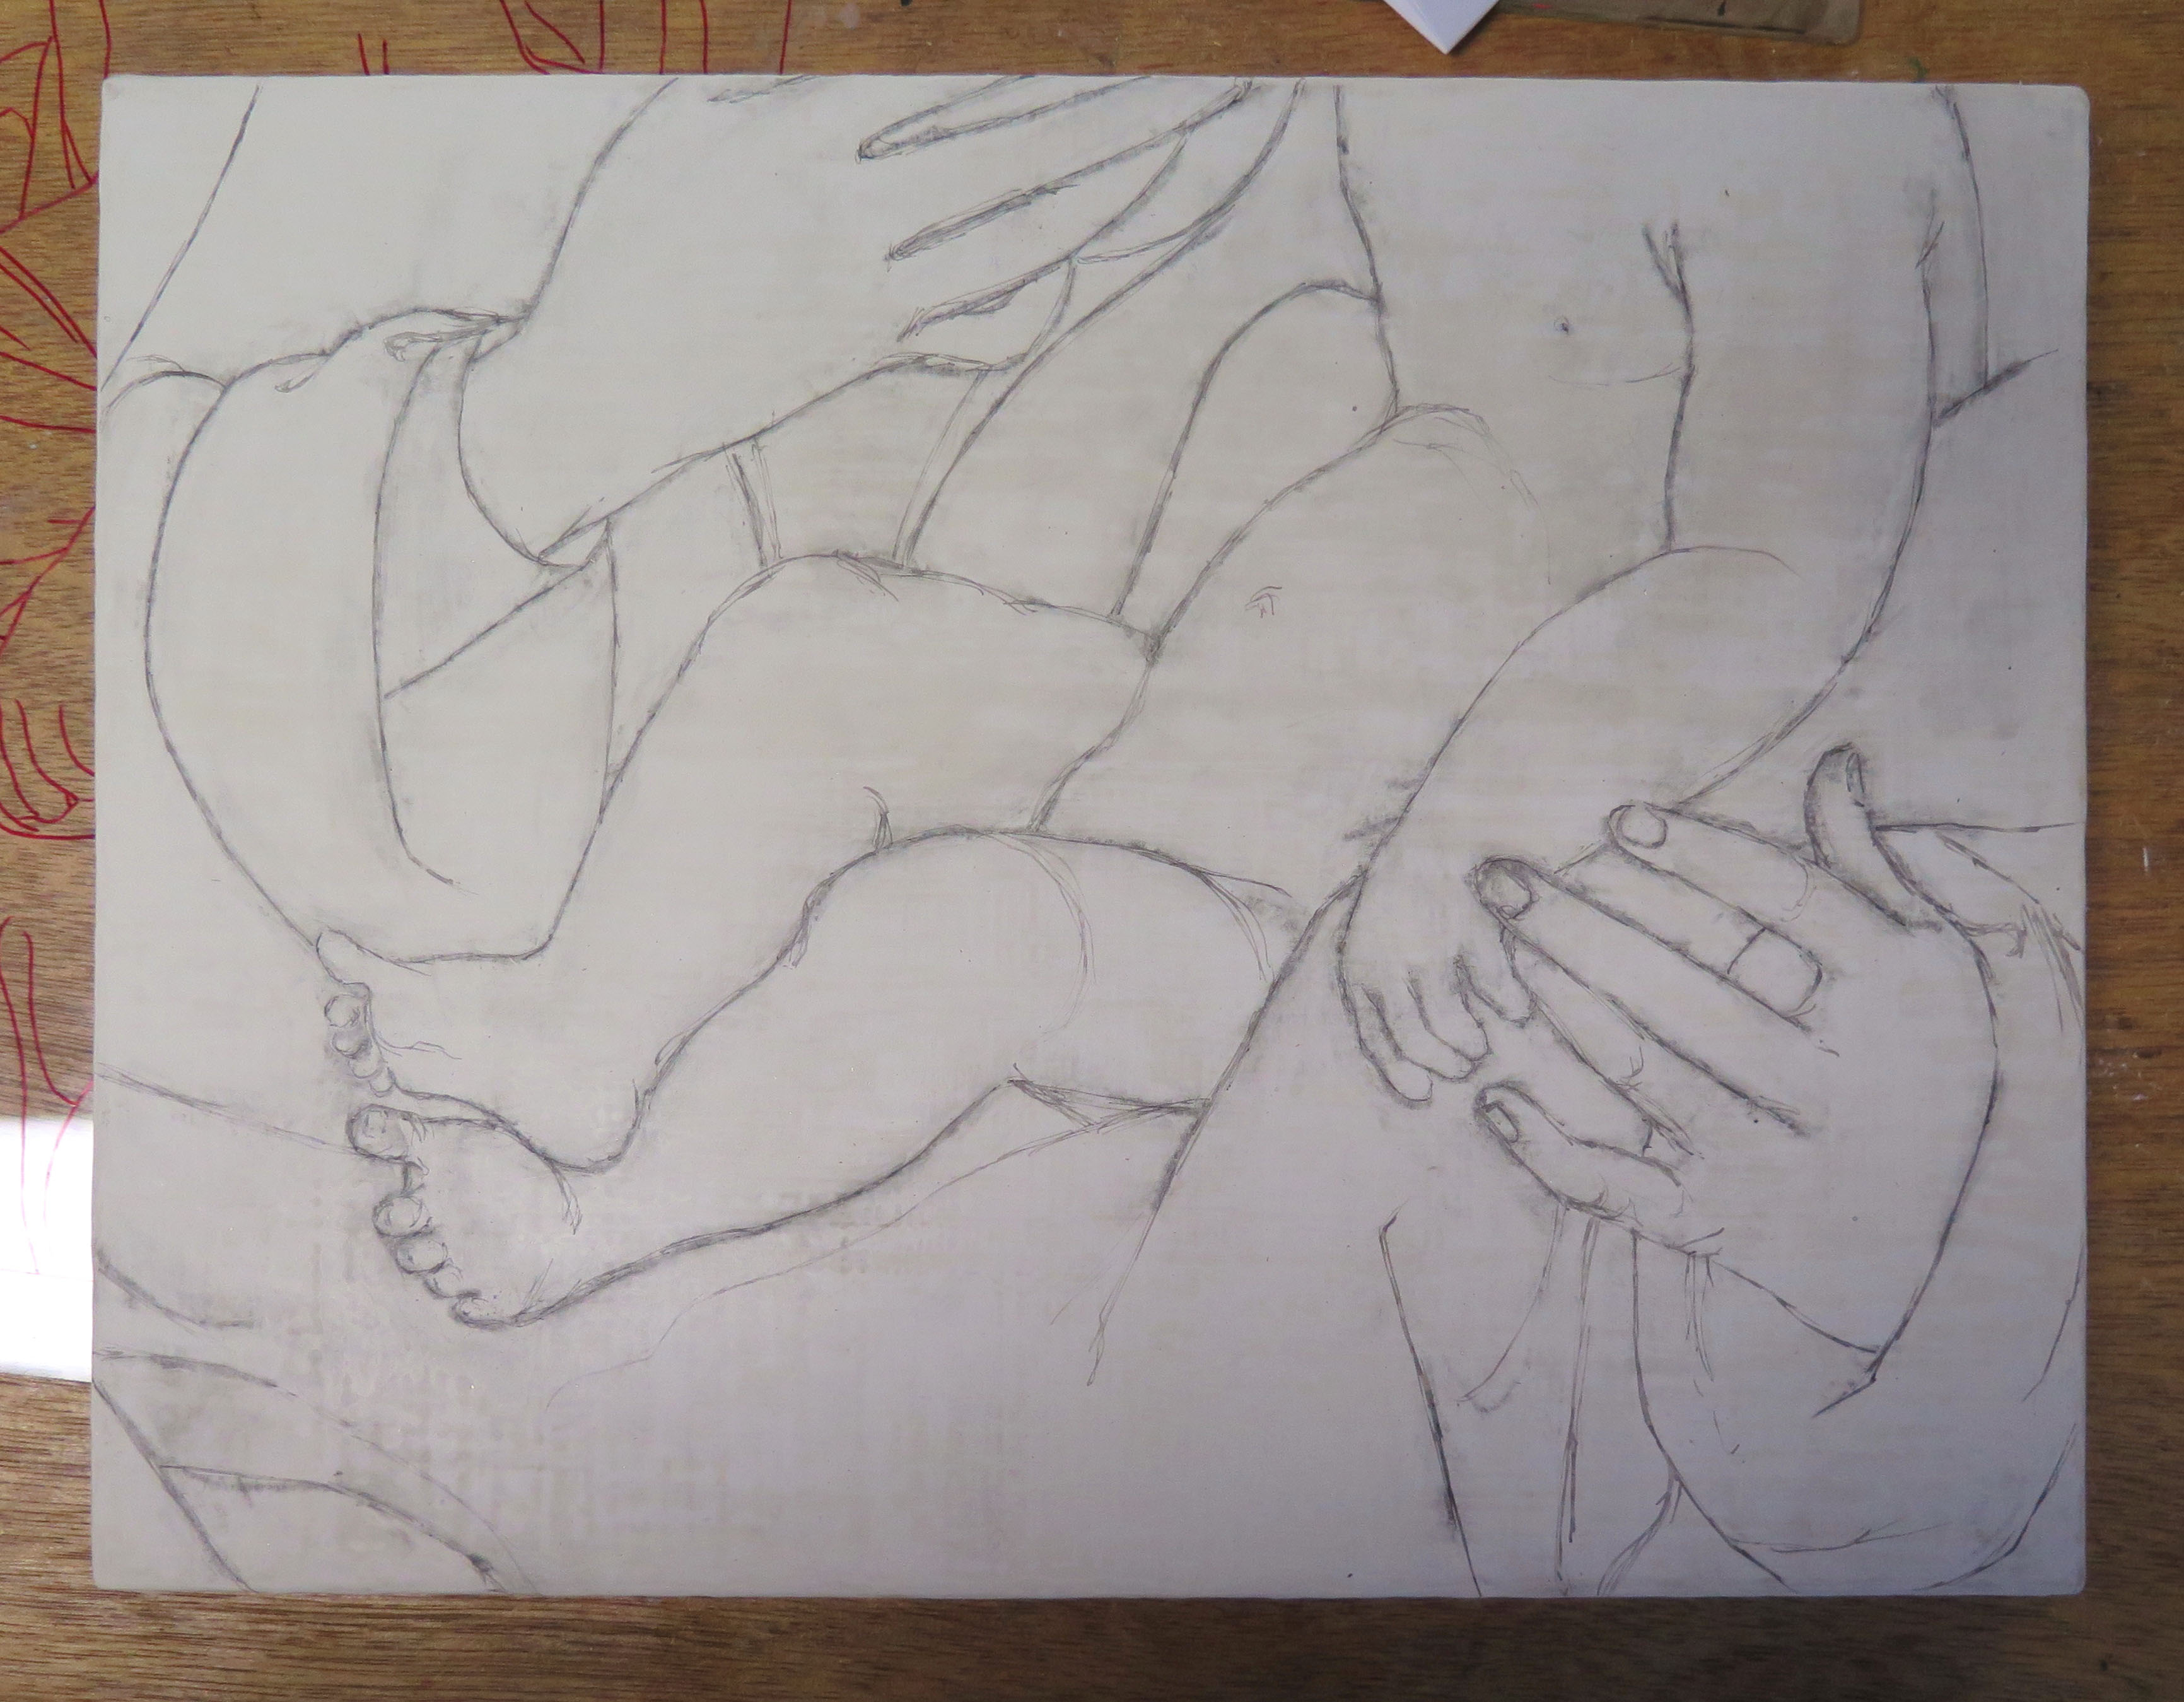
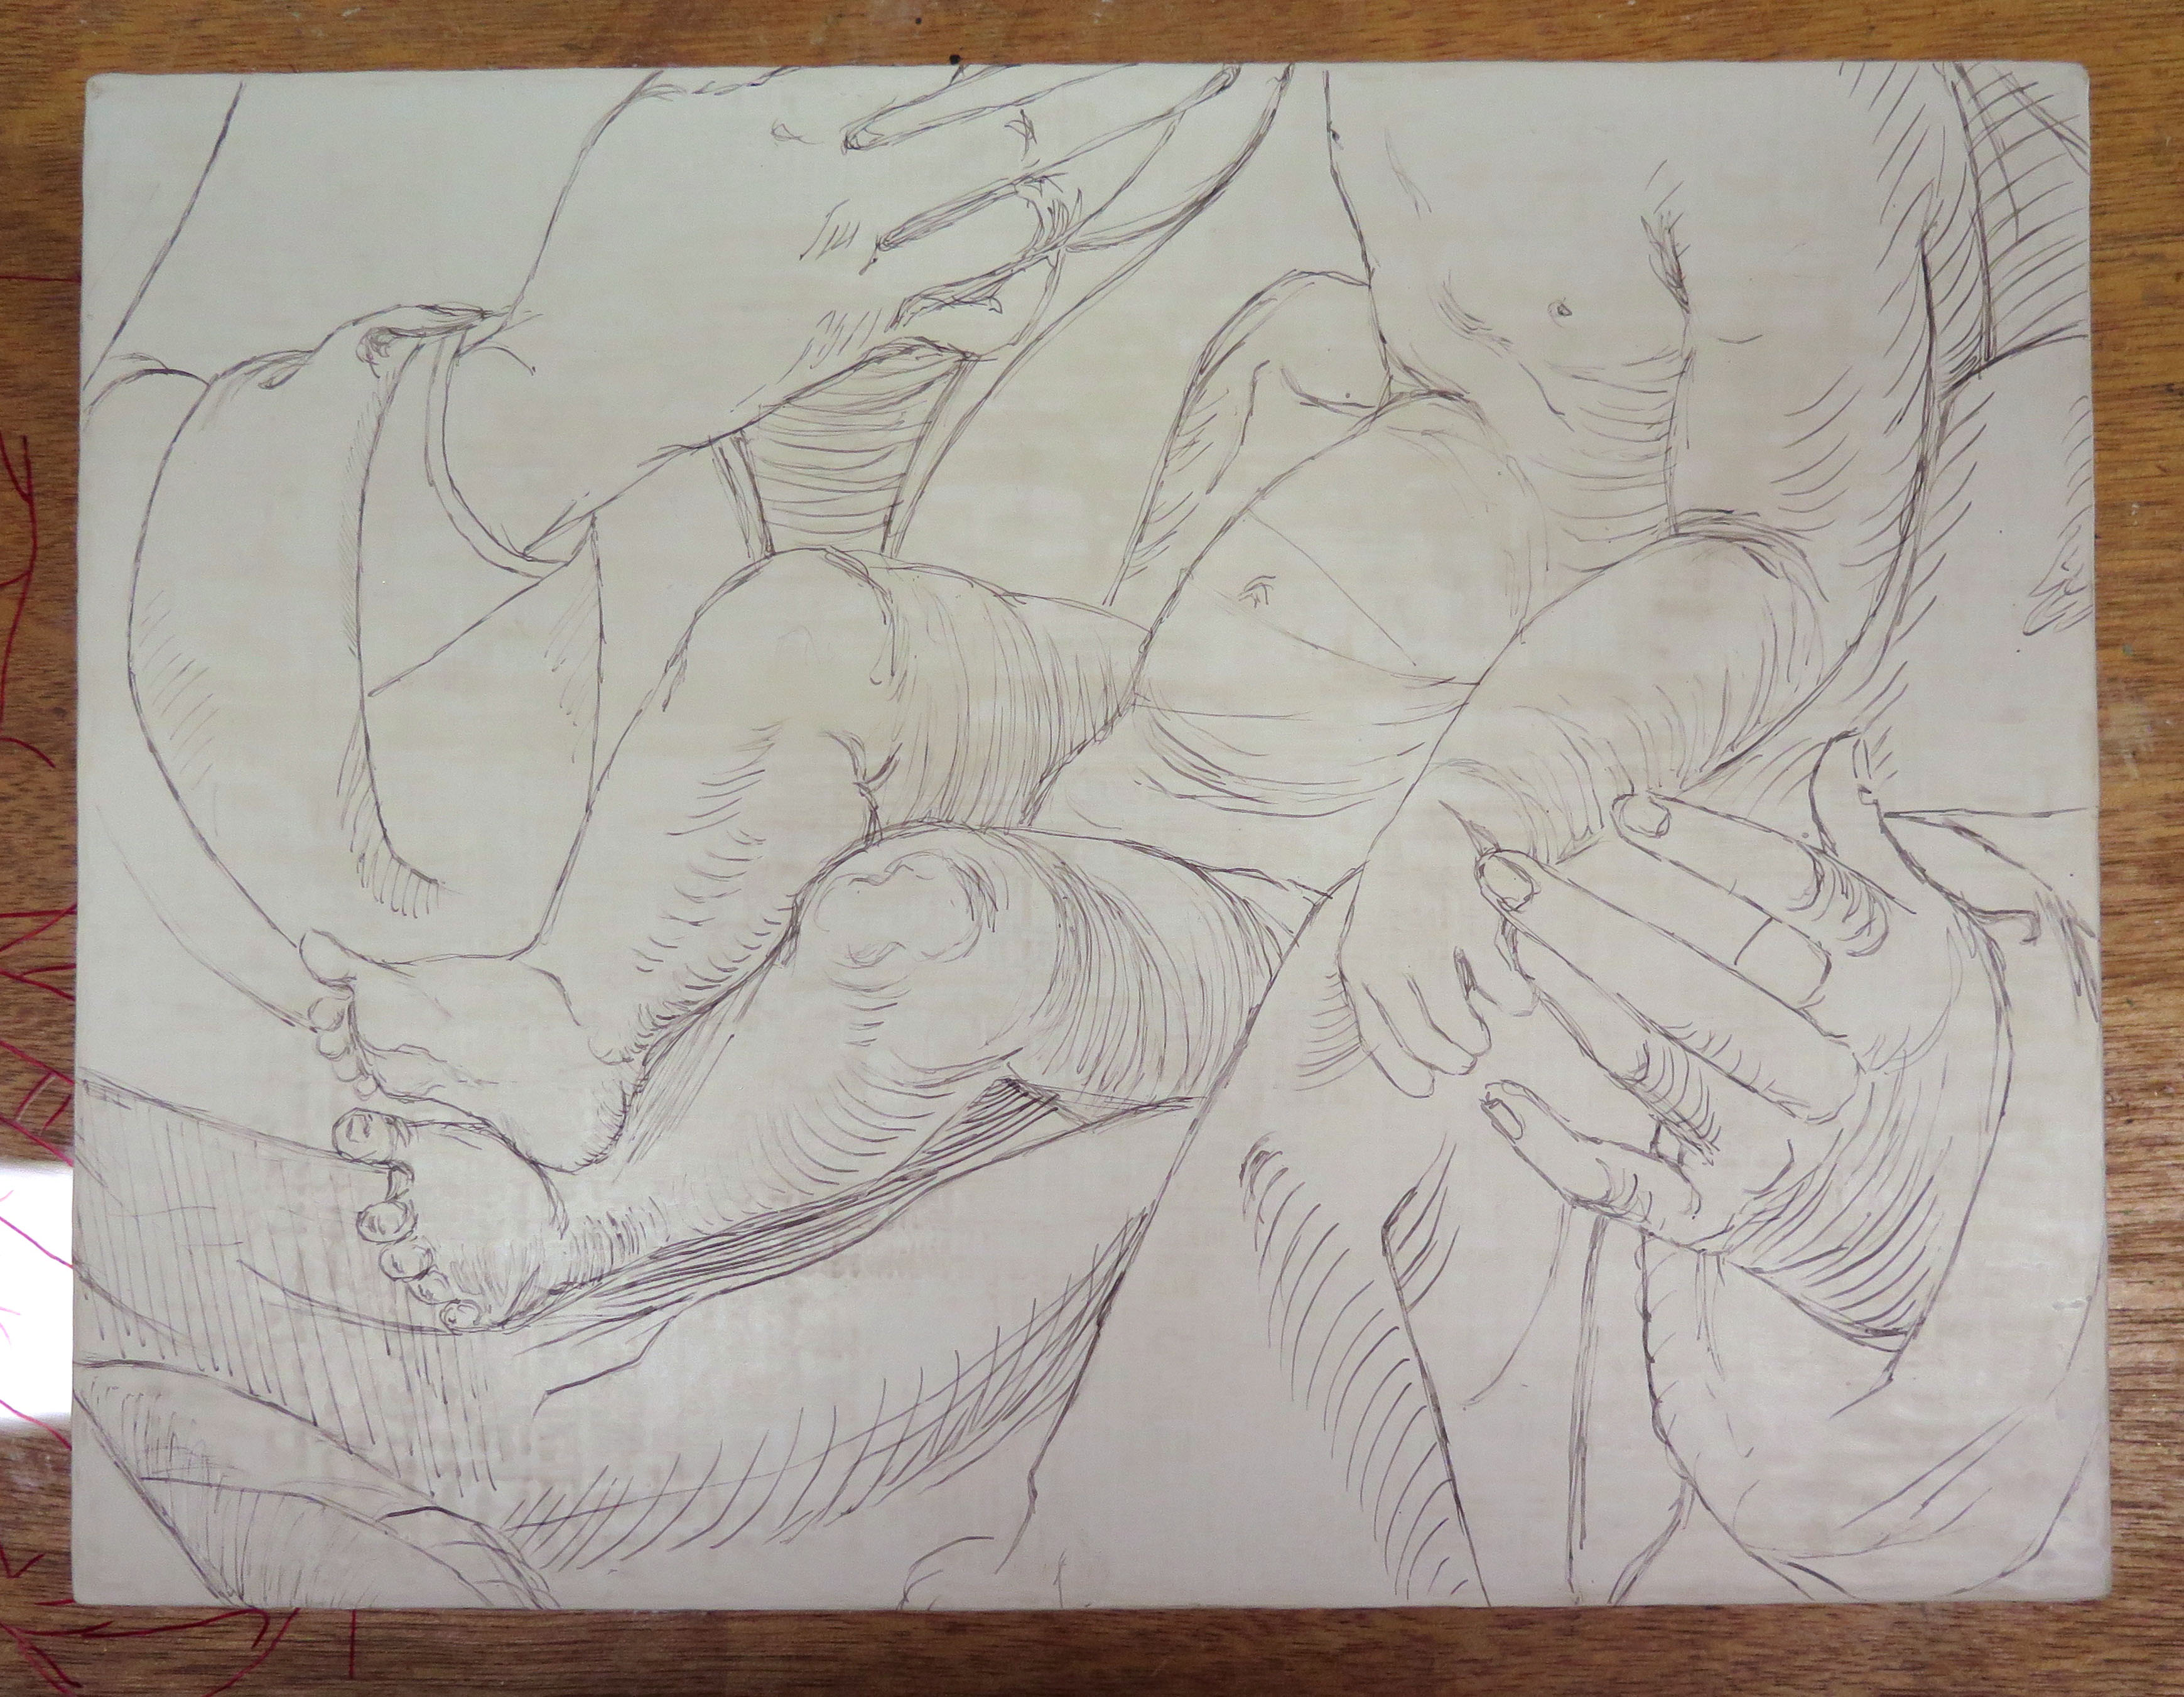
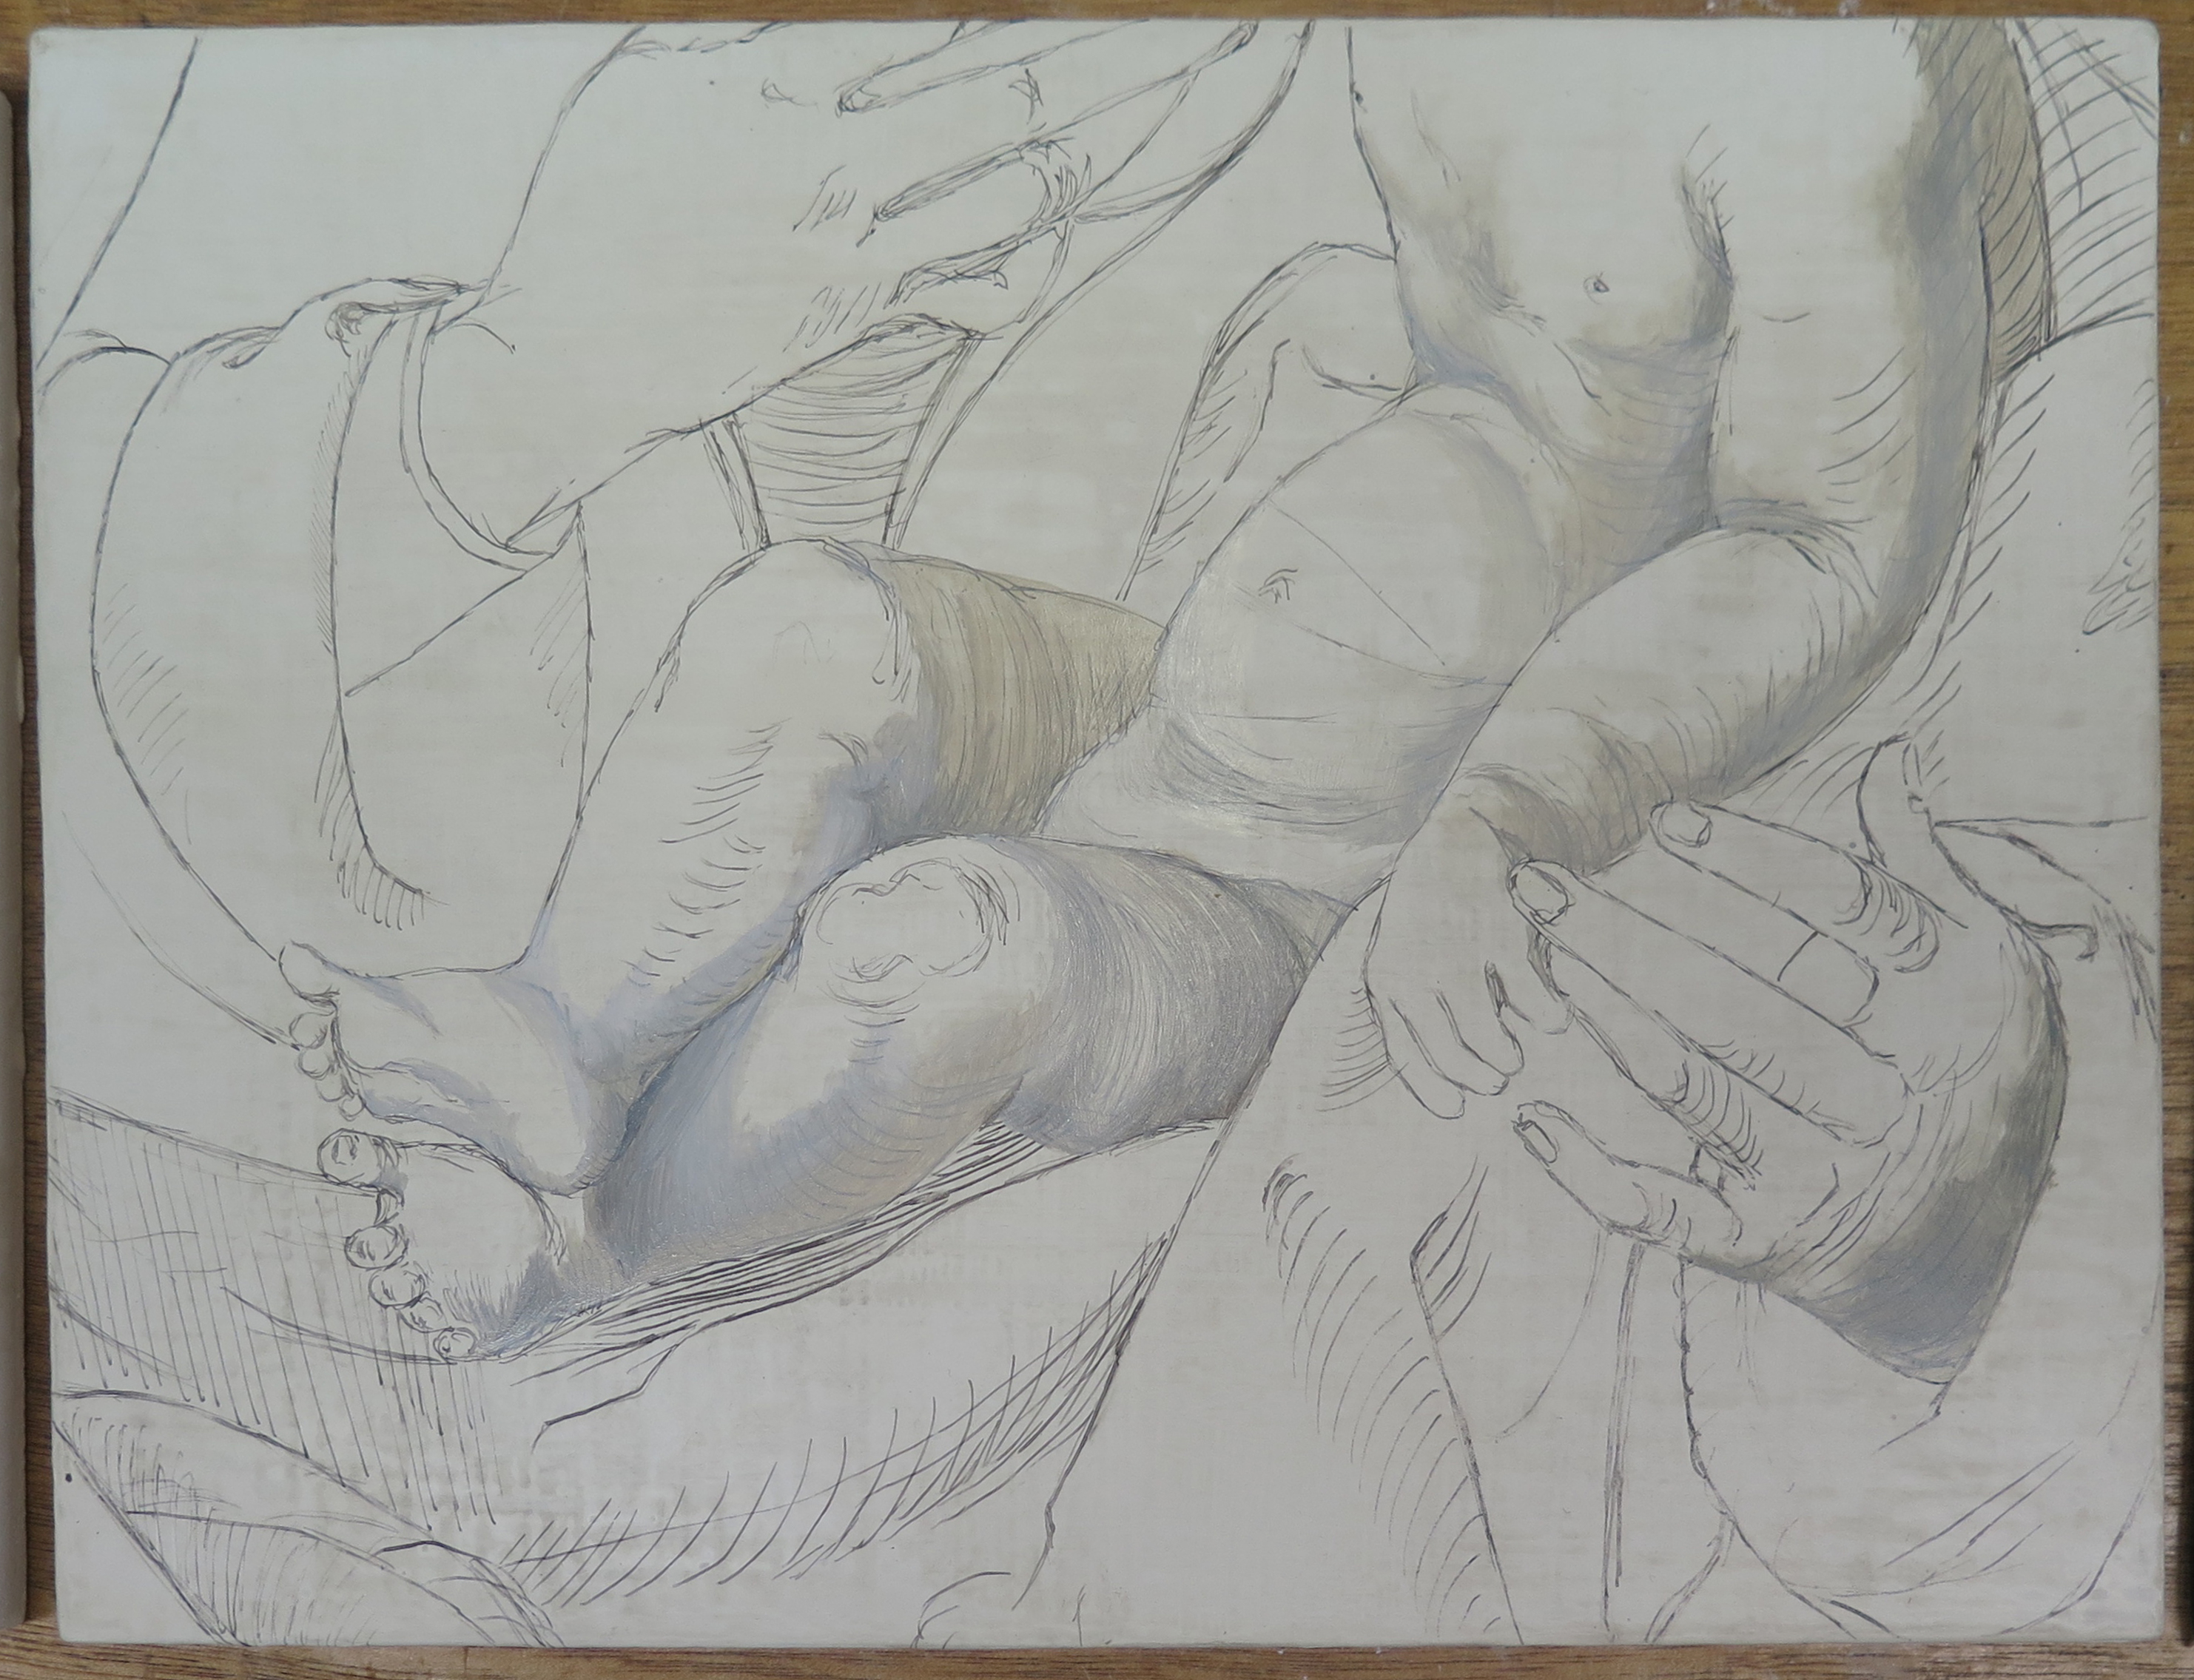
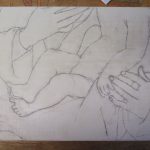
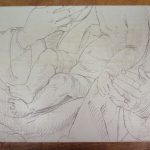
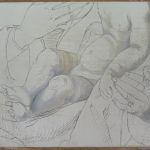
Although it is difficult to tell between wet and dry underdrawing materials in infrared, as the method of application can affect the result, the underdrawing of Virgin and Child has an appearance closer to that of a dry material. The outlines of the strokes are indistinct and rounded, and look distinctly not liquid (Fig. 4). This observation is stated with the benefit of hindsight, as after placing the image on the panel using willow charcoal (Fig. 5), I reinforced the lines using carbon black in gum arabic, and couldn’t achieve the thick, even, dry-looking lines that are visible in the underdrawing (Fig. 6).
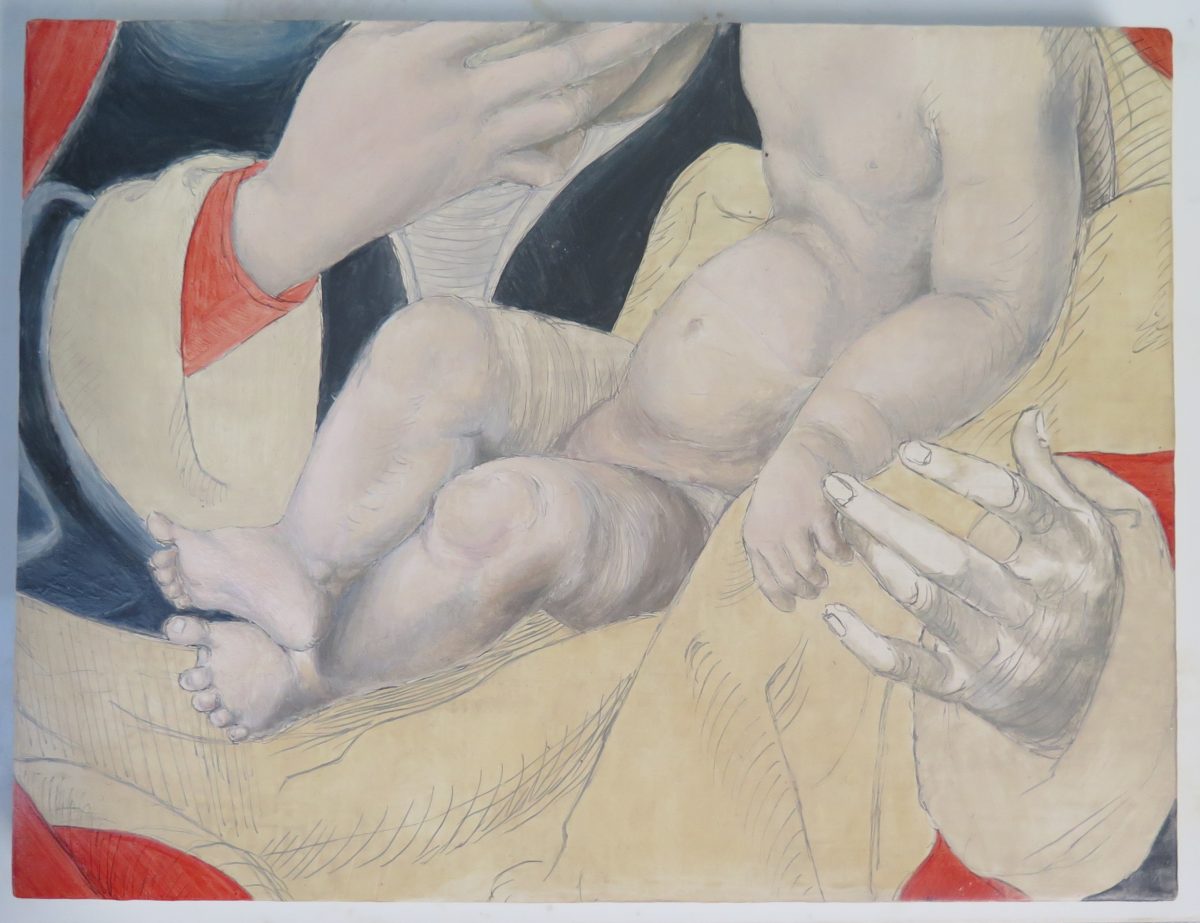
Anna: After applying the priming layer and the underdrawing, we started to model the flesh in monochromatic hues (Fig. 7 & 8). This stage is referred to in some sources of Early Northern painting technique, and serves to create the impression of volume. This exploits the properties of oil, by approaching the painting as a layered system. The transparency of oil allows these underlayers to contribute to the final image.
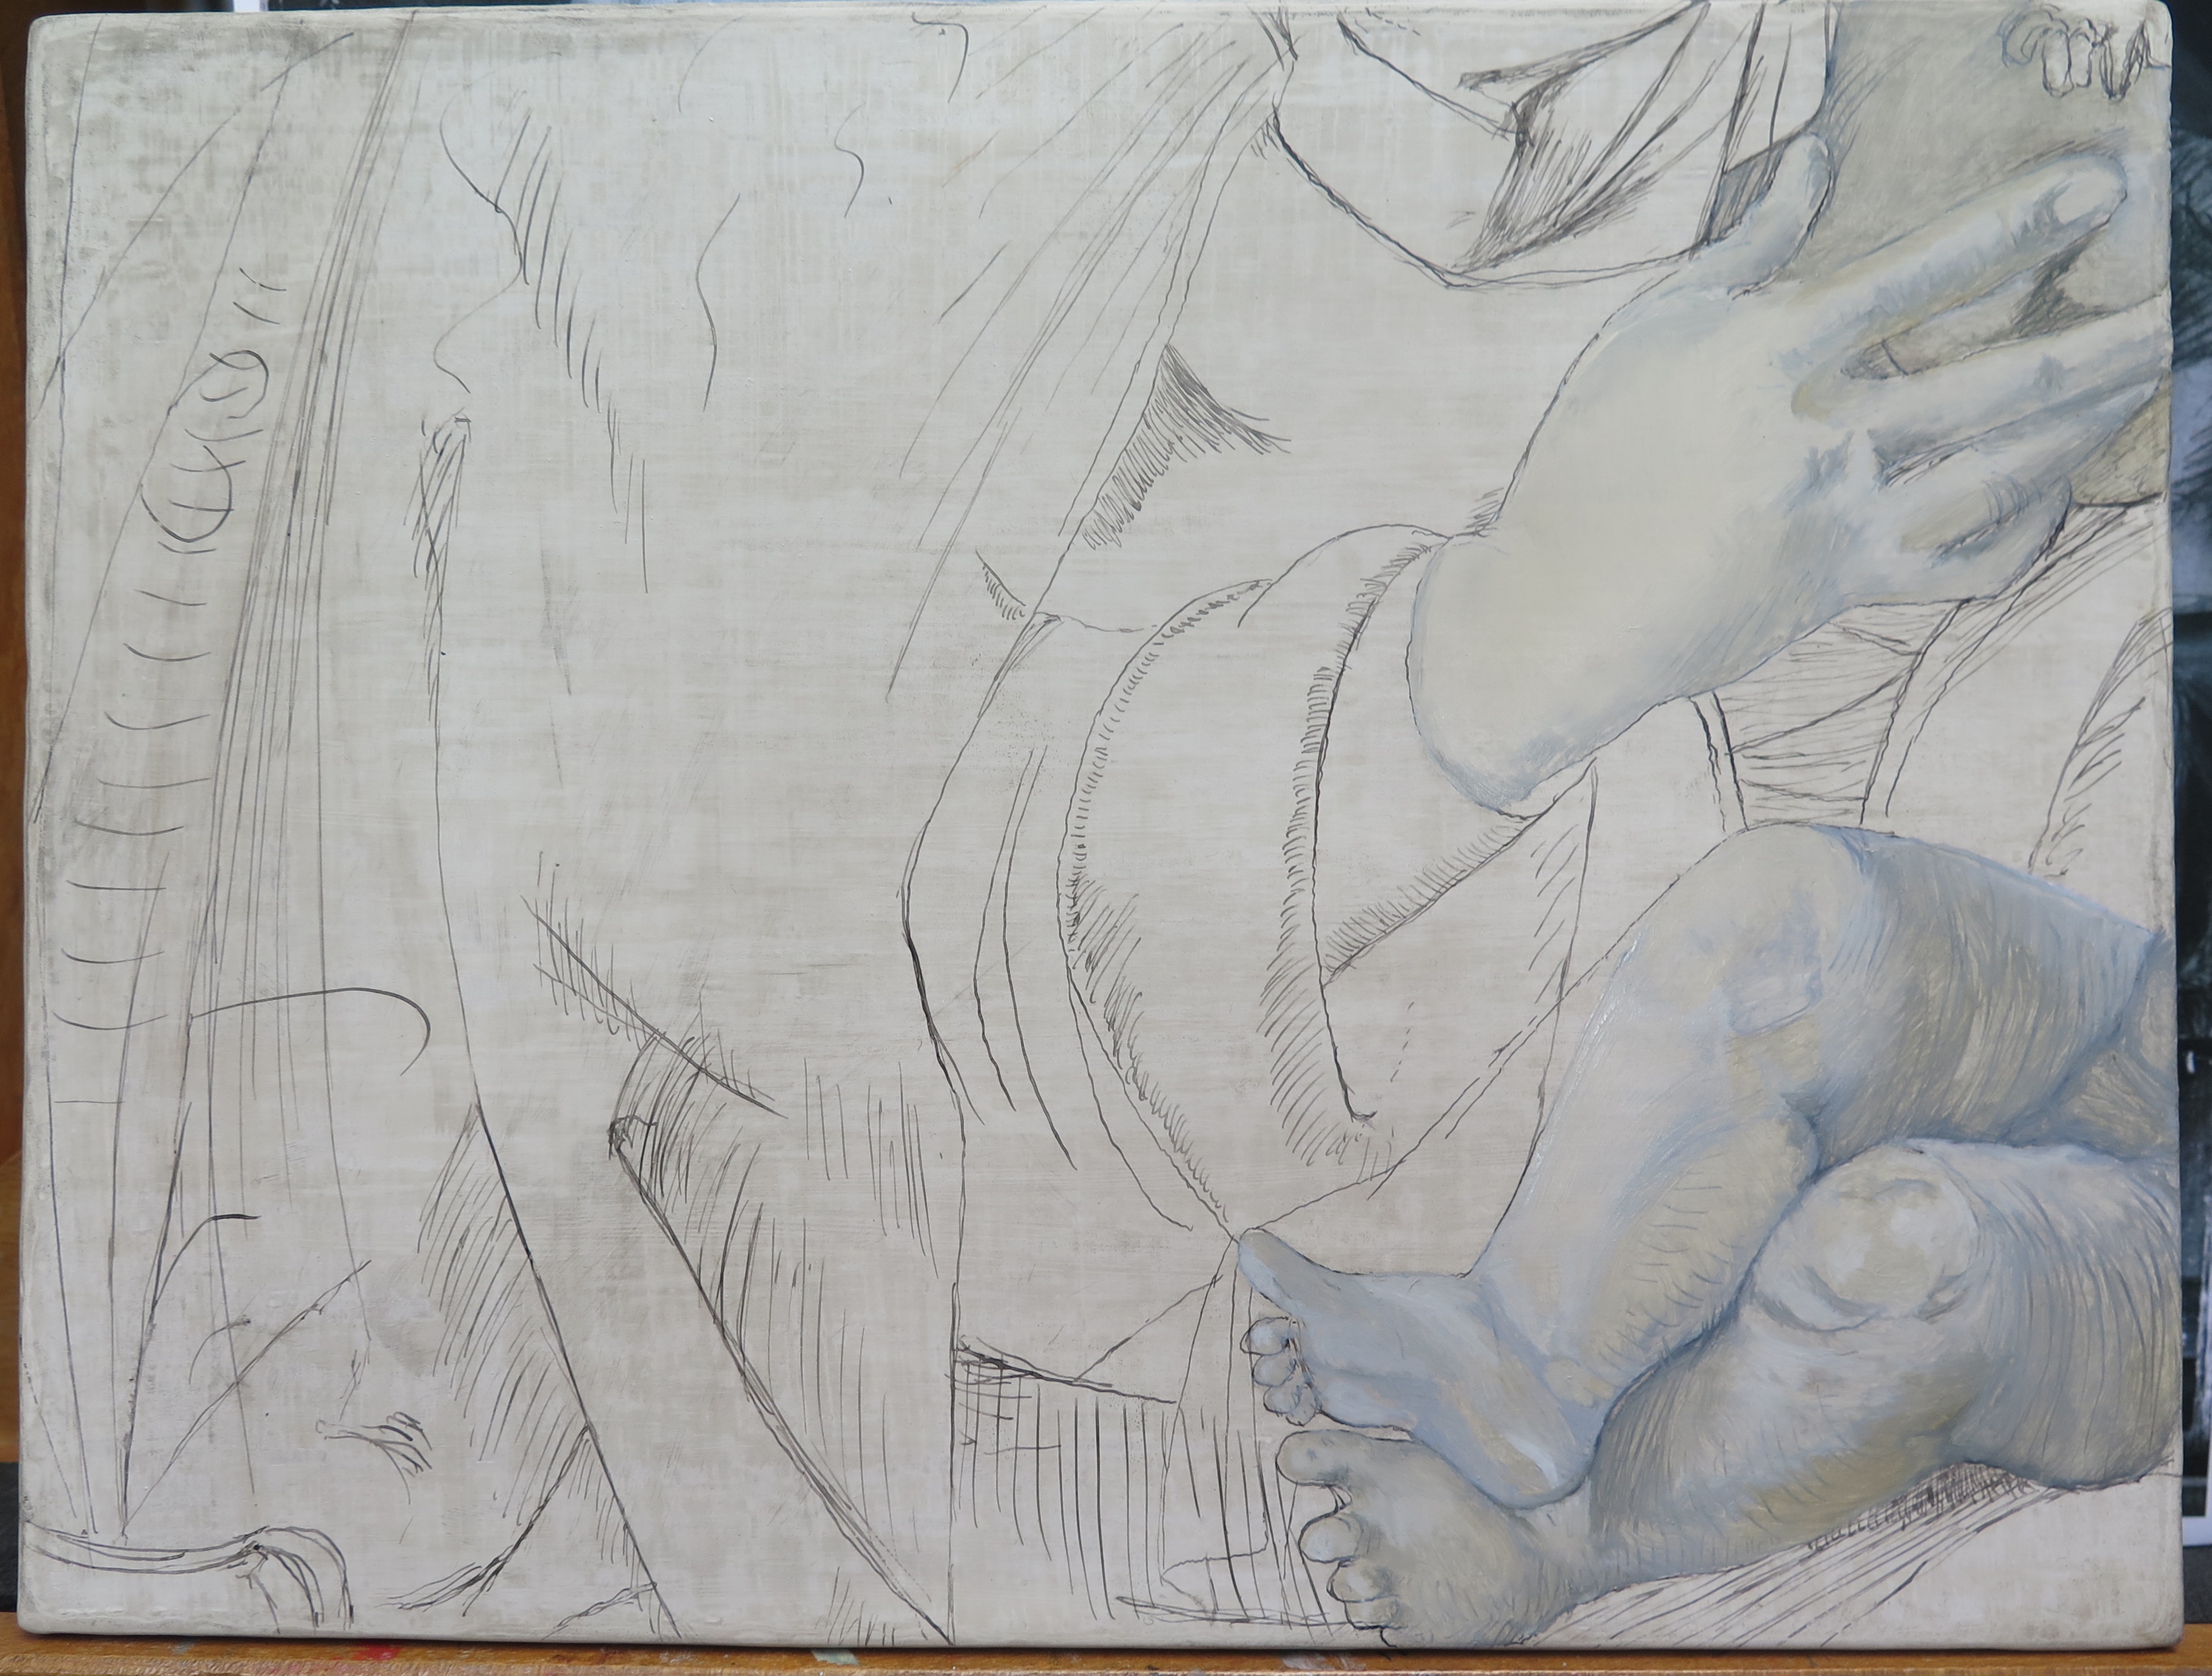
Anna: Although we only applied this on the flesh, it perhaps would have been beneficial to use this technique on the drapery as well, to help create form. In the flesh, this monochromatic underlayer shone through the layers above, creating a blue-ish, turbid medium effect for the shadows. For the highlights, the luminosity of the white ground plays a role, so the paint is built up from light to dark.
Elisabeth: I agree that a monochromatic underlayer in the drapery would have been very beneficial.
There are a lot of different types of fabric in Joos van Cleve’s painting, and both Anna and I chose areas of the painting that allowed us to explore this lush variety. As well as the heavy richness of the Virgin’s cloak, and the sumptuous dark blue/black of her dress, we could also experiment with the crisp whiteness of her head dress and the wispy, delicate translucency of her veil. While this variety of fabrics does add a depth and realism to the painting, it was also likely to showcase the skill of van Cleve’s workshop. This made it ideal to try and reconstruct as we got to really explore a variety of techniques used by Northern artists at the time. Our approach to these techniques often varied which made for some interesting comparisons.
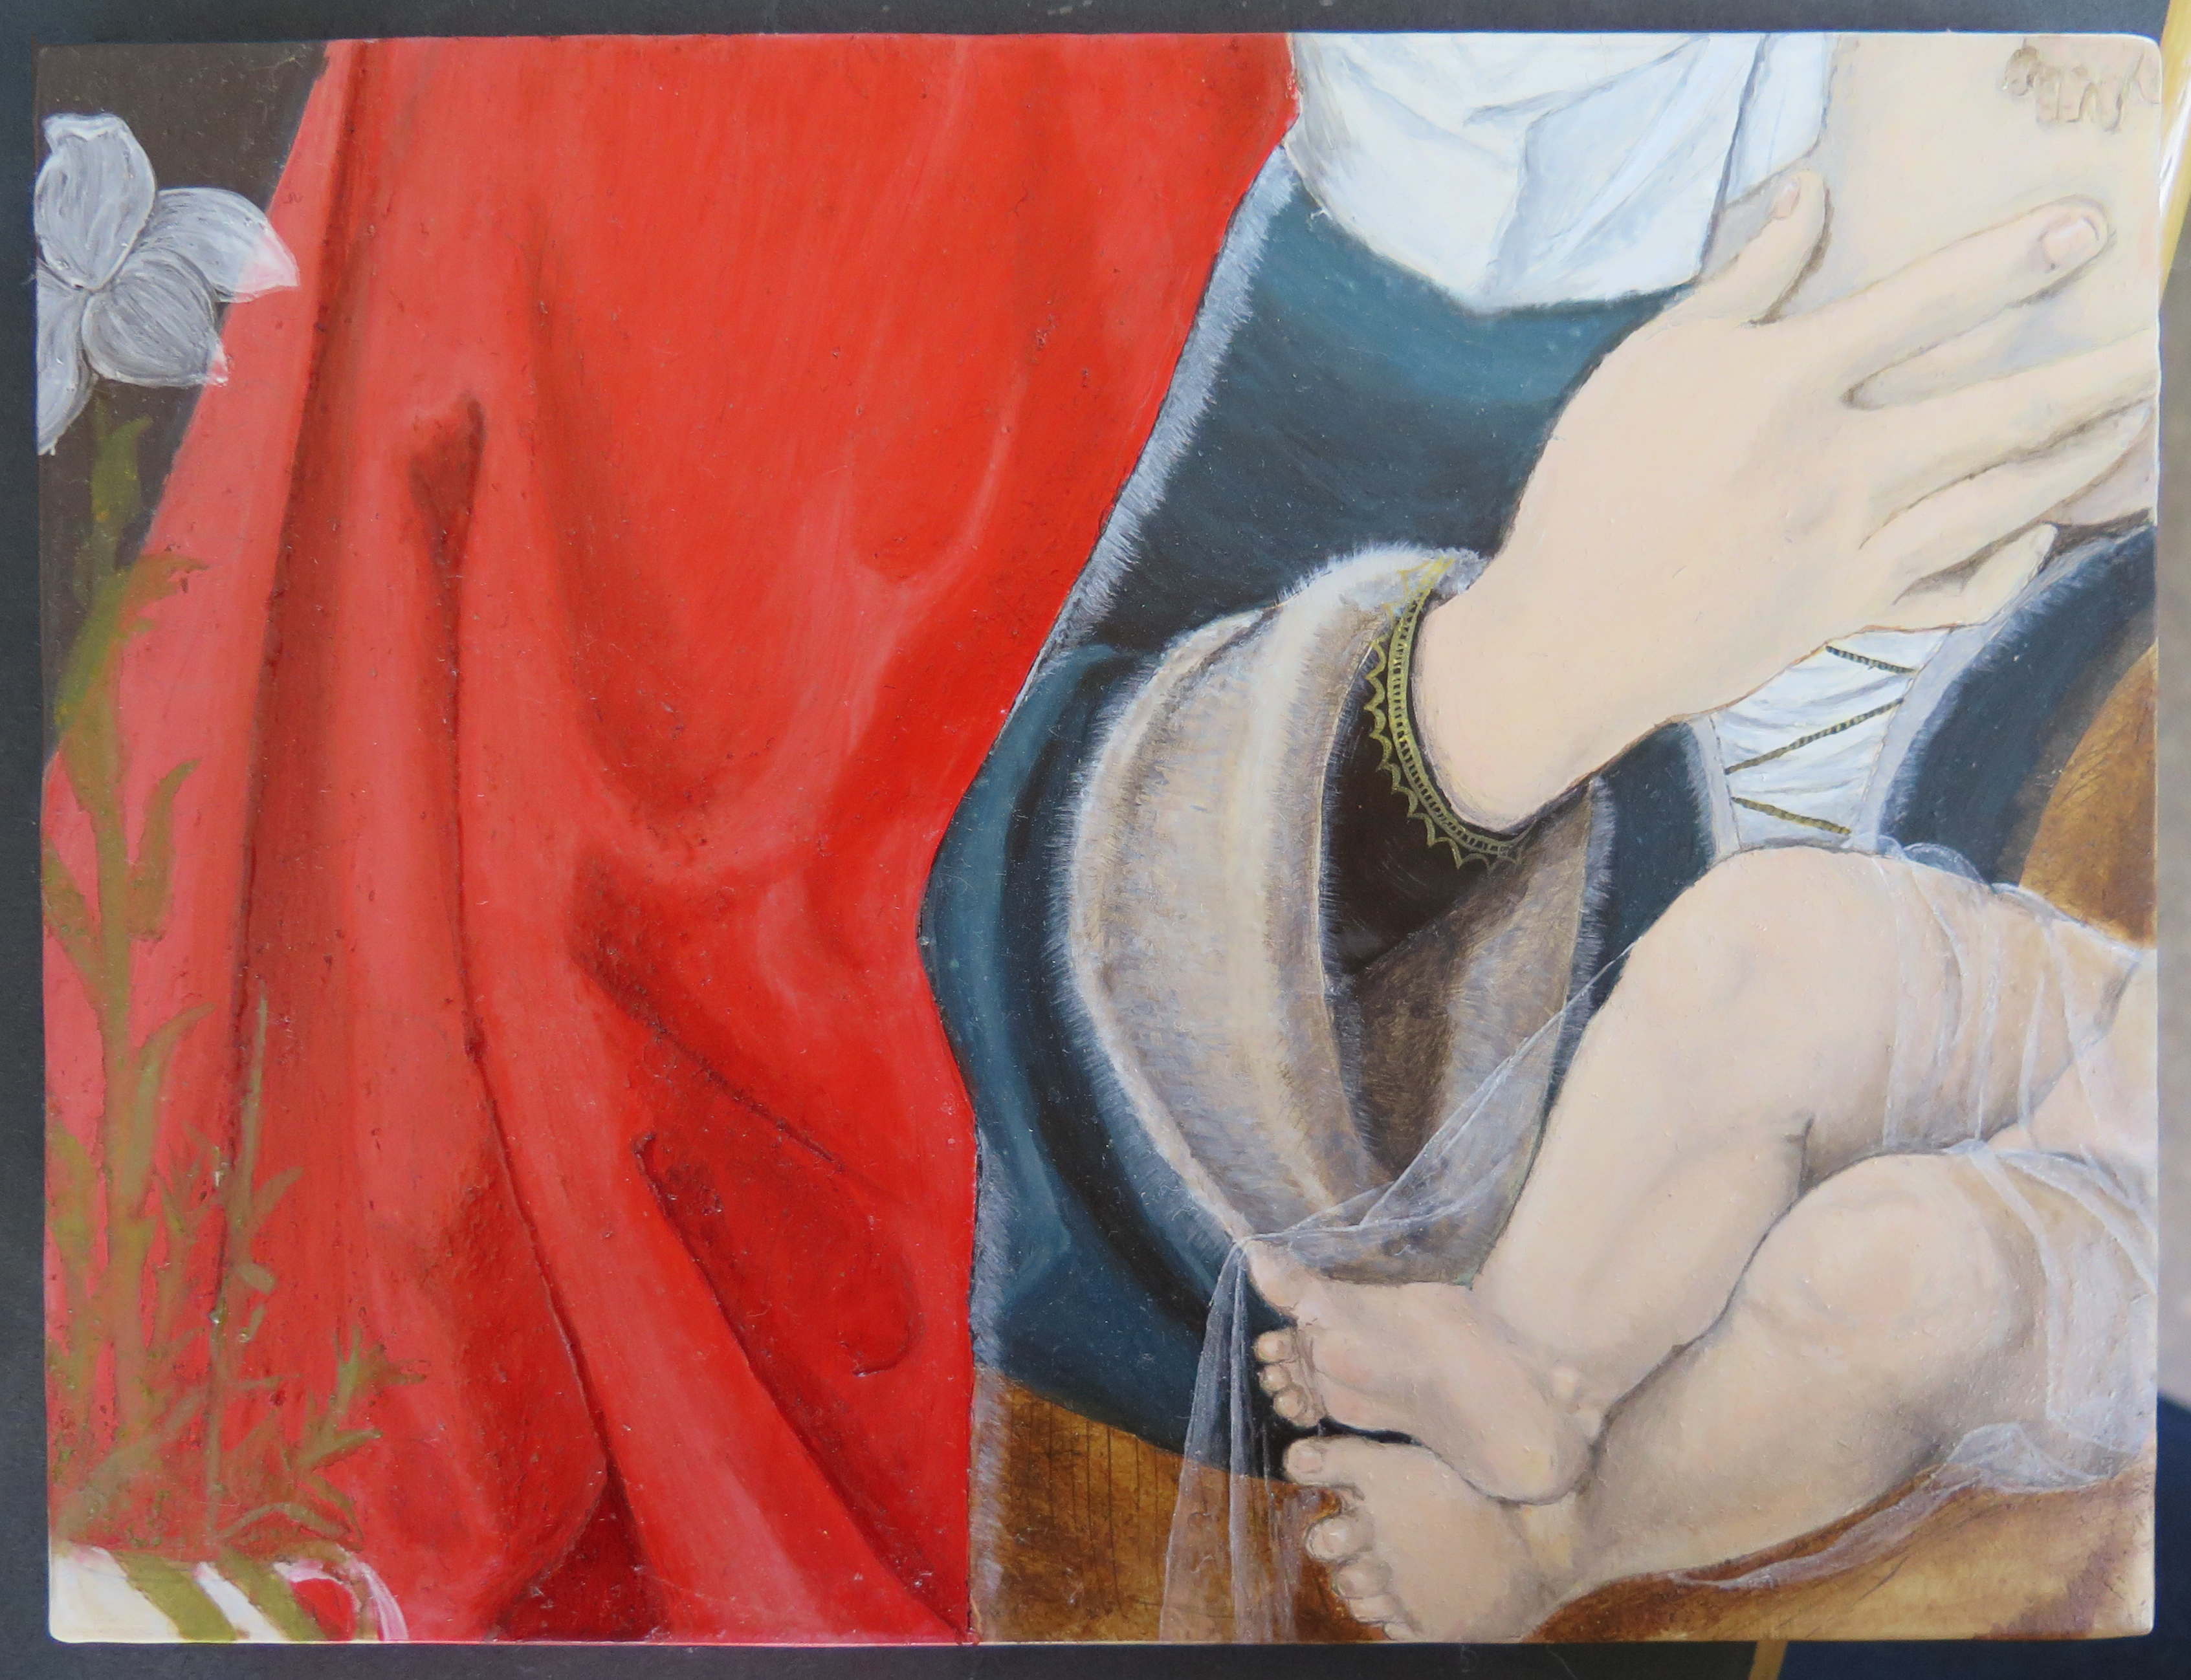
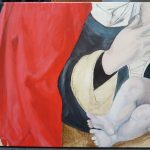
Elisabeth: To try and recreate the very intense red of the Virgin’s cloak I used a layer of pure vermilion and then added modeling by working into the wet layer with lead white for the highlights and dark earth pigments with a little finely ground azurite for the shadows. During application it became apparent how much vermillion, which was not the cheapest pigment, was being used. The red underlayer may have been more modelled and a more economic approach to applying the upper layers would make sense in a commercial workshop environment (Fig. 9).
Elisabeth: Joos van Cleve’s paint layer overall appears to be quite thin, this is consistent with a workshop piece of the time that would have needed the optimum of economy in materials and a high speed of production. The paint layer also appears very smooth and it took quite a large and very soft brush to try and recreate a similar effect. The only noticeable brush strokes are in details in the foliage and golden decorations.

Anna: The layer structure of early Northern paintings began to be simplified in the 16th century, and after this point the flesh could be built up in very few layers. Artists could exploit the reflectance of the white ground, and sometimes would apply only a layer of lead white on top and then scumble over vermilion and earth pigments for the flesh tones, working into the wet paint. Although Joos van Cleve’s assistants in his workshop have been found to use a similar technique, applying minimal layers, the pieces painted by Joos van Cleve himself seem to have been built up with more layers.
Anna: In terms of building up the flesh tones on the reconstruction, there are two factors that in retrospect I would like to have approached differently. Firstly, I would have not started with using titanium white (which was used for health and safety reasons) as a substitute for lead white, as even at this early stage I found this pigment gave the flesh quite a sickly pallor that was difficult to rectify, and secondly, I would have mixed up a paint that had a much higher pigment to medium ratio for these initial layers, as from the outset these layers were quite transparent. I ended up carrying out the flesh in many layers, not only in order to cover the carbon black underdrawing, which even after multiple layers was still visible, but for the possibly more significant reason that I just could not achieve sufficient depth and life in the flesh tones with such minimal paint. I find it amazing the results that artists could create while working so economically. I found it was difficult to get any subtlety with titanium white; when mixed with other pigments it was either very cool and slightly grey, or made a very un-naturalistic pink or yellow. When I switched to lead white, this greatly improved the handling properties (it brushed out more smoothly), the colour and the vibrancy (Fig. 10).

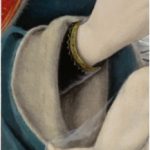
Elisabeth: When it came to the short fur on which the Christ Child is sitting, Anna and I once again differed in our approach. Anna, carefully and meticulously applied each hair in the fur individually, in much the same style as you could work with tempera. I was keen to exploit the long drying time of the oils and used a large, coarse bristled brush, nearly dry, to very quickly apply a facsimile of a very fuzzy fur.
Anna: I think this was a really valuable aspect of doing our reconstructions from similar areas. It was great to see the effects Elisabeth produced by experimenting with different tools, and comparing our approaches (Figs. 11 & 12 & 13).

Elisabeth: The other main deviation in our approach to this reconstruction was in the velvety black of the Virgin’s sleeve. Anna and I disagreed on whether a warm red was visible through the black. For my reconstruction I just used two layers of lamp black to create a rich, opaque black (Fig. 14).
Anna: It took a long time to become sensitive to the nuances of working with oil, from the initial stages of mixing up our pigments with the right amount of linseed oil, to manipulating the paint on the surface to achieve certain surface effects. Early on, Elisabeth and I both experienced working with layers that were too medium rich; we propped our panels upright to dry (to avoid dust settling in the wet paint) and found the next day that the paint layer had deformed and slightly dribbled down. But it was a lovely and very forgiving material to work with. Carrying out this reconstruction has left me in awe of the effects these artists can produce in this medium (Fig. 15).

Anna Don and Elisabeth Petrina, 1st Year Students
About the Authors:
Anna Don is a first-year student at the Hamilton Kerr Institute, studying for a Postgraduate Diploma in the Conservation of Easel Paintings. She previously attended City & Guilds of London Art School, graduating with a First Class BA (Hons) in Conservation Studies. She has undertaken an internship in painting conservation at Restauratie Atelier Marjan de Visser in the Netherlands, and has been involved in projects conserving frames, objects and historic interiors. Most recently, Anna took part in a four-month internship researching George Stubbs’s wax painting techniques at the National Maritime Museum, London, the results of which were presented at the George Stubbs and Wax Painting symposium in 2016 in London.
To contact Anna: ad838@cam.ac.uk
Elisabeth Petrina is a first year student at the Hamilton Kerr Institute. She received a Fine Art Foundation Diploma from Exeter College and BSc (Hons) in Chemistry from the University of Liverpool before disappearing to Croatia for several years to set up a forensic ornithology unit and grow vegetables. She has undertaken a project to establish a pigment garden at the Hamilton Kerr Institute that can be used as a research aid in future years.
To contact Elisabeth: ep497@cam.ac.uk
References:
[1] Leeflang, Micha. 2015. Joos van Cleve: A Sixteenth Century Antwerp Artist and his Workshop. Brepols, N. V. pp. 29