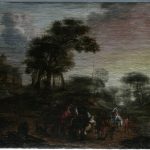
Many of the paintings that come through our studio have had a long and eventful history. One such painting, Landscape with Figures attributed to the School of Teniers (Fig. 1) falls into this category. This blog describes the plucky painting’s road to recovery, and shows how paintings can be transformed with some TLC.
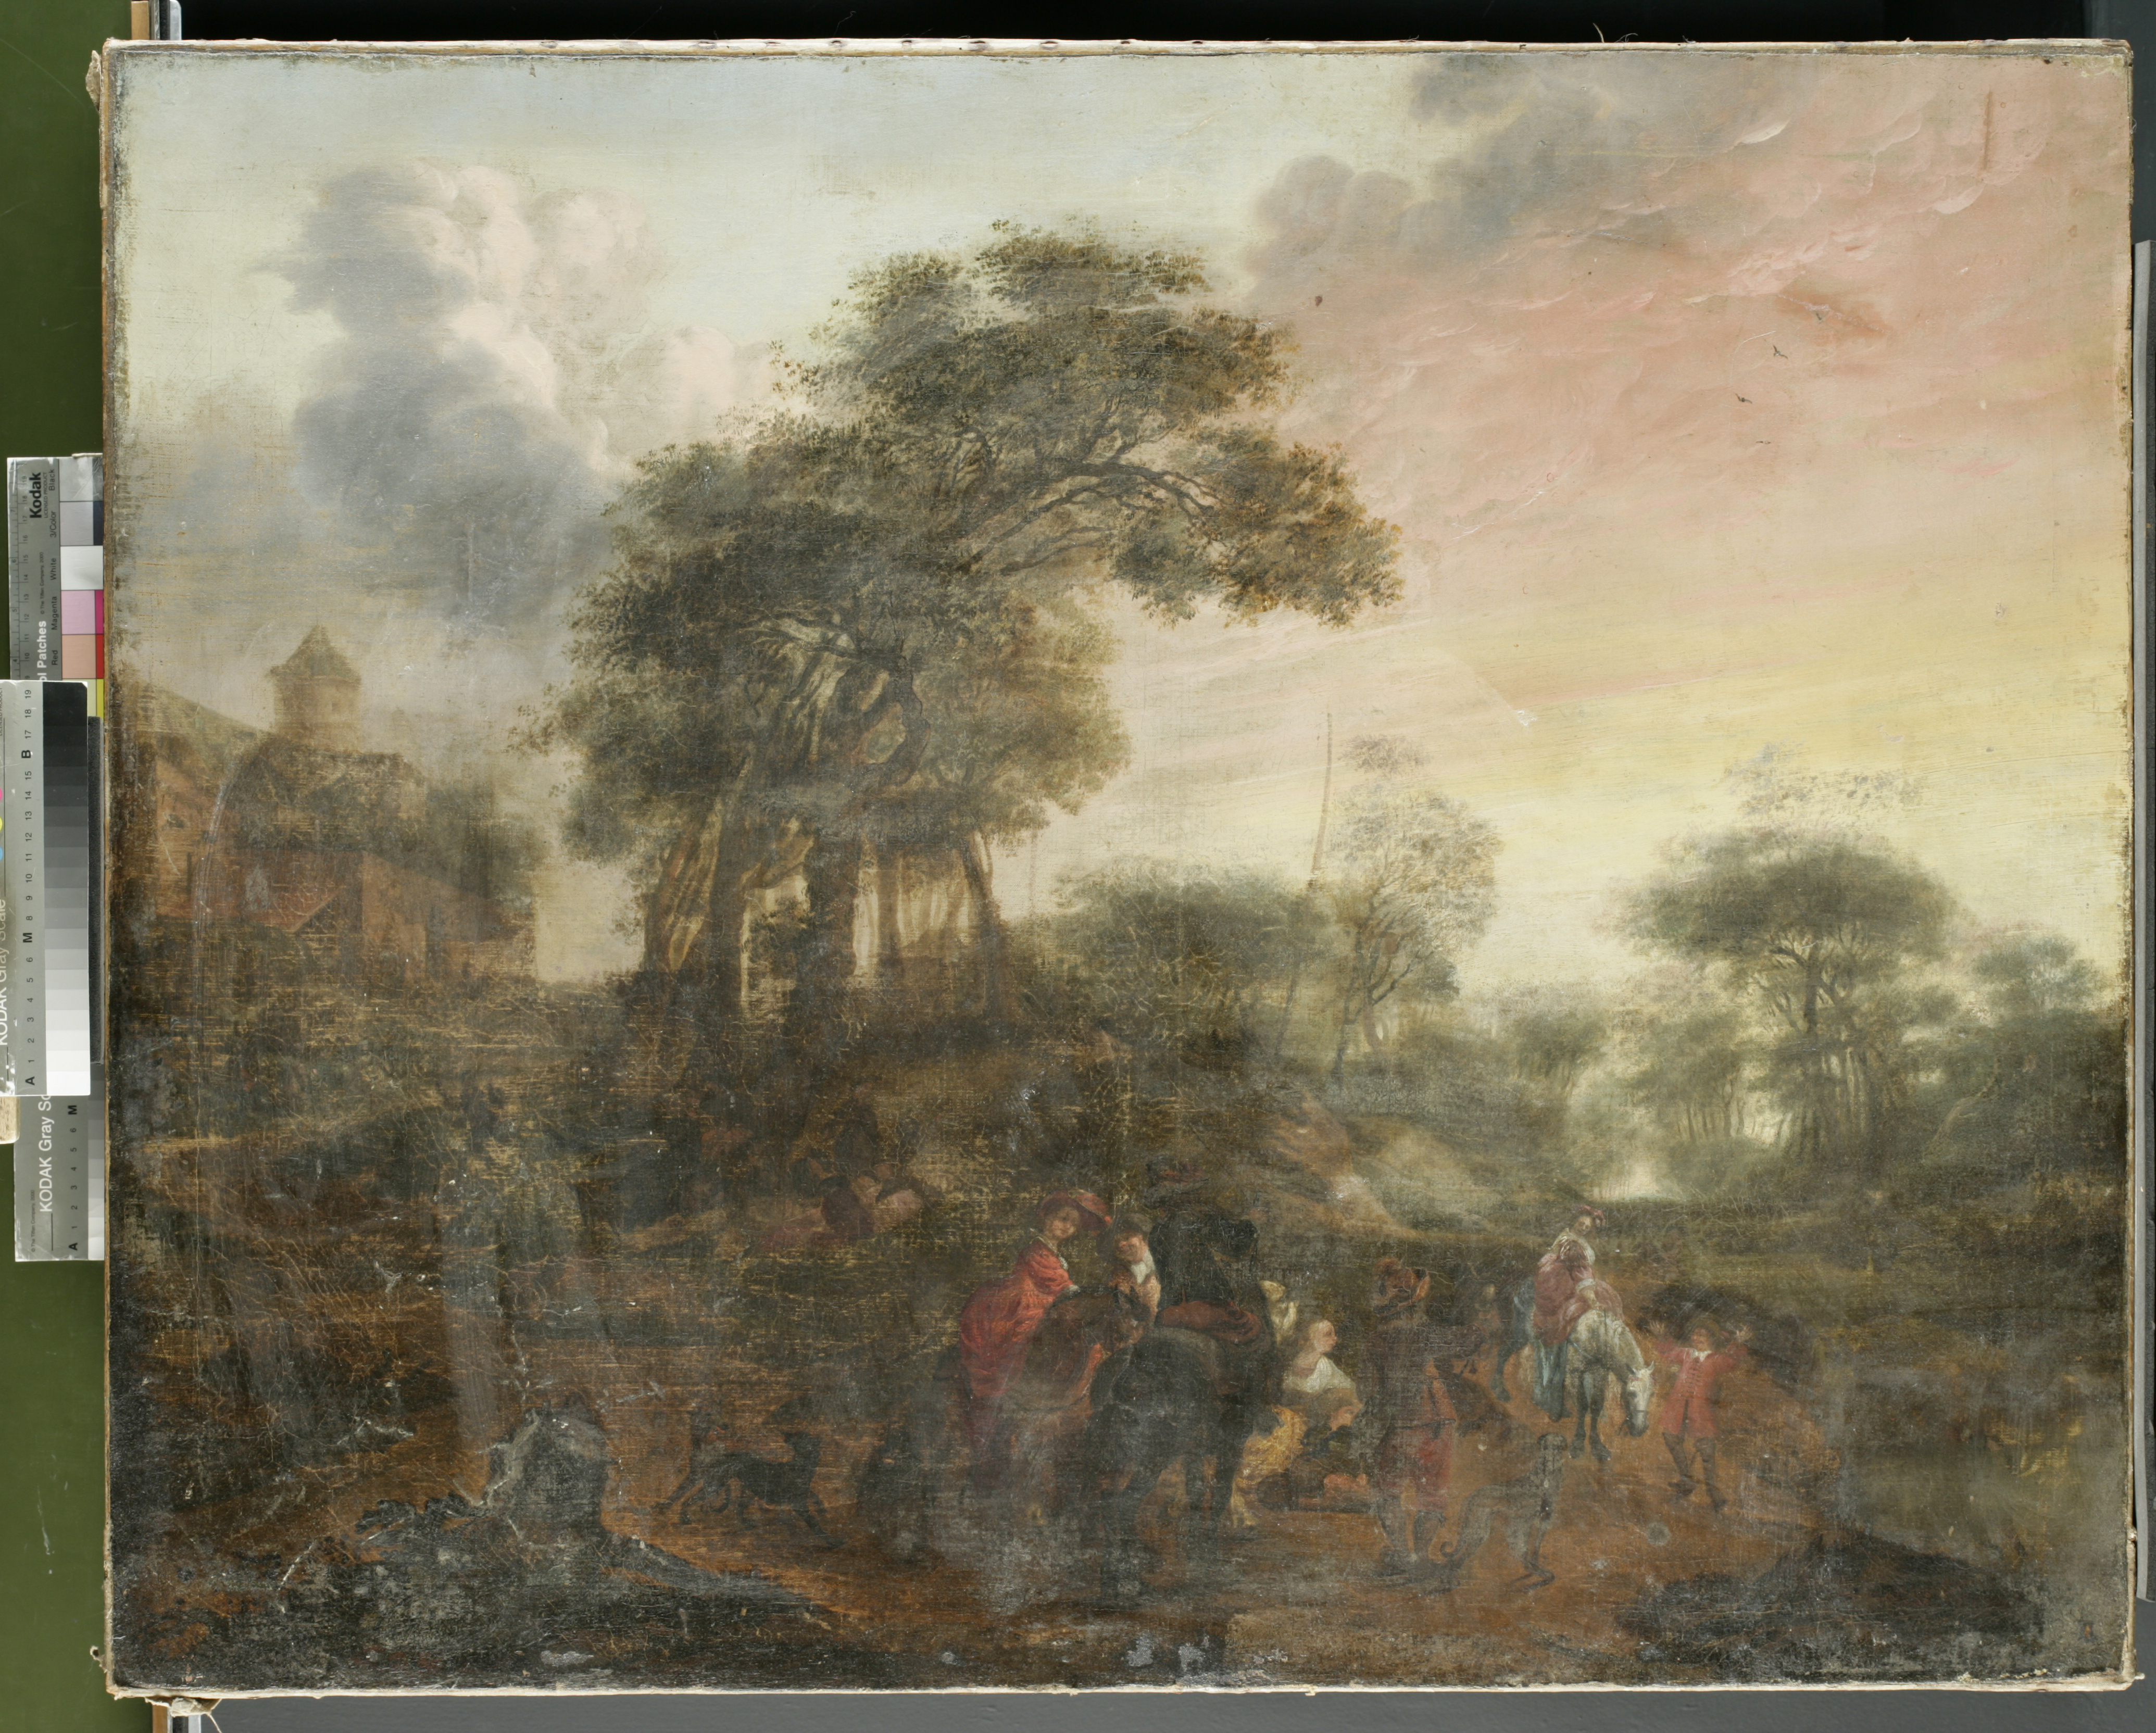
When brought to the Institute, the painting was in poor condition and in need of structural and aesthetic treatment. The original canvas was beginning to peel away from its old glue-paste lining and damage and wear to the paint layers, caused from harsh cleaning by previous restorers, was also evident and needed addressing. The raking light photo of the painting before treatment (Fig. 2) shows that the painting had severe undulations that related to the condition of its canvas support. The tacking margins were so degraded that in many places the canvas was no longer attached to the stretcher.
Cleaning
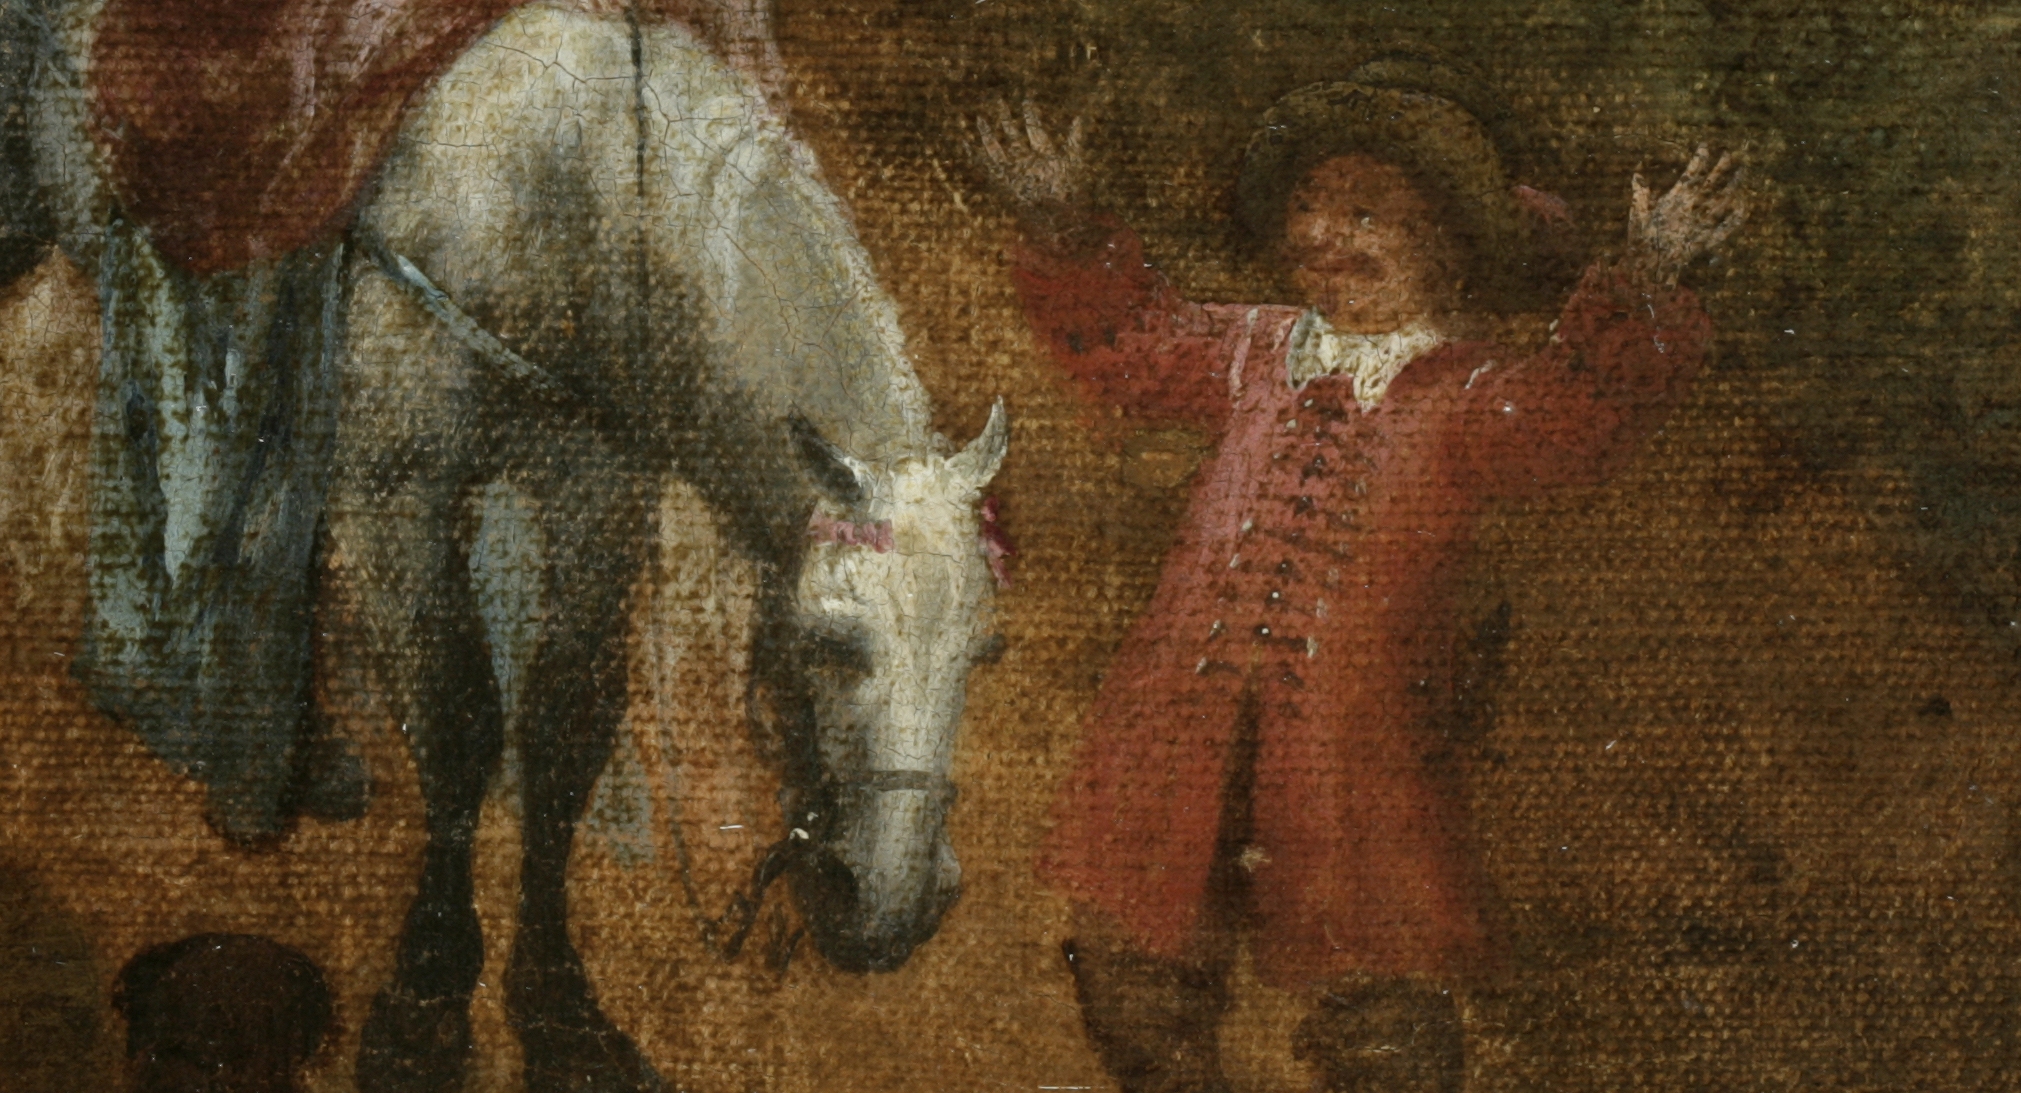
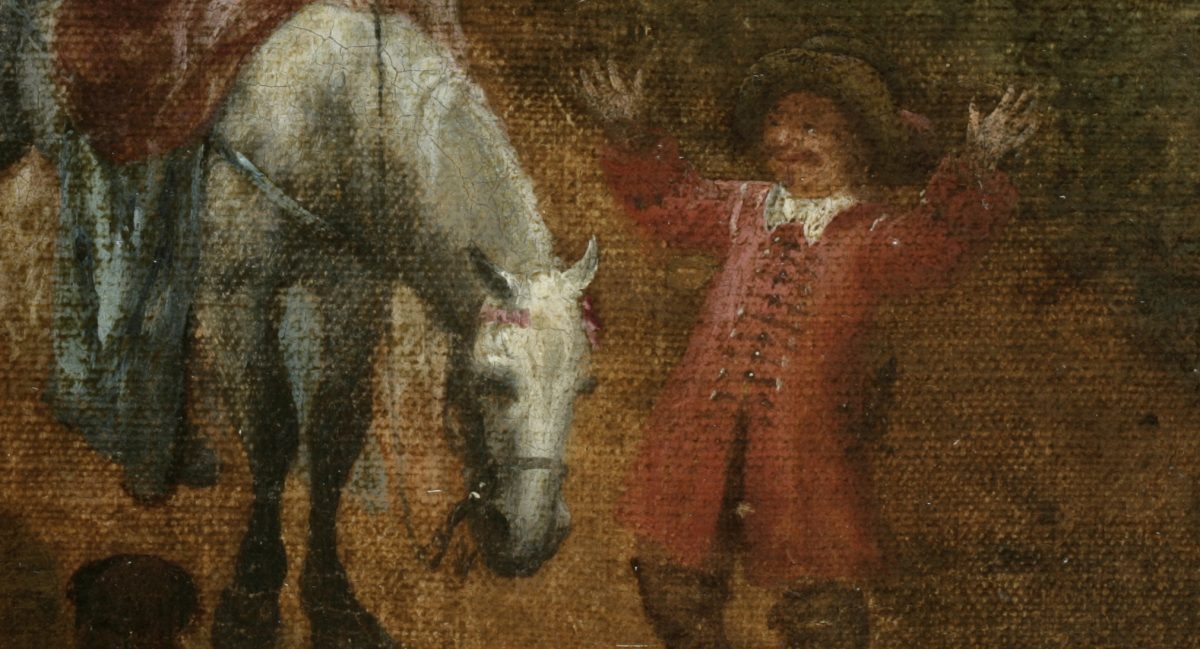
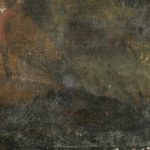
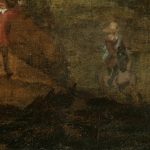
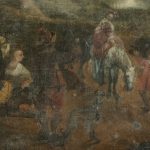
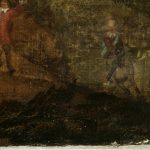
Before the structural work began, the painting was cleaned. The varnish present on the painting was blanched and the painting appeared unsaturated as a result (Figs. 3 & 6 ). Both the varnish and overpaint were removed with solvents (Figs. 4 & 7). Brown overpaint had probably been applied to mask the severely abraded paint layers and the removal of this overpaint allowed us to appreciate certain details of the painting that were previously hidden. A horse and rider were discovered in the bottom right hand corner (Figs. 6 & 7 & 8), and the hawk (Figs. 3 & 4 & 5), which had been visible but completely swamped by the surrounding overpaint, was suddenly part of the narrative again.
Structural treatment
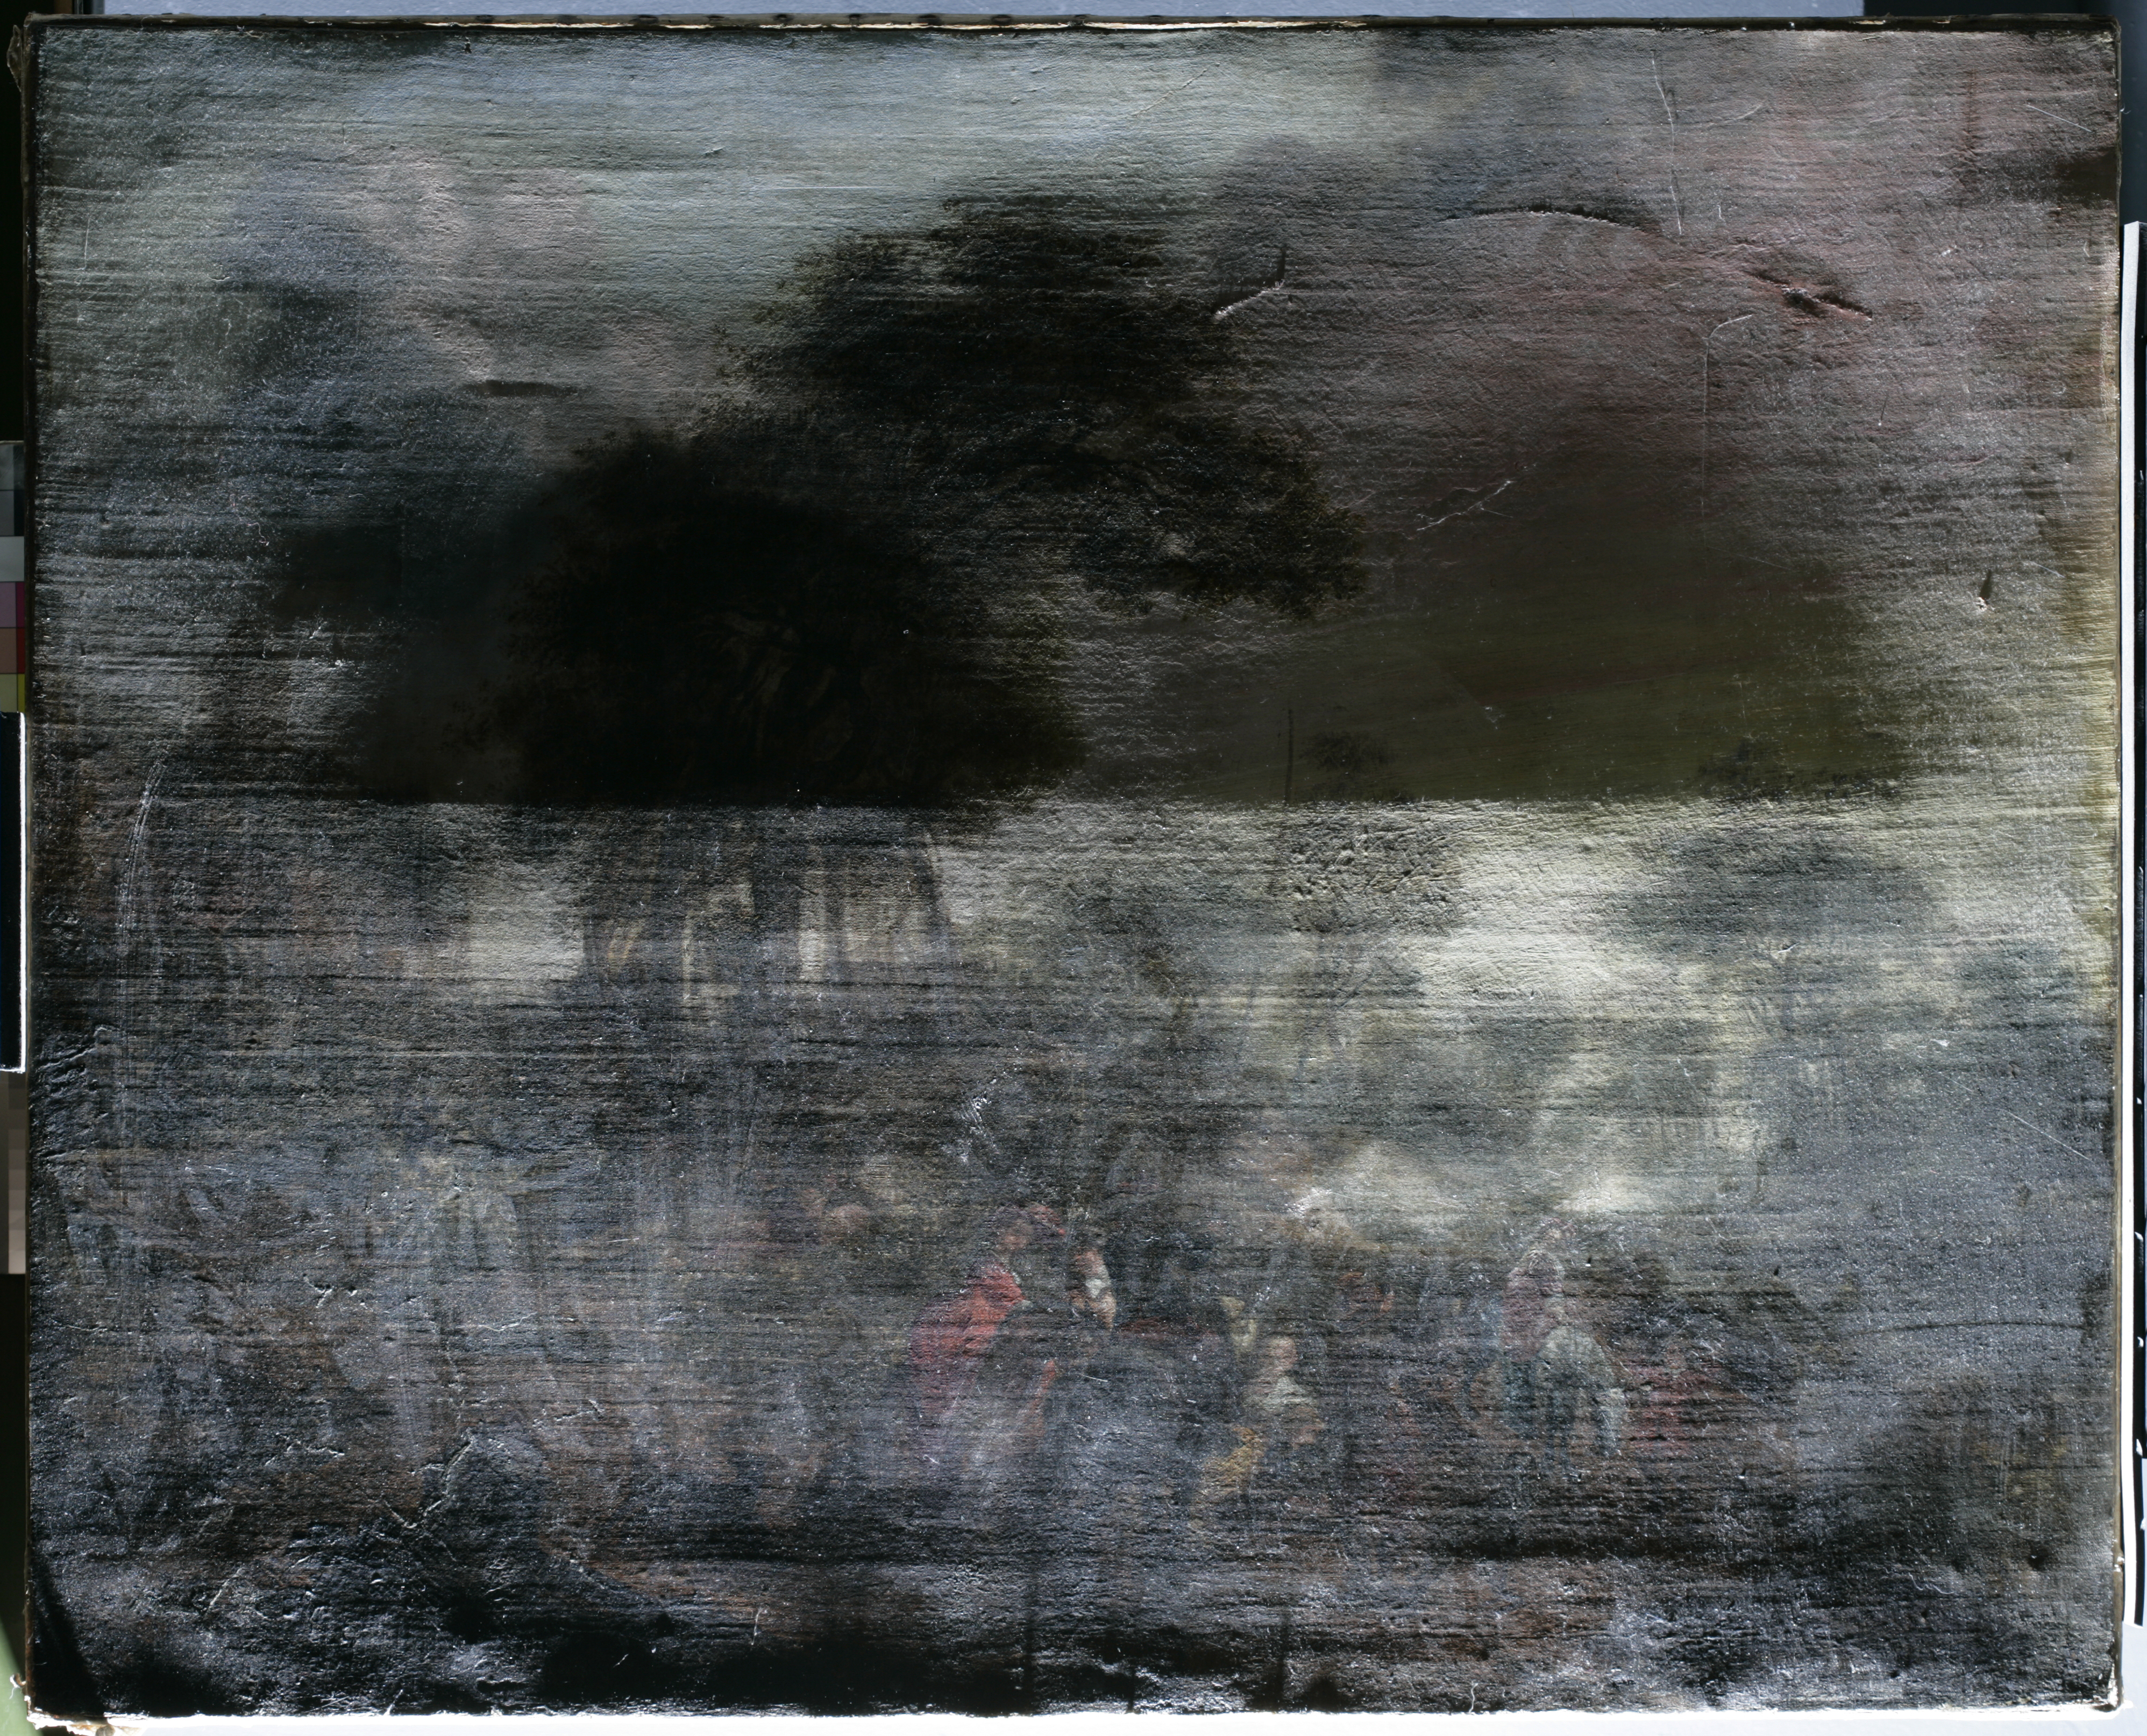
The painting has a large tear in the top left hand section that had gone through both original and lining canvases. A wax patch had been adhered over the tear on the reverse before the tear was filled and retouched from the front (Fig. 9). It was decided that the painting required re-lining, as the original canvas no longer had the capacity to support the paint layers. Lining is an interventive technique that in the past was often carried out on paintings as a preventive measure. Thoughts and fashions change though, and lining is really only considered now as a last resort when structurally treating a painting. However, it was certainly necessary in this case, considering the poor condition of the painting.
The painting had been glue-paste lined in the past, and we decided to re-line the painting using the same method. Glue-paste lining has been the traditional method in Britain and while it is less commonly used these days, it is sometimes used for paintings that have tears that need supporting (as in this case), or badly cupping or flaking paint.
Firstly, the painting needed to be de-lined – the old lining canvas and lining adhesive removed. The painting was faced (a process where tissue paper is glued onto the front of the painting in order to protect it) and then placed face down on a covered board. The tacking margins were so degraded that they could be gently pulled away from the stretcher.
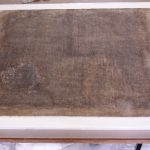
Before de-lining, the wax patch was peeled away from the lining canvas using white spirit to soften the wax (Fig. 9). The painting was de-lined carefully, leaving the original canvas with much of the lining glue-paste present on the back of the painting (Fig. 10). This glue was mostly brittle enough to be scraped away with a blunt knife (Fig. 11 & 12). However, some of the glue could not be removed in this fashion. Laponite (a synthetic clay) was applied which swelled the glue-paste allowing the glue to be scraped off. De-lining, revealed a small gap between the sides of the canvas along part of the tear. This was filled by the addition of a canvas insert of sized linen.
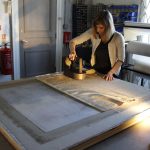
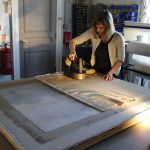
A new, linen lining canvas was prepared. For the lining, a layer of warmed lining adhesive was applied to the lining canvas. The painting was laid on top of the glue and gently padded down to smooth it down and make sure there weren’t any trapped air bubbles between the canvases. The painting was ironed through four layers of canvas, and the temperature of the paint was constantly checked by hand (Fig. 13). Although the iron used in this process looks ridiculously large and heavy, as its weight is spread out over a large area it does not exert too large a pressure on the paint. Raking light was used to check the texture of the surface and a cold iron was used in some areas to chill and set the paint to the work out any distortions. After this first ironing, the facing was changed and the painting ironed again in a similar fashion.
The painting was left to dry for several days before the facing was removed. Since the result of the lining was satisfactory, a coat of BEVA was applied onto the reverse of the lining canvas to act as a moisture barrier before the painting was re-stretched.
Filling, varnishing and retouching
The painting was varnished and retouched using Gamblin© Conservation Colours. The wear and losses in the paint layers were retouched imitatively to a standard thought appropriate for the condition of the painting. Touching out the wear in the foreground helped to solidify the landscape and reintroduced a recession into the distance.
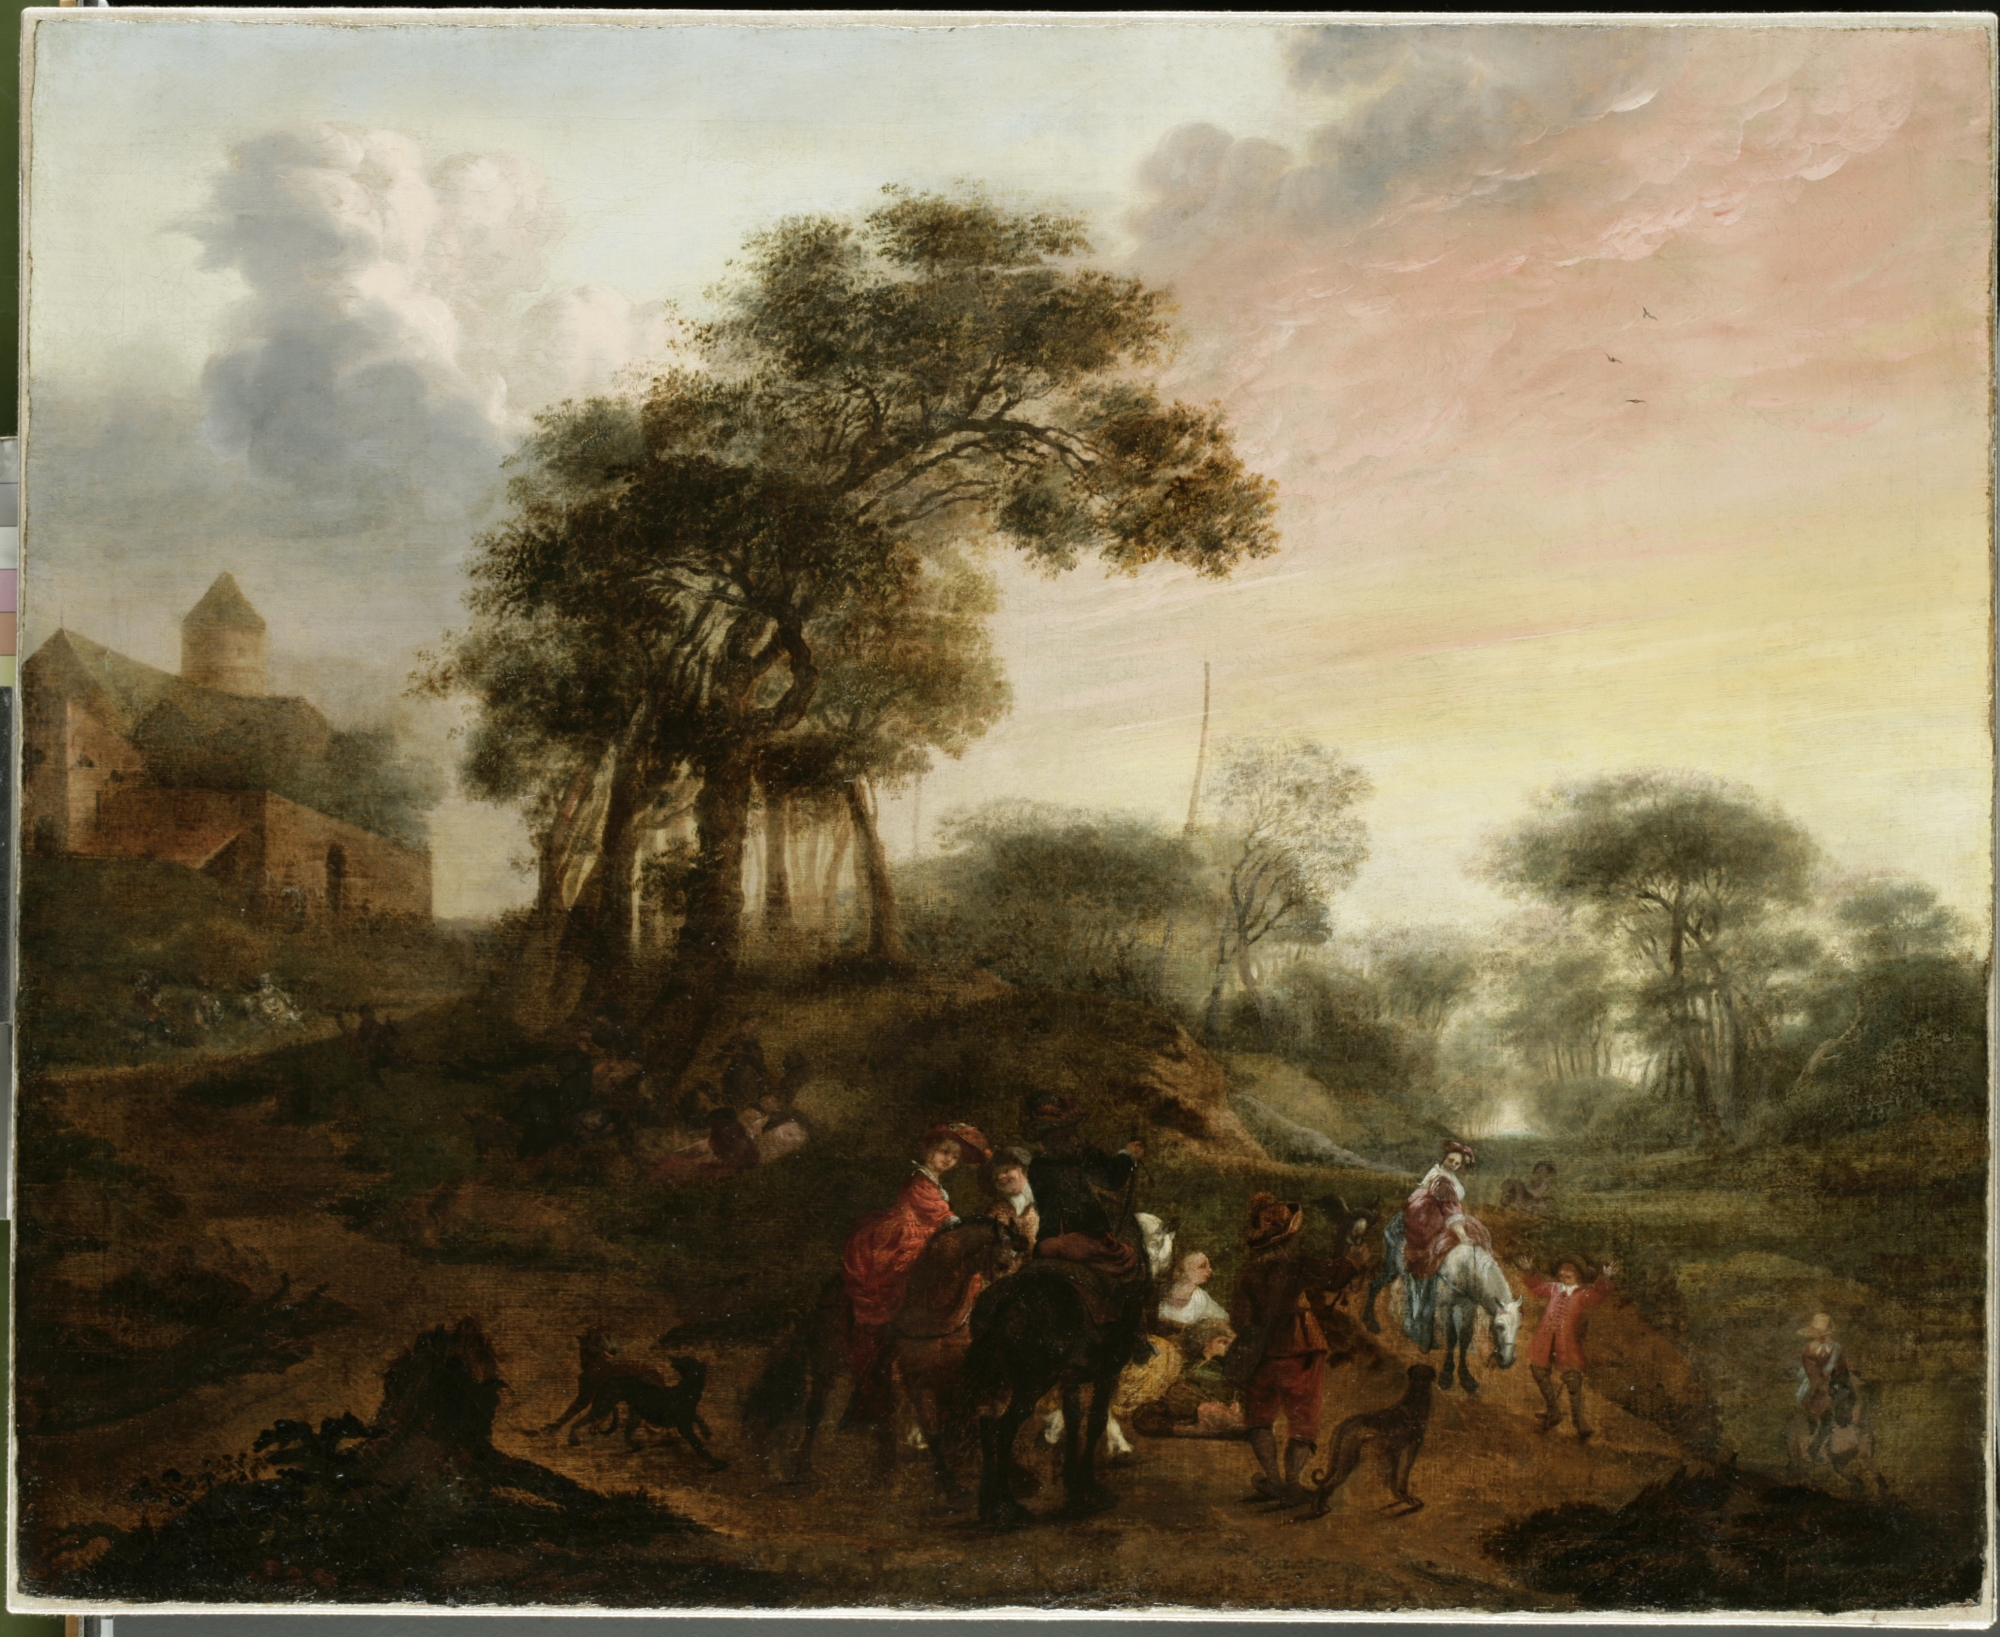
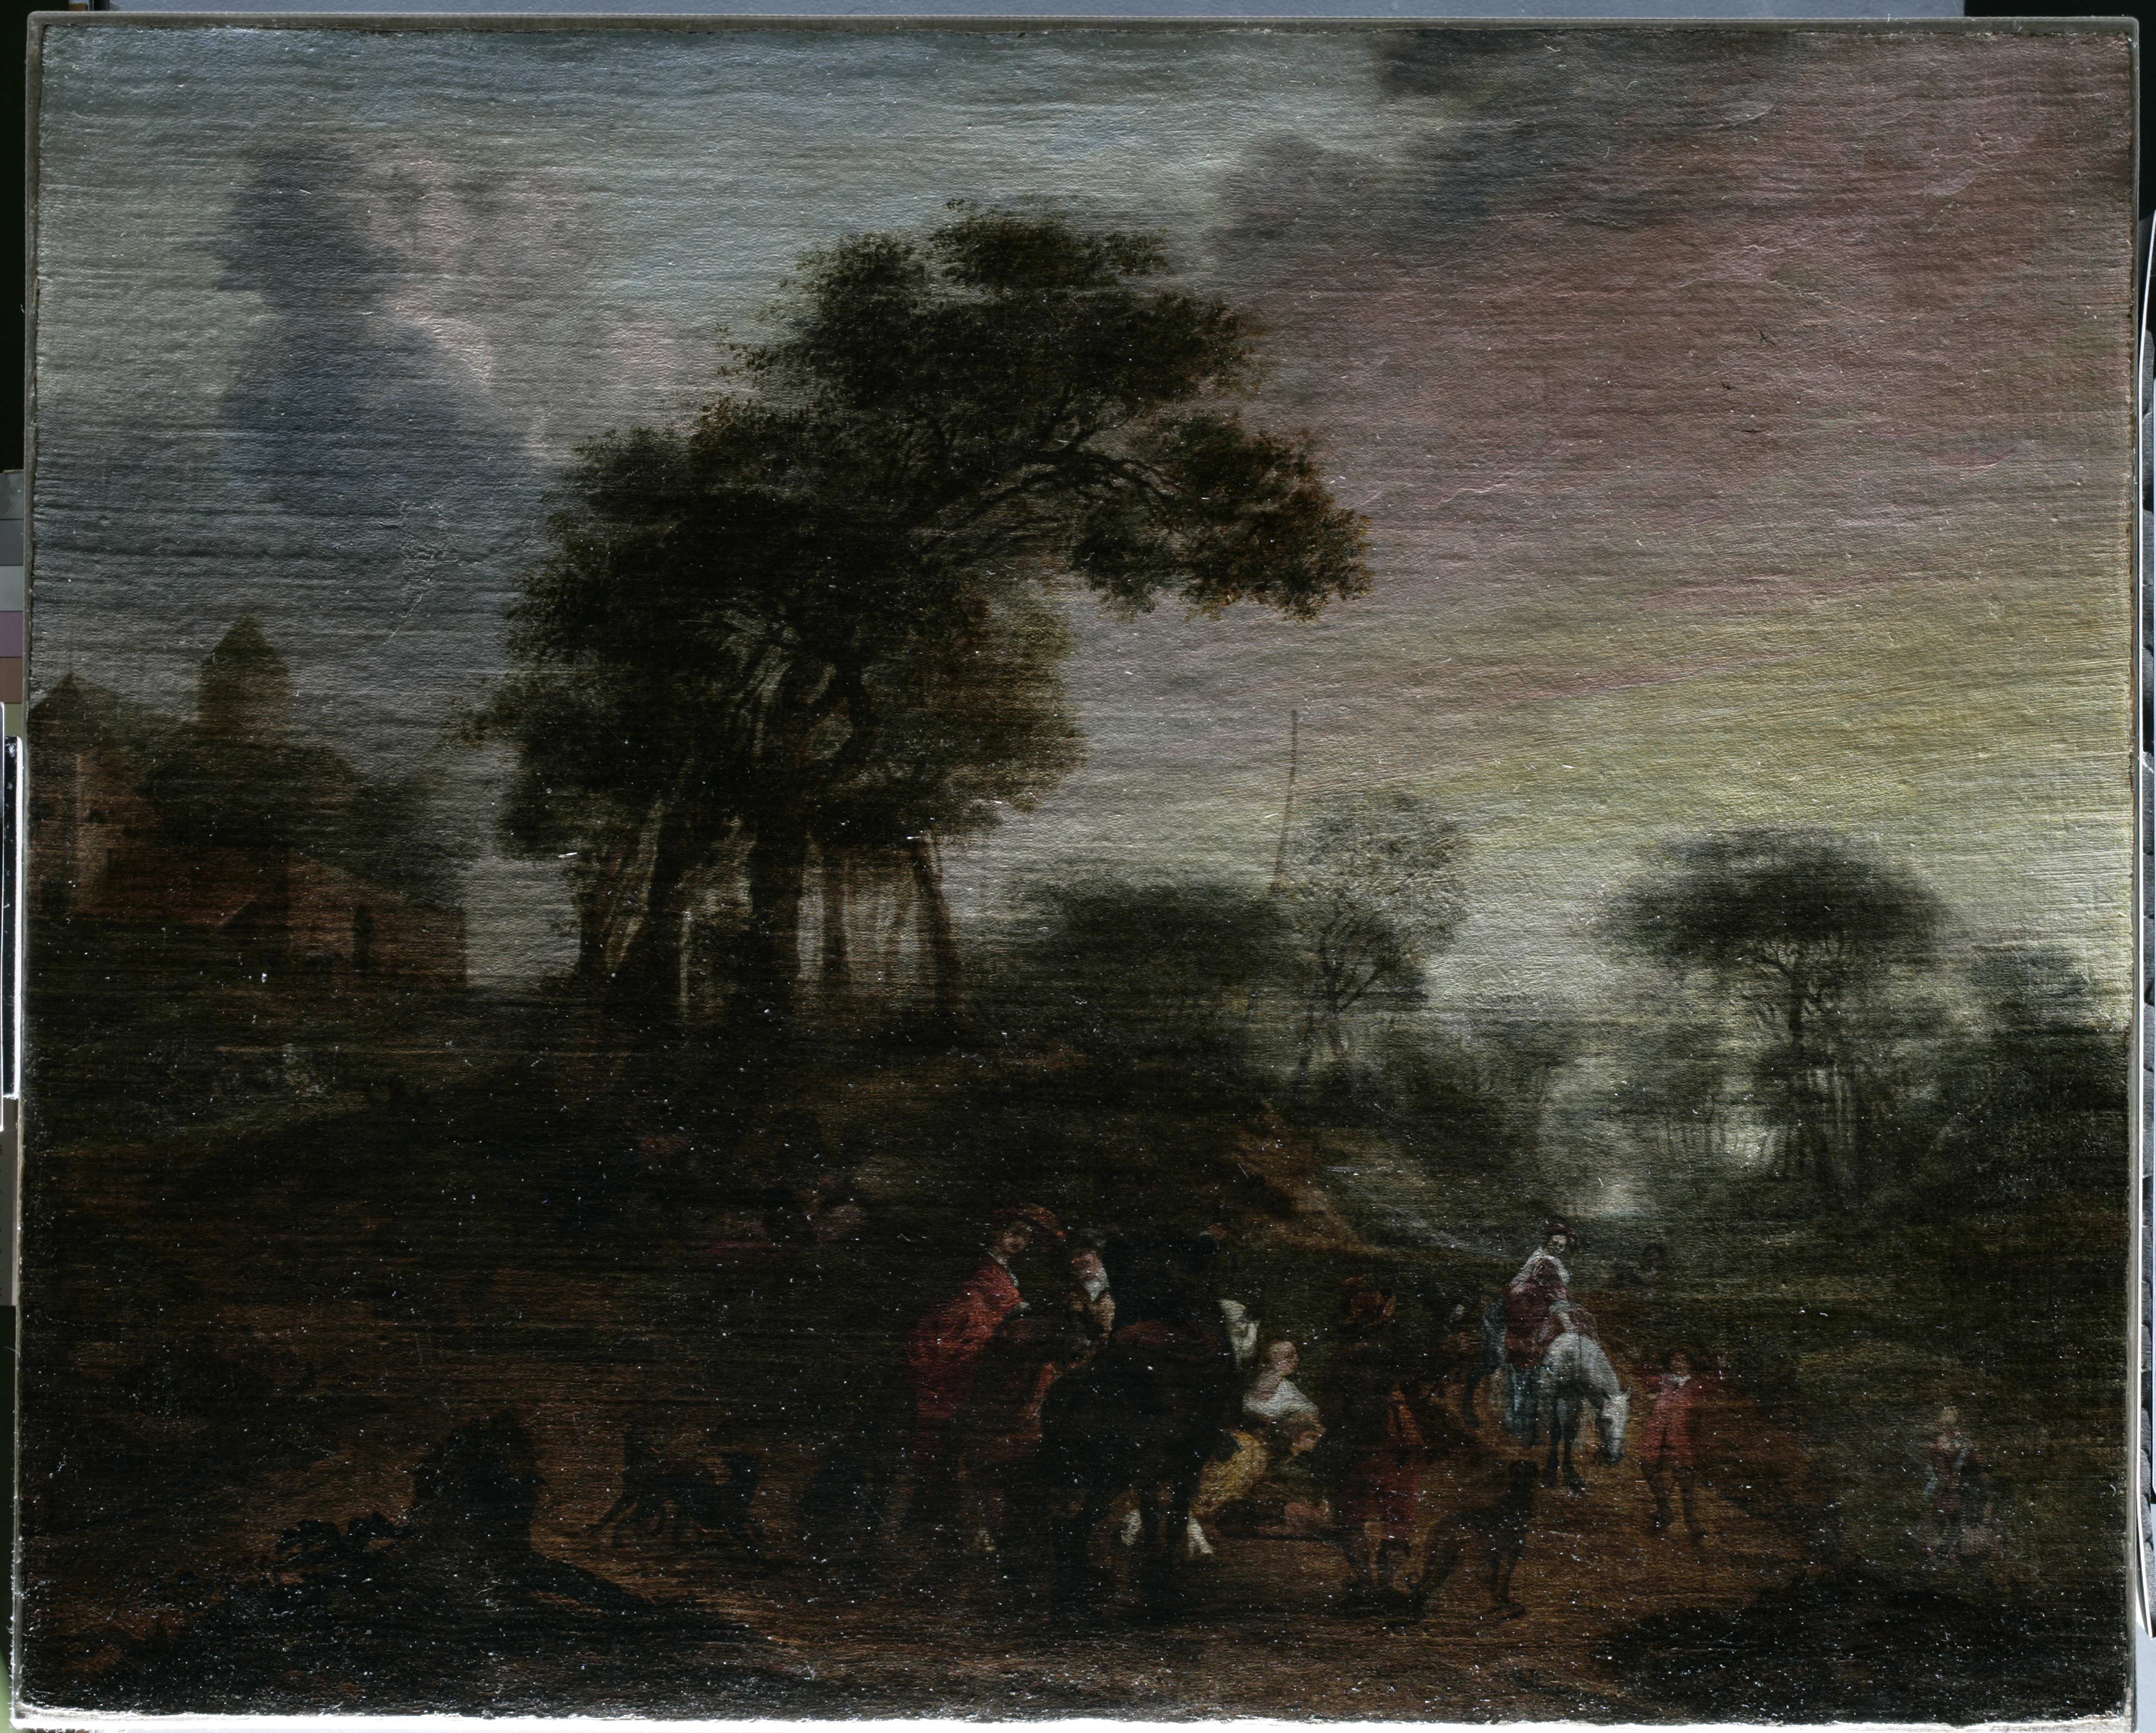
This was a wonderful project, allowing me to gain experience in lining and treading that fine line of re-intergrating a badly damaged image. There is obviously a narrative going on between these figures and the idyllic landscape now brought back to life, although we still don’t know exactly what’s happening in this painting. But this is certainly part of its charm and no doubt it will continue provoking the question, “what is going on?!” for many years to come.
