Emergency Planning

On 6th January, I started in an exciting new role as an Institute of Conservation (ICON) Preventive Conservation Intern at the Fitzwilliam Museum. I quickly became involved with assisting Helena Rodwell, Assistant Conservator (Collections Care), with the regular environmental monitoring in the Museum and have been participating in workshops to improve and update the Museum’s emergency plan documentation and implementation.

It is imperative that museums assess and mitigate risks to their collections and have a clear, concise and useable Emergency Plan for use during emergencies, where there is potential for confusion when normal working patterns are disrupted

Emergency Planning: Risk Management and Threats

Risk Management refers to the practice of identifying potential risks, evaluating them, and establishing measured, precautionary steps to halt or reduce the risk. Risk is an assessment of both the probability or likelihood of a specific event occurring and the magnitude or extent of its impact. Robert Waller states that ‘the estimation of the magnitude of… [a] risk is highly dependent on statistical information regarding the probability of the event.’

Unfortunately, there have been many high-profile museum disasters recently, from fire at the Glasgow School of Art to flooding at Pontypridd Museum in South Wales. As institutions that safeguard collections for future generations, museums have to be prepared for potentially serious occurrences.

Potential threats take many forms, but include:

  1. Pest Infestation – the inundation by pests, such as the organic-object-consuming Vodka beetle, within a gallery or museum store
  2. Fire – a minor or major ignition affecting museum collections or buildings
  3. Flooding/Abnormally High Relative Humidity – water-damage or dampness caused by natural (e.g. overflowing rivers), mechanical (e.g. leaking pipework) or incidental (e.g. water-damage from a fire hose) factors
  4. Theft/vandalism – the premeditated taking of or damage to museum collections
  5. Terrorism and intentional violence for political or religious reasons

Emergency Plans and Staff Development

Emergency plans vary based on the size and complexity of the individual museum. Staff are well-suited to develop an emergency planning document, as they have intimate knowledge of the buildings and collections and are acutely aware of potential risks.

One of the benefits of staff being the primary drivers in the production of an emergency planning manual is that the documentation can be continuously reviewed to reflect changing exhibition spaces, new collection objects, loans, or major building redevelopments.

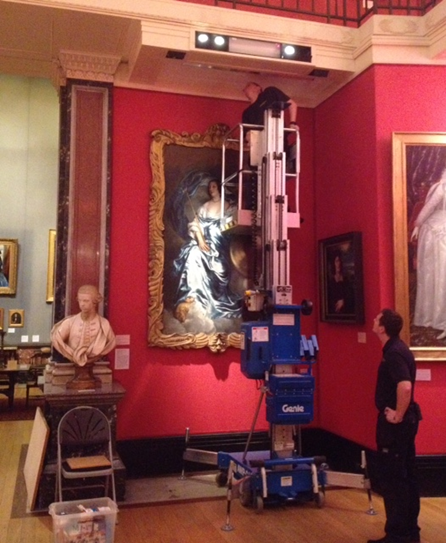
Emergency Planning Workshop: Objectives

Figure 1 Biscuits at the ready! Preparing for the workshop

To assist with an emergency situation and to enable staff to act swiftly to minimize damage to buildings and collections, the Fitzwilliam Museum is holding a series of workshops to review and update the emergency manual and to ensure a large group of museum staff shares the responsibility of the manual’s execution. The workshops also aim to build the confidence and knowledge of the emergency team through continual training and exercises.

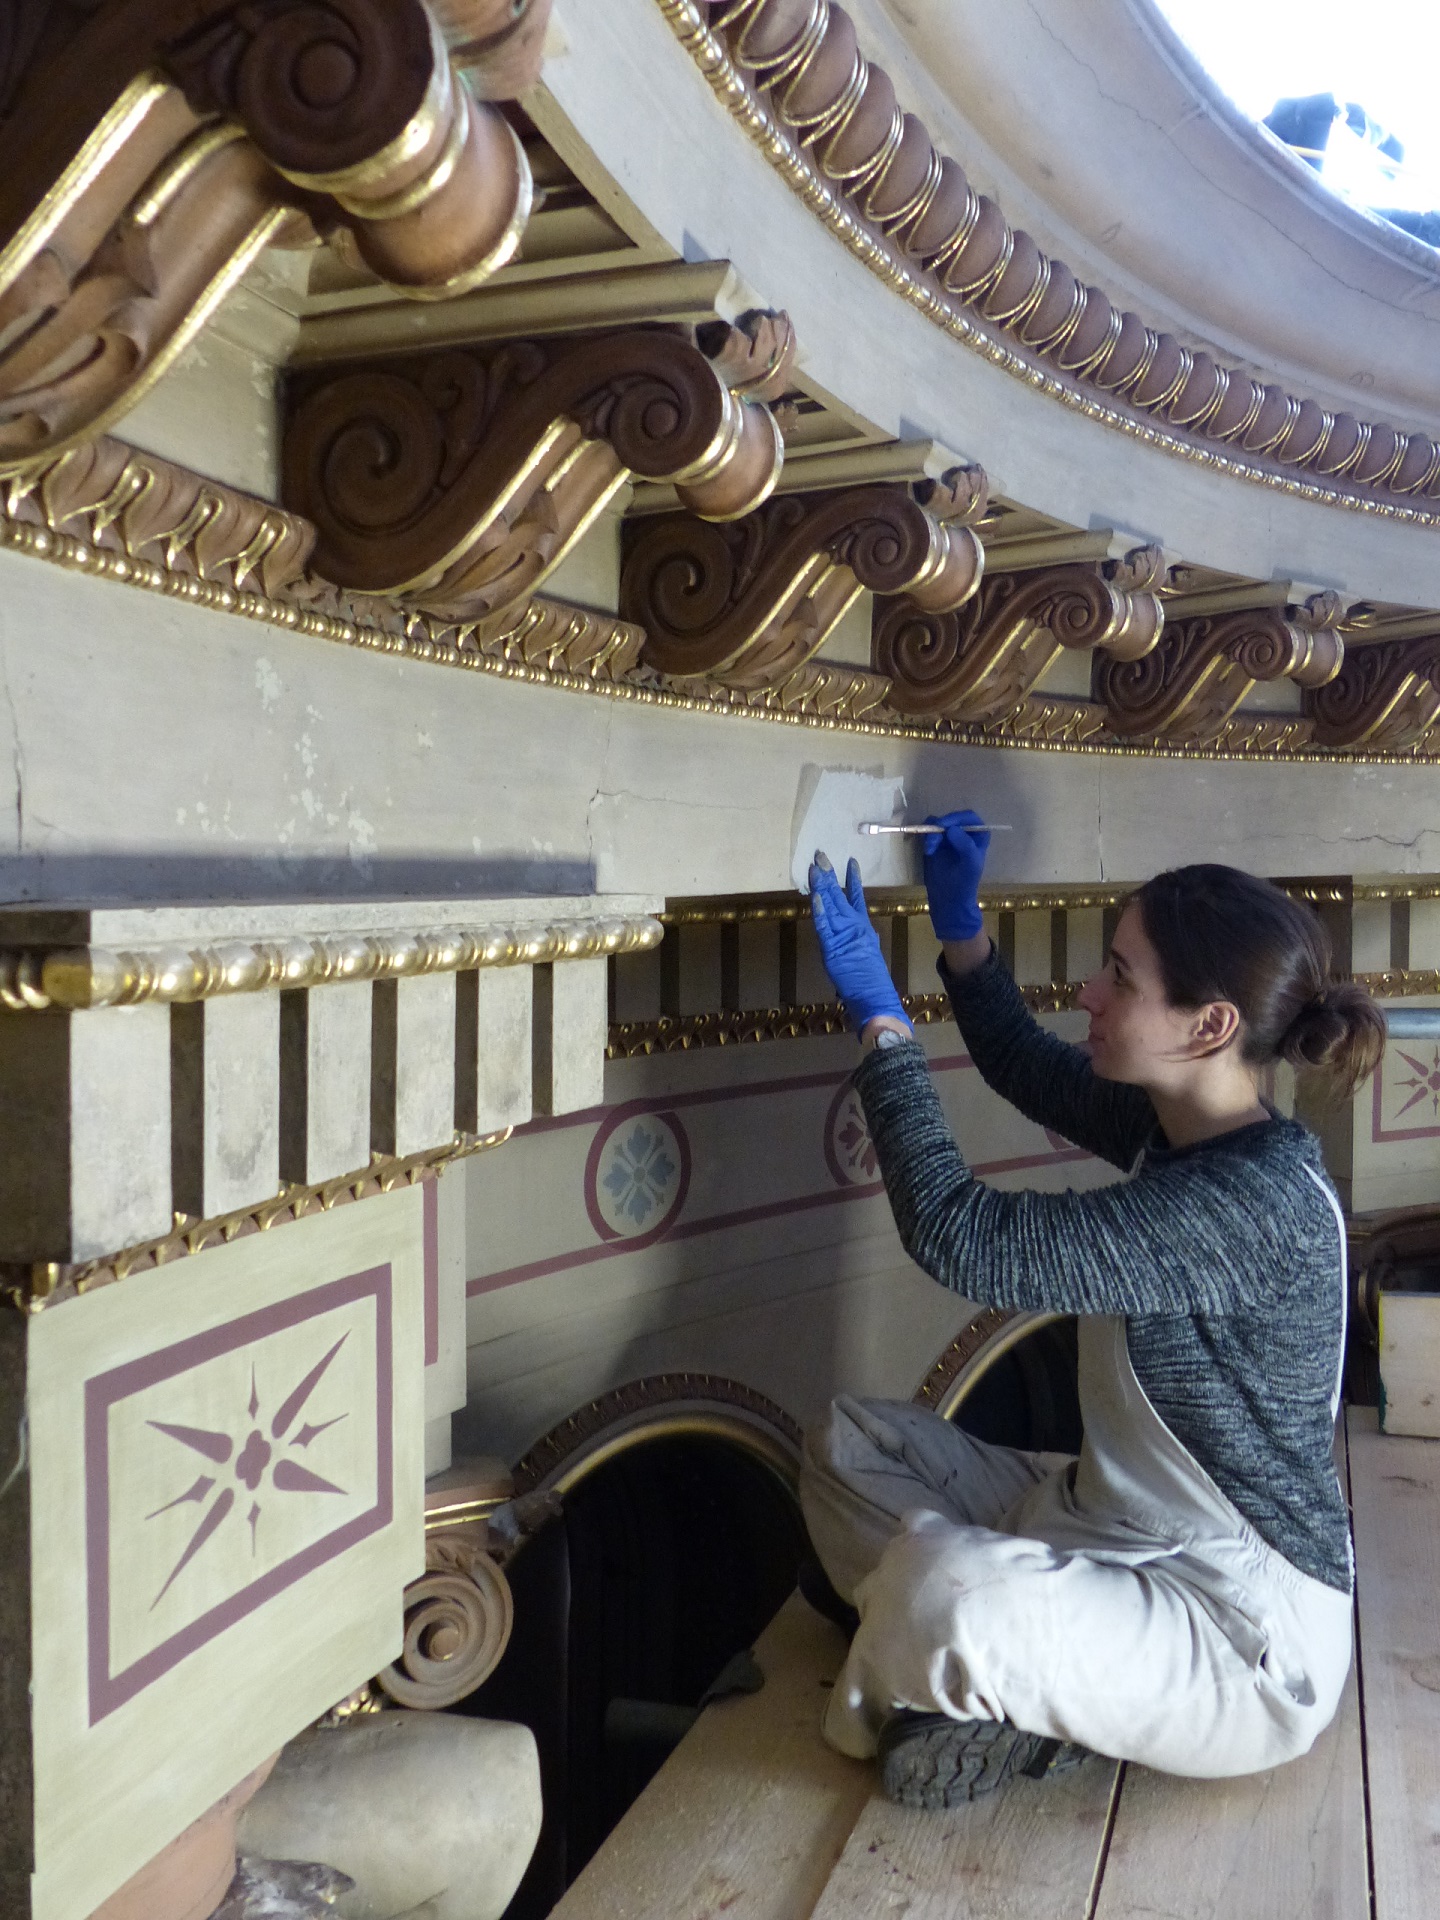
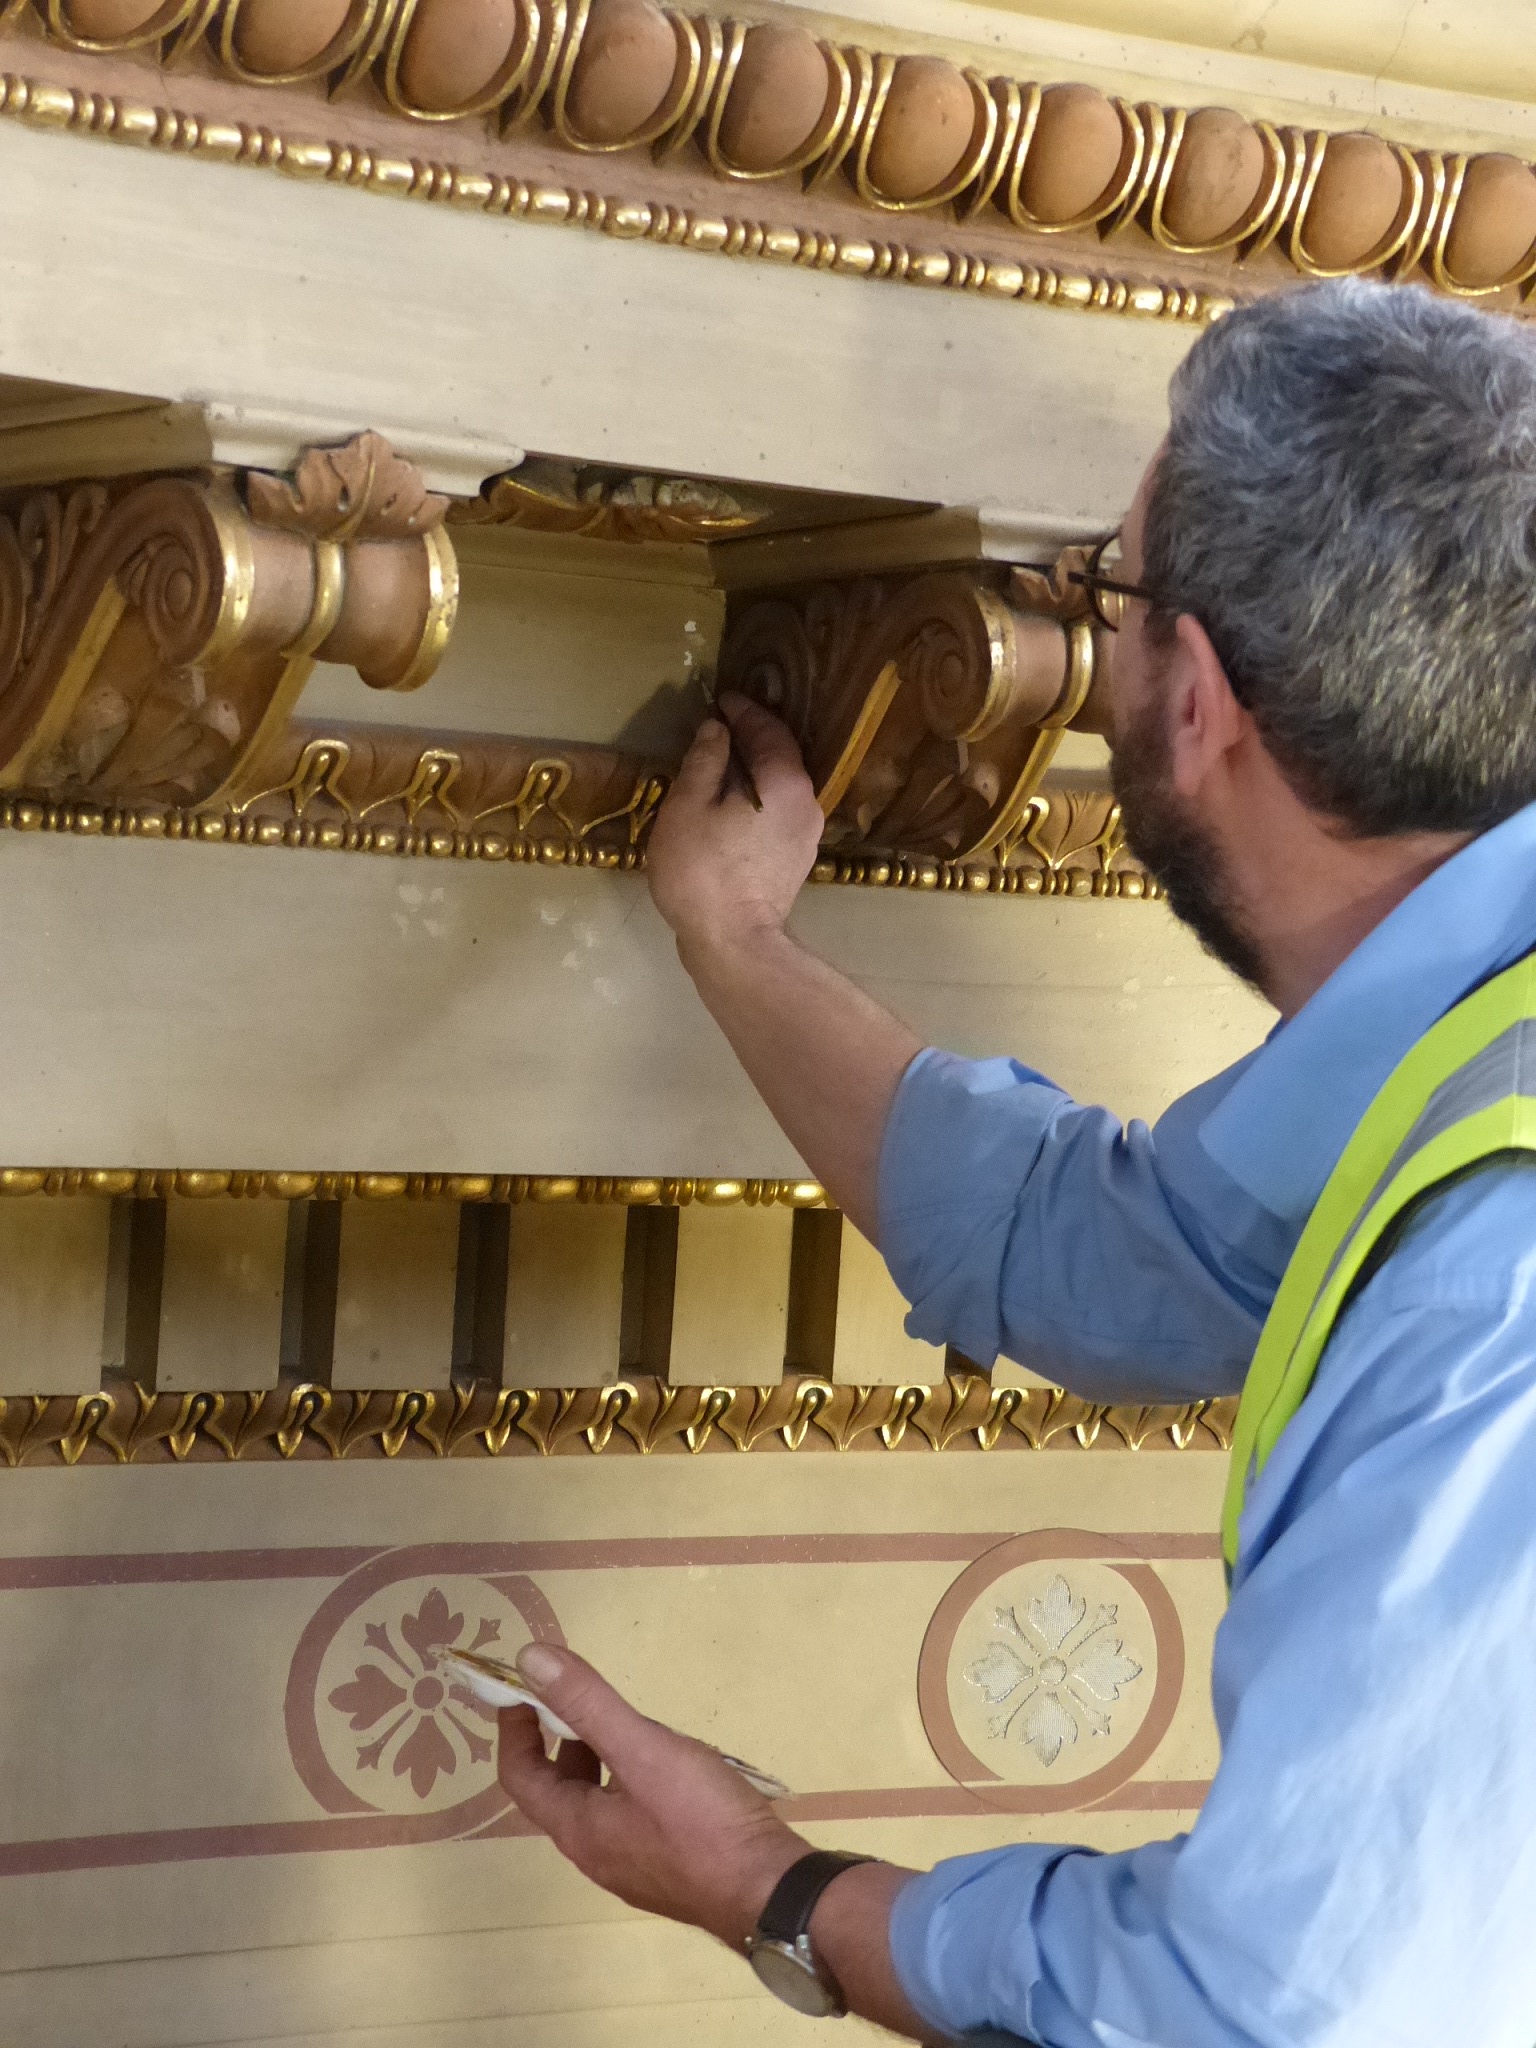
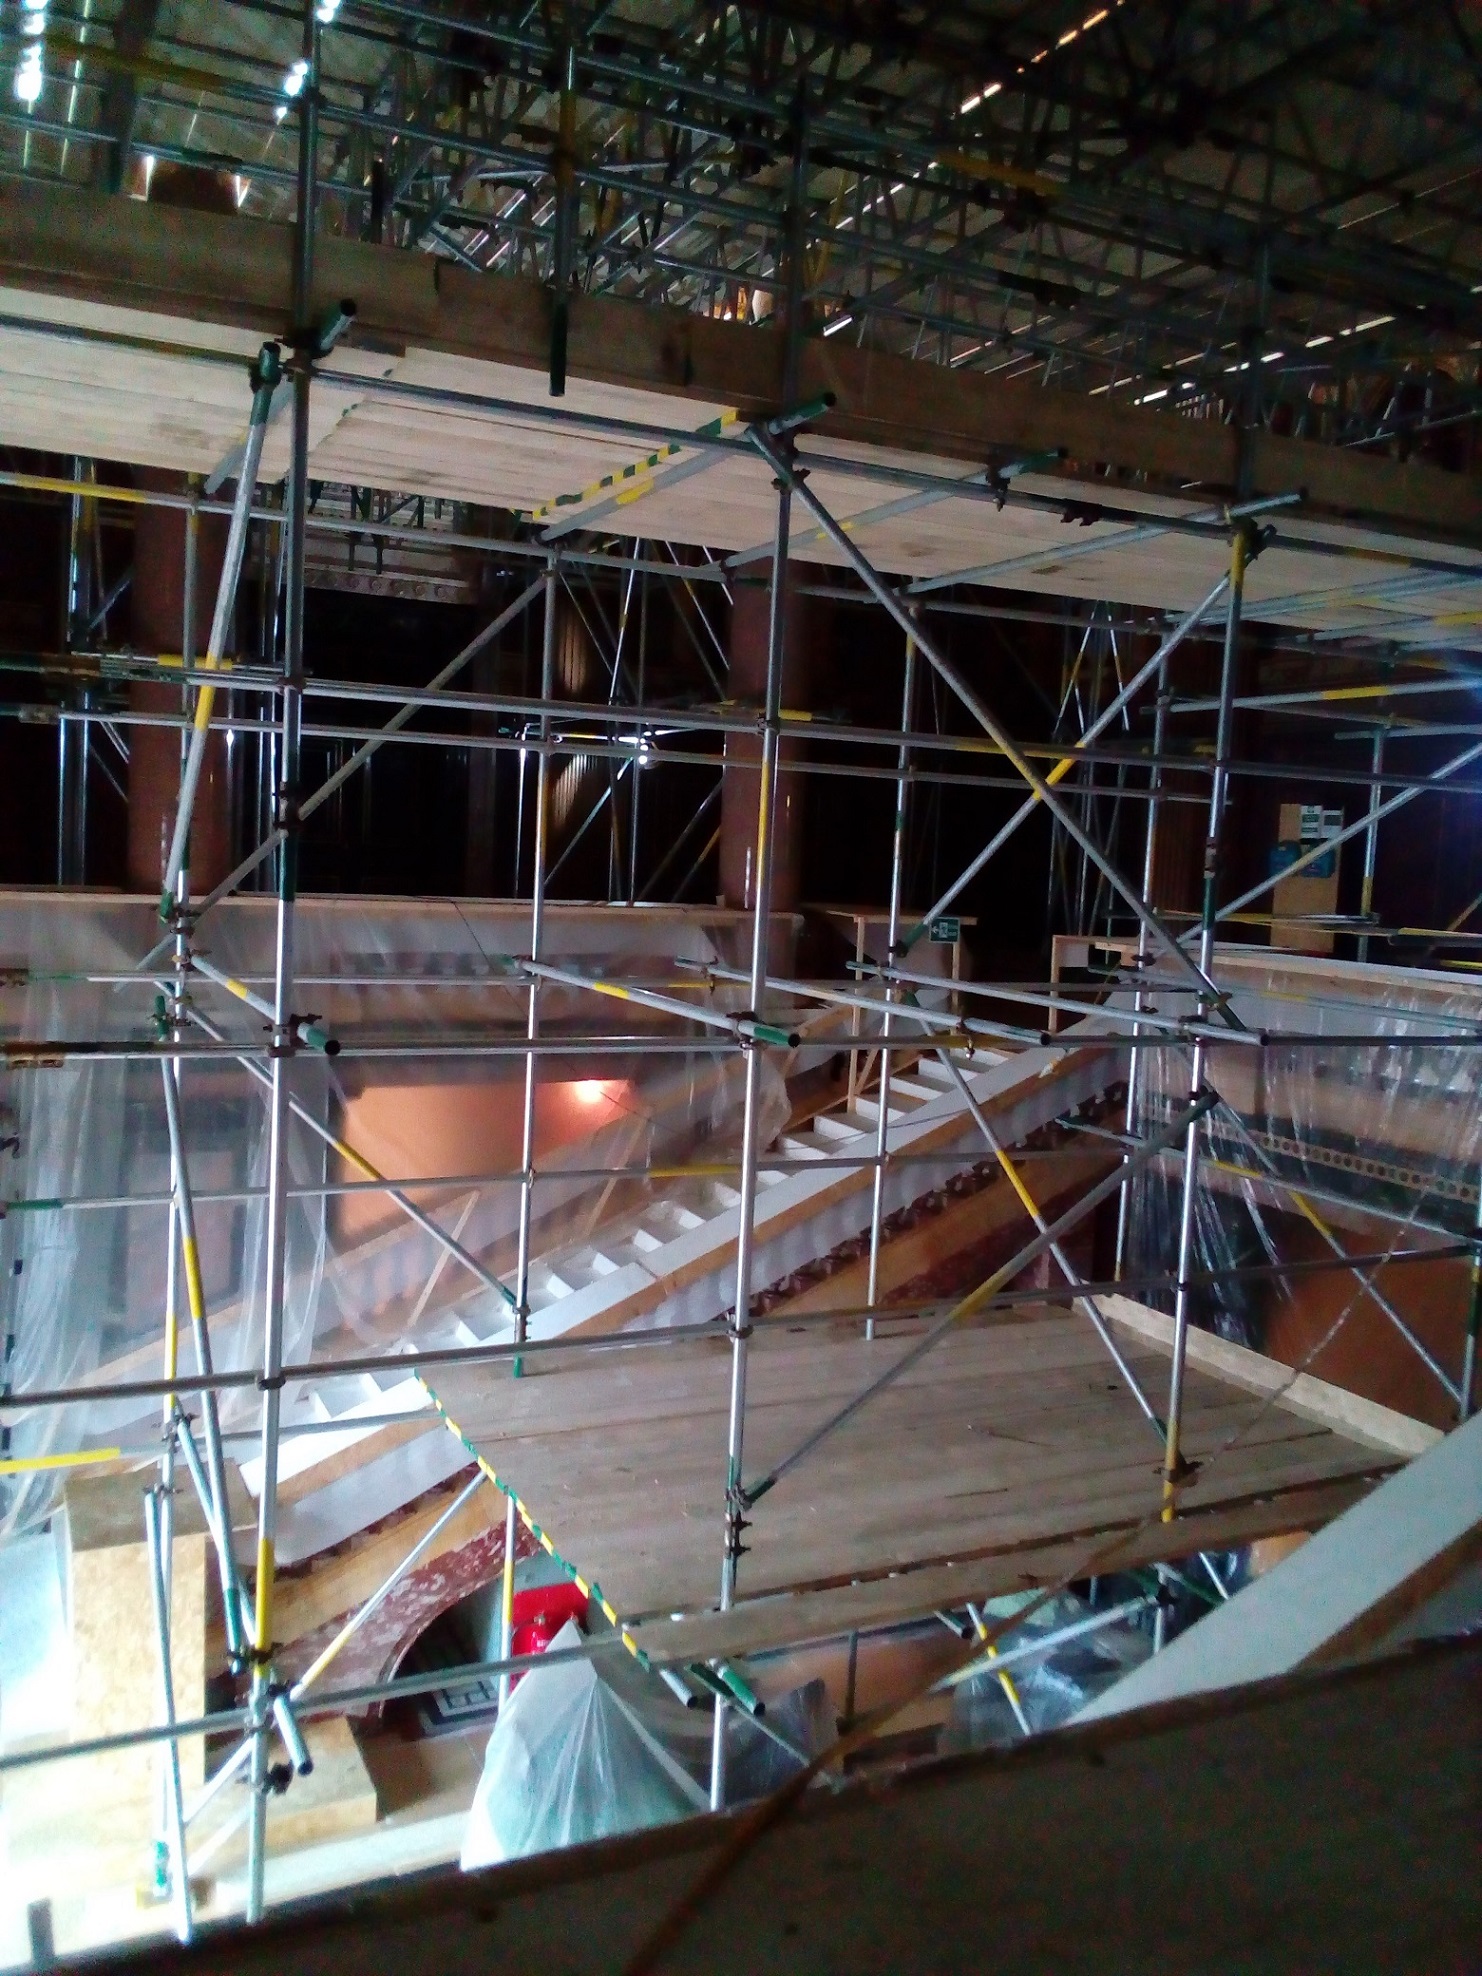
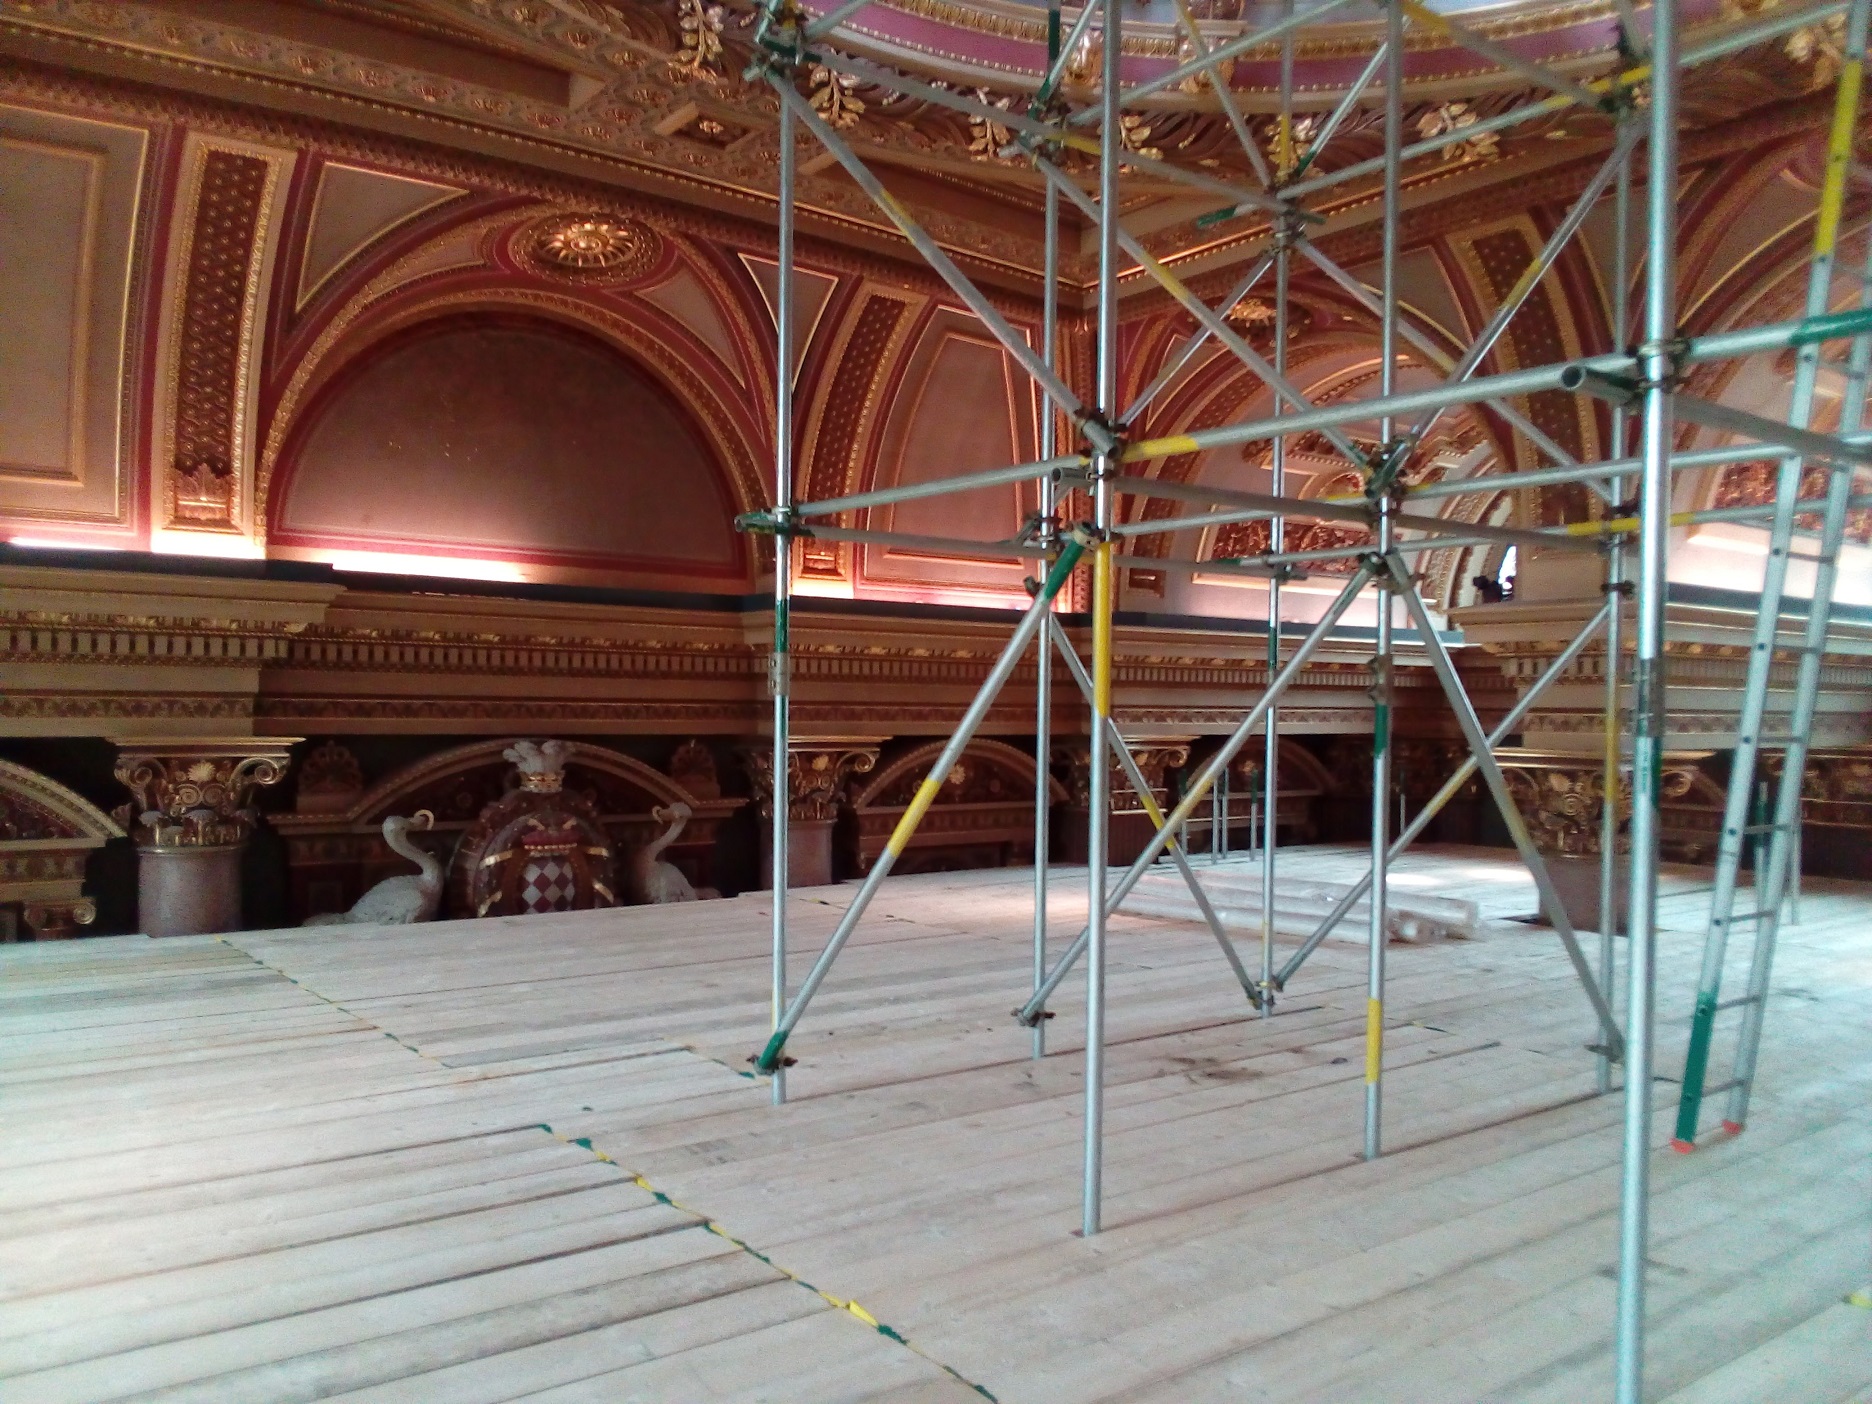
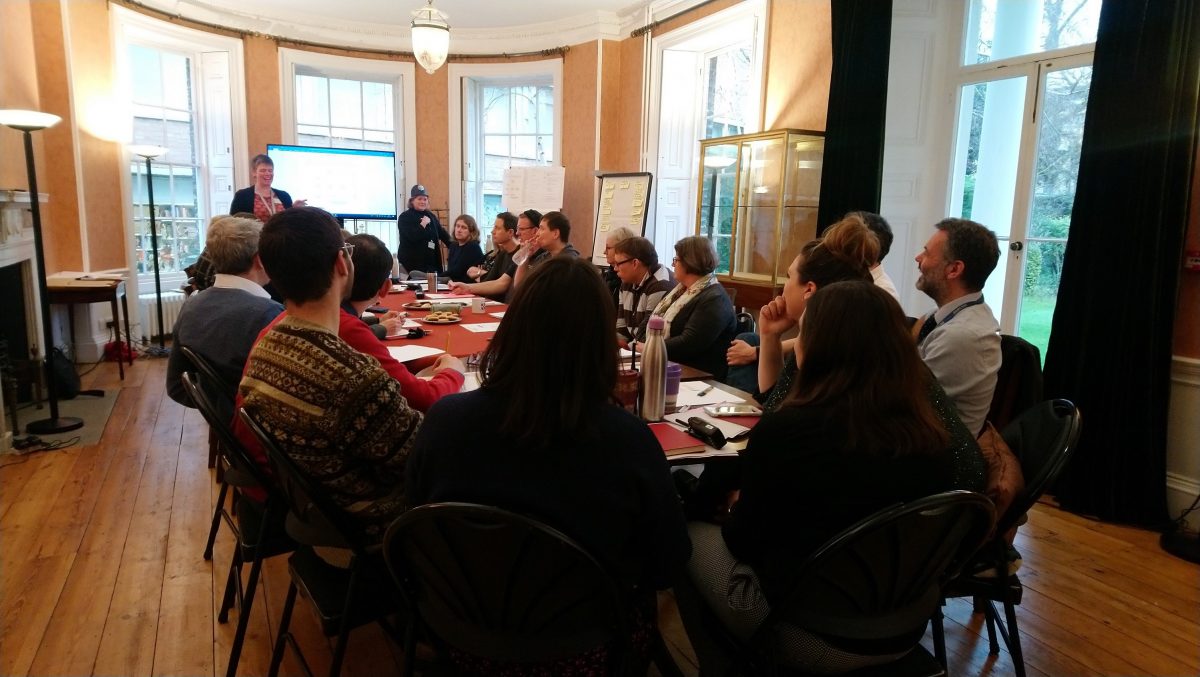
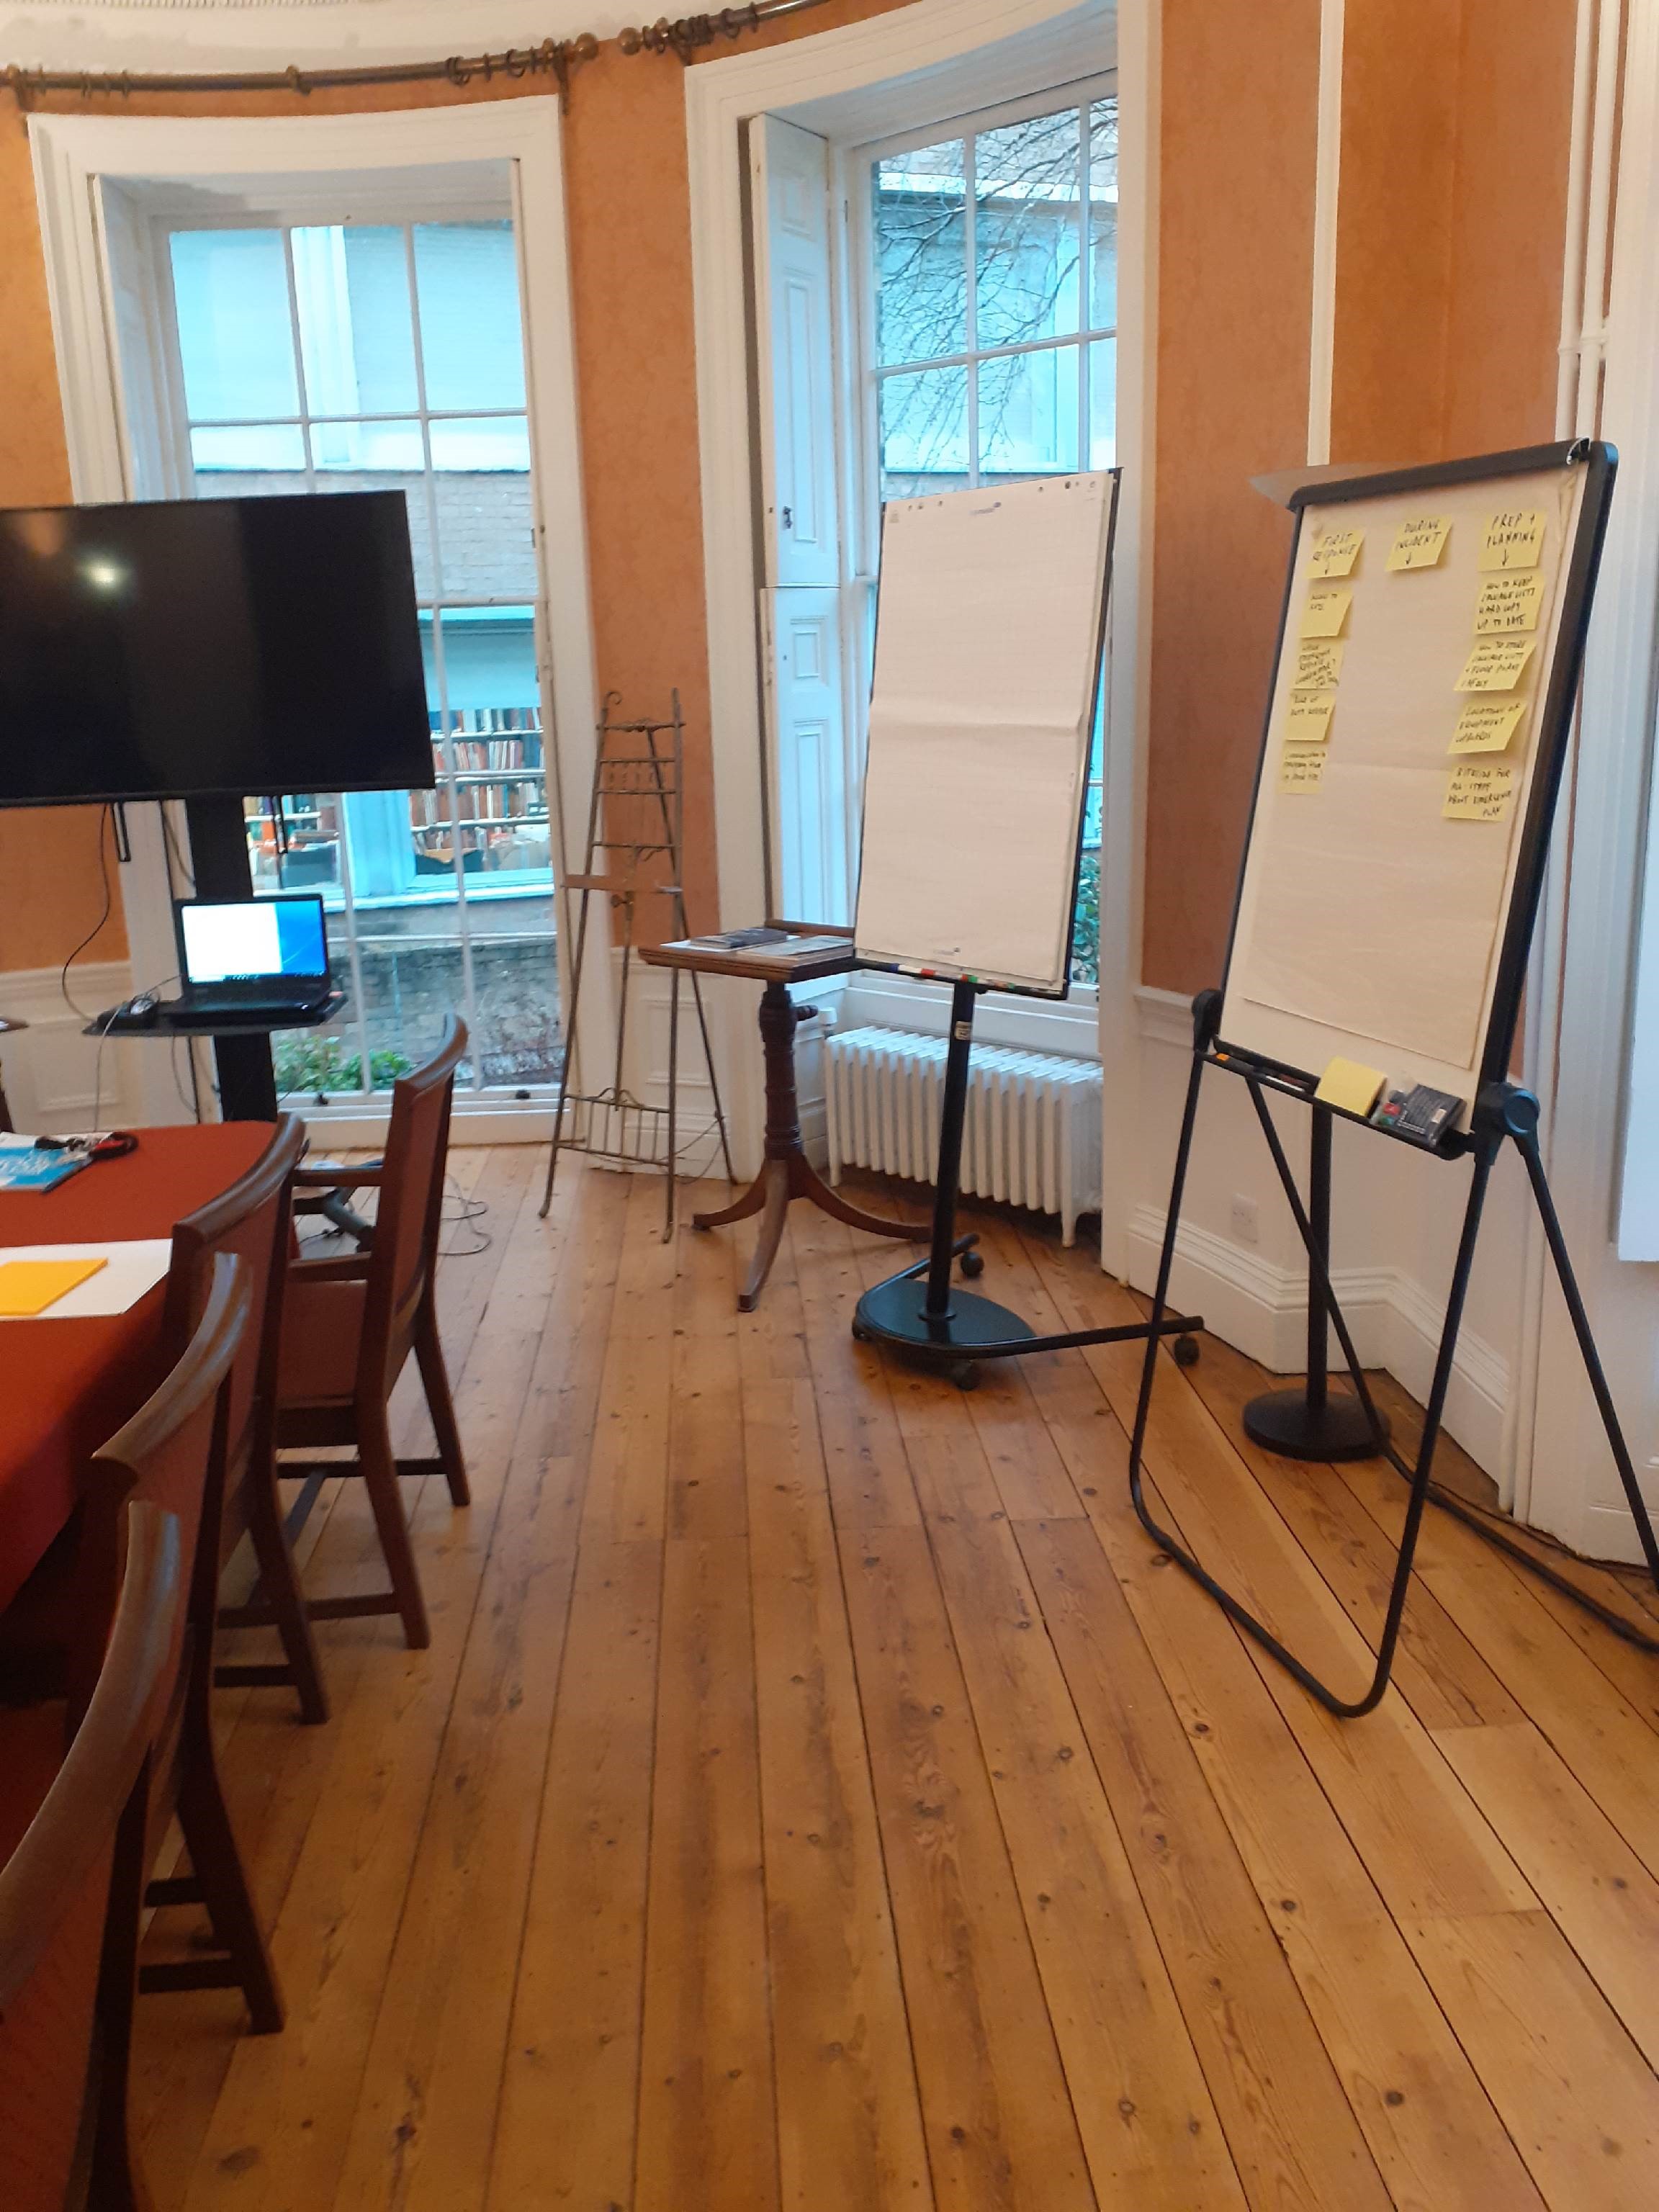
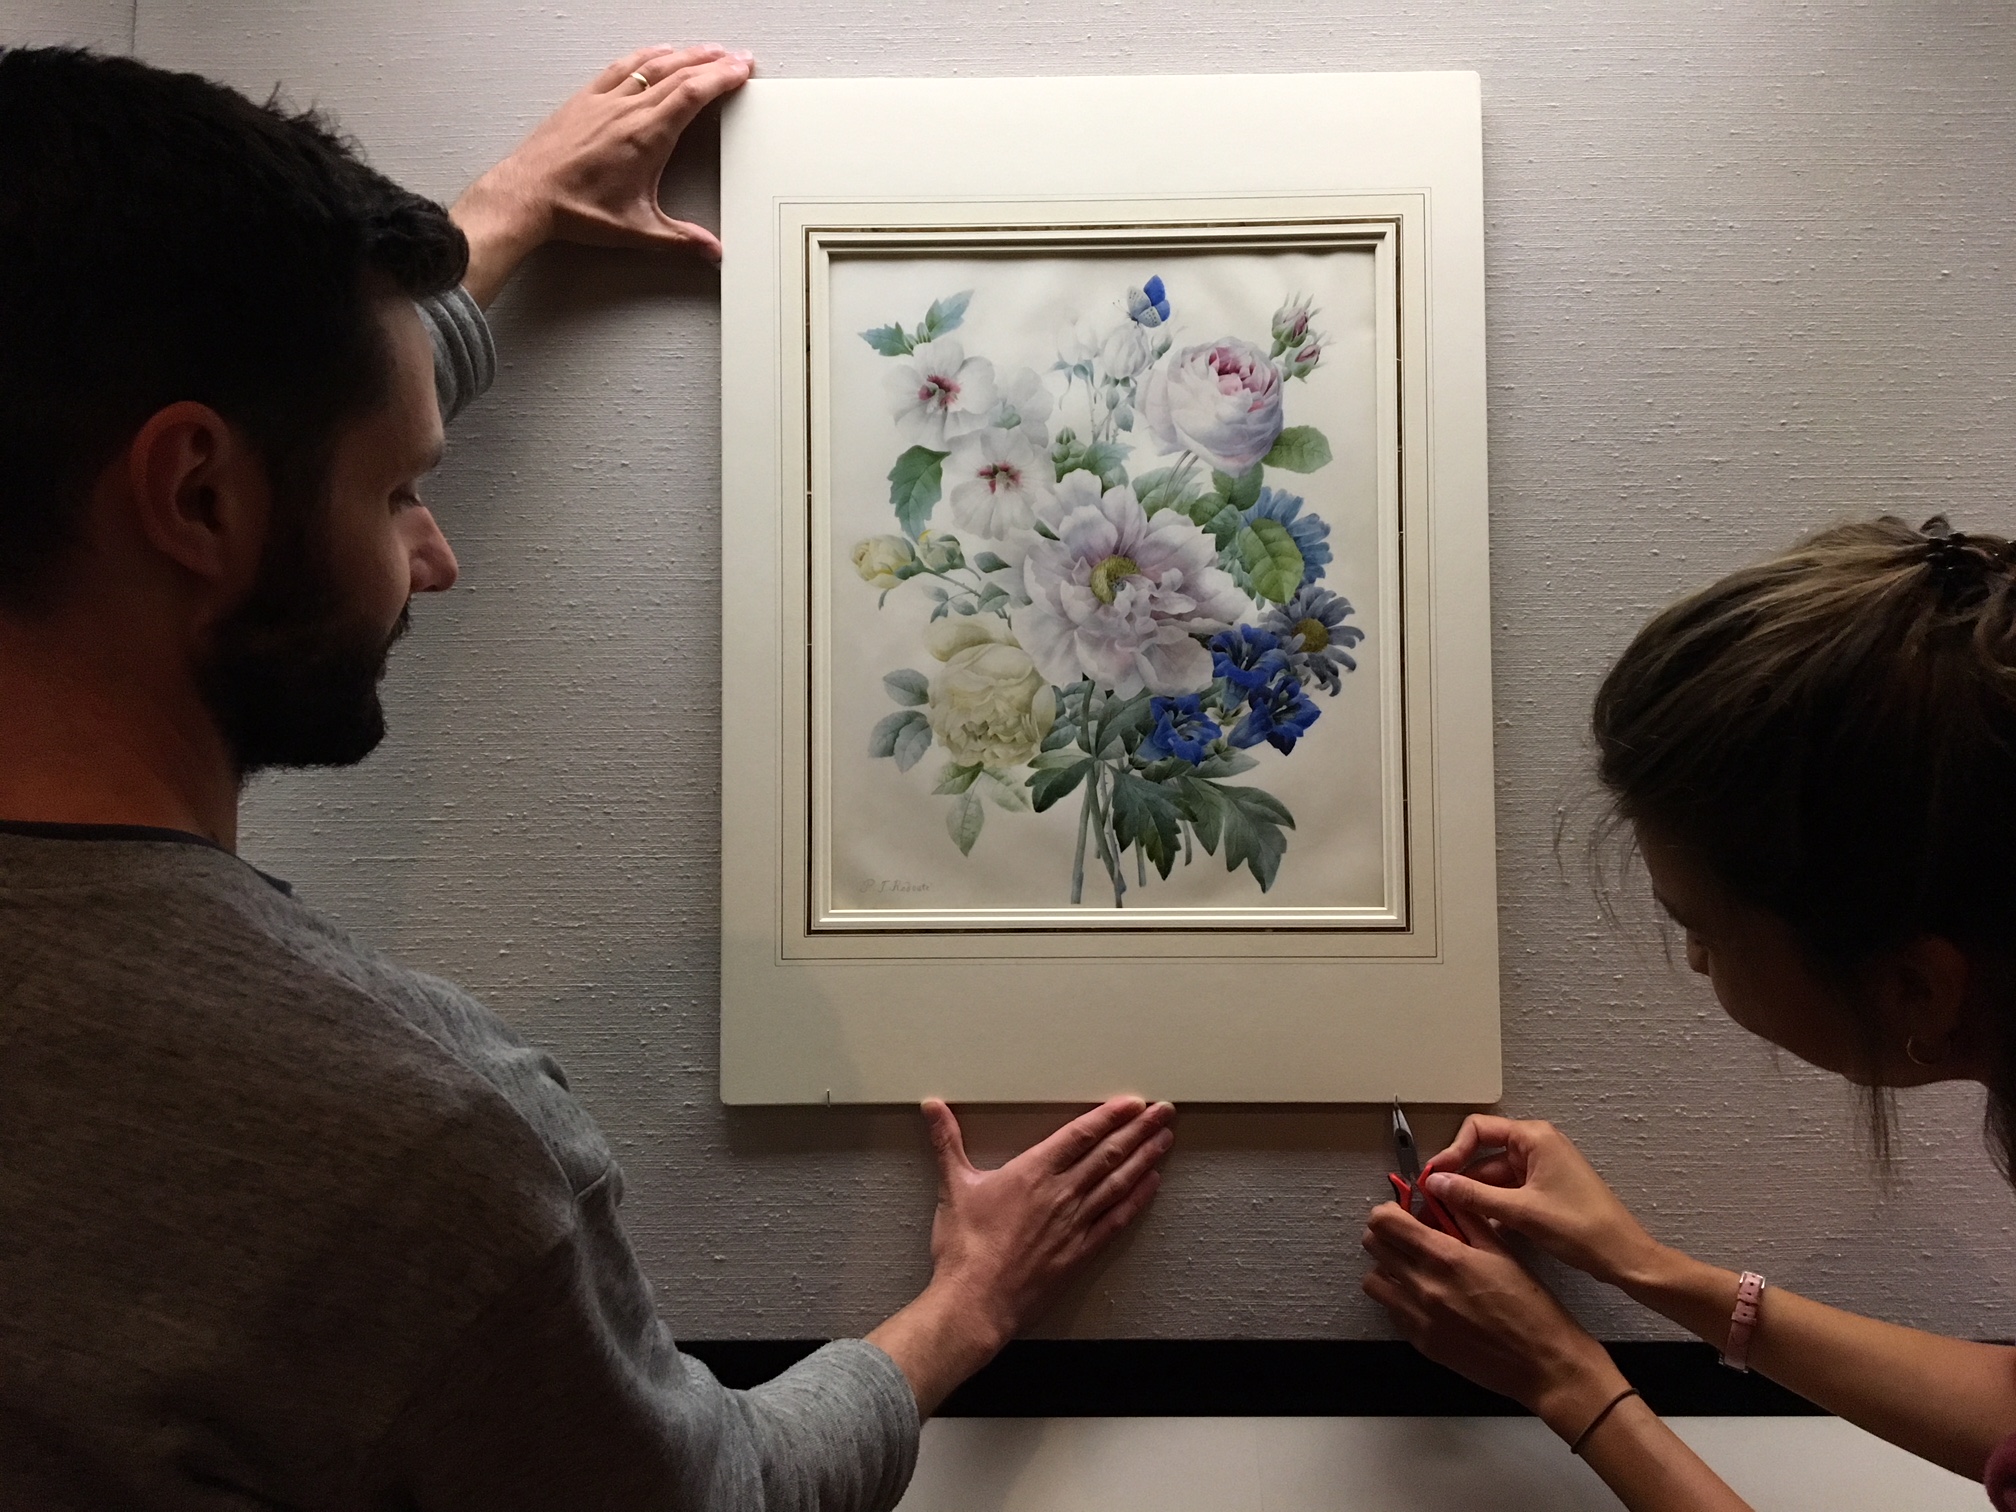
The most recent workshop (fig. 1), facilitated by Rosie Forrest, Documentation Coordinator, Sophie Rowe, UCM Conservator, and Helena Rodwell, had the aims of:

  1. Understanding each individual’s role in an emergency situation in relation to other emergency team roles
  2. Refining the Emergency Plan checklists
  3. And identifying and assigning outstanding tasks

Emergency Planning Workshop: Teams and Roles

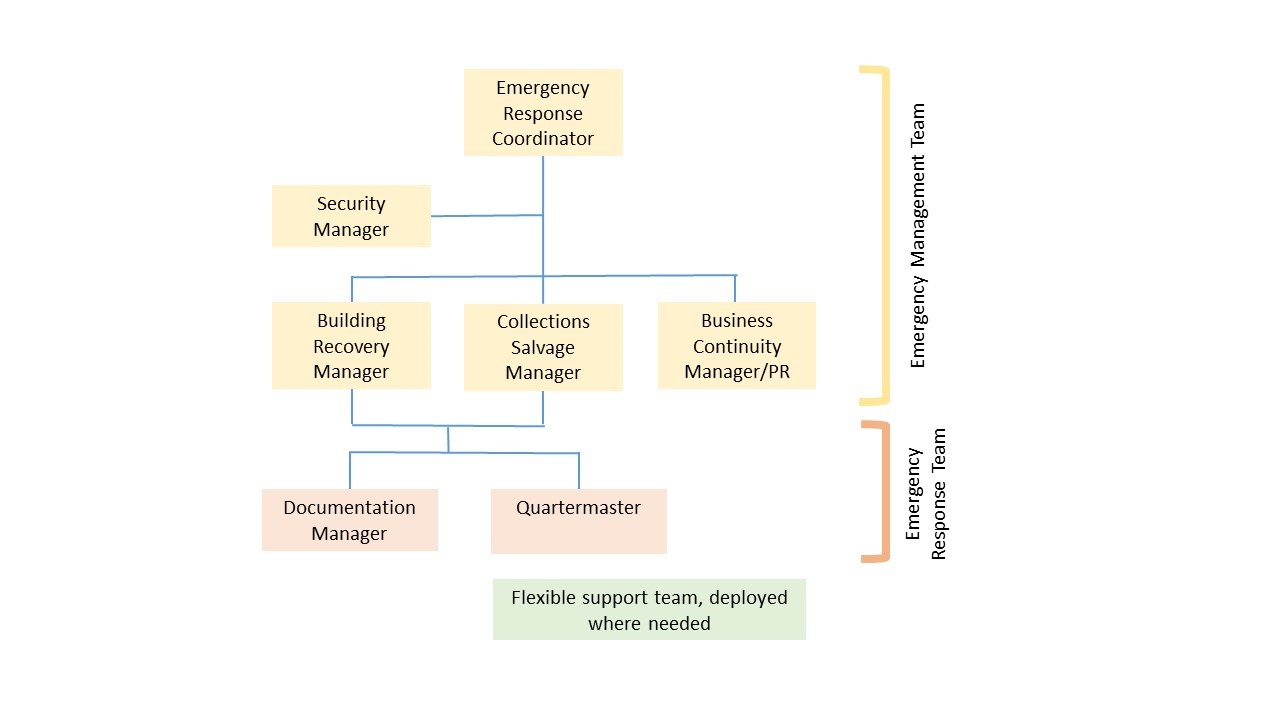
Our first task was to divide into our designated emergency team groups (I was part of the Collections Salvage Group). During an emergency, a wider Emergency Team with clear, designated roles will be activated and manage the incident (fig. 2). These sub-groups include the Emergency Management Team composed of the Emergency Response Coordinator, Security Manager, Building Recovery Manager, Collections Salvage Manager, and Business Continuity Manager/PR; and the Emergency Response Team, composed of the Documentation Manager and Quartermaster, with the addition of a Flexible Support team.

Figure 2 Organogram of Emergency Team Roles

Provided with a series of paper slips with various tasks written on them, each team was instructed to gather the tasks of which their team had ownership and to clarify if others were required. For example, the Collections Salvage Manager’s main tasks are the protection and avoidance of damage to unaffected collections, the minimisation of future deterioration to the damaged material, and the prioritisation of damaged items for recovery. This was a beneficial and enlightening exercise as it clarified:

  1. What the central tasks within each team are
  2. Where tasks could either be shared between groups or where a single group should have ownership of a task
  3. Where teams could go to for support if a task is too large to tackle alone

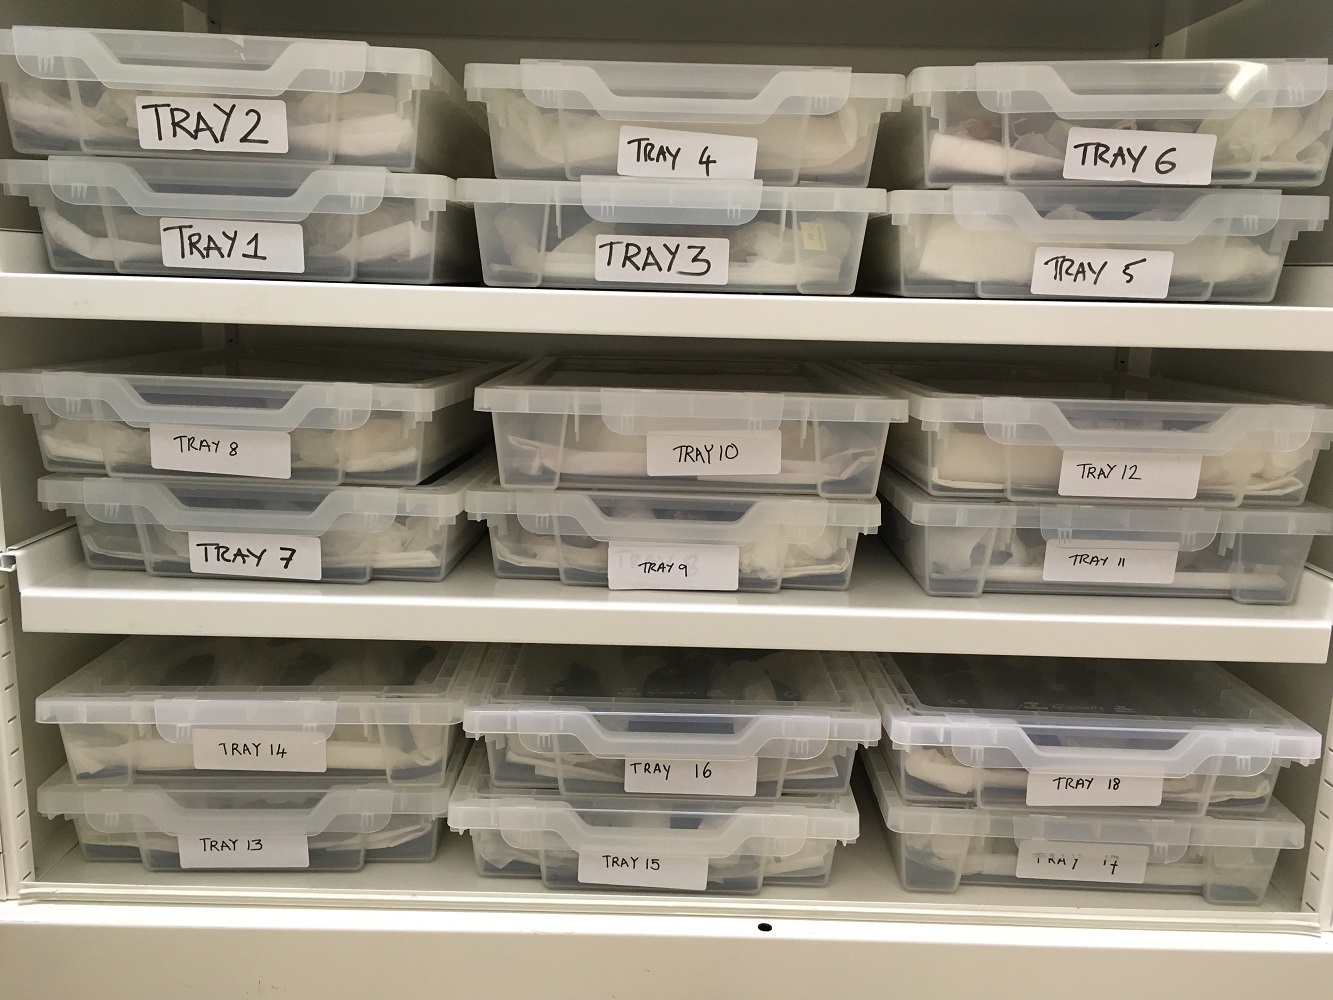
Emergency Planning Workshop: Scenario

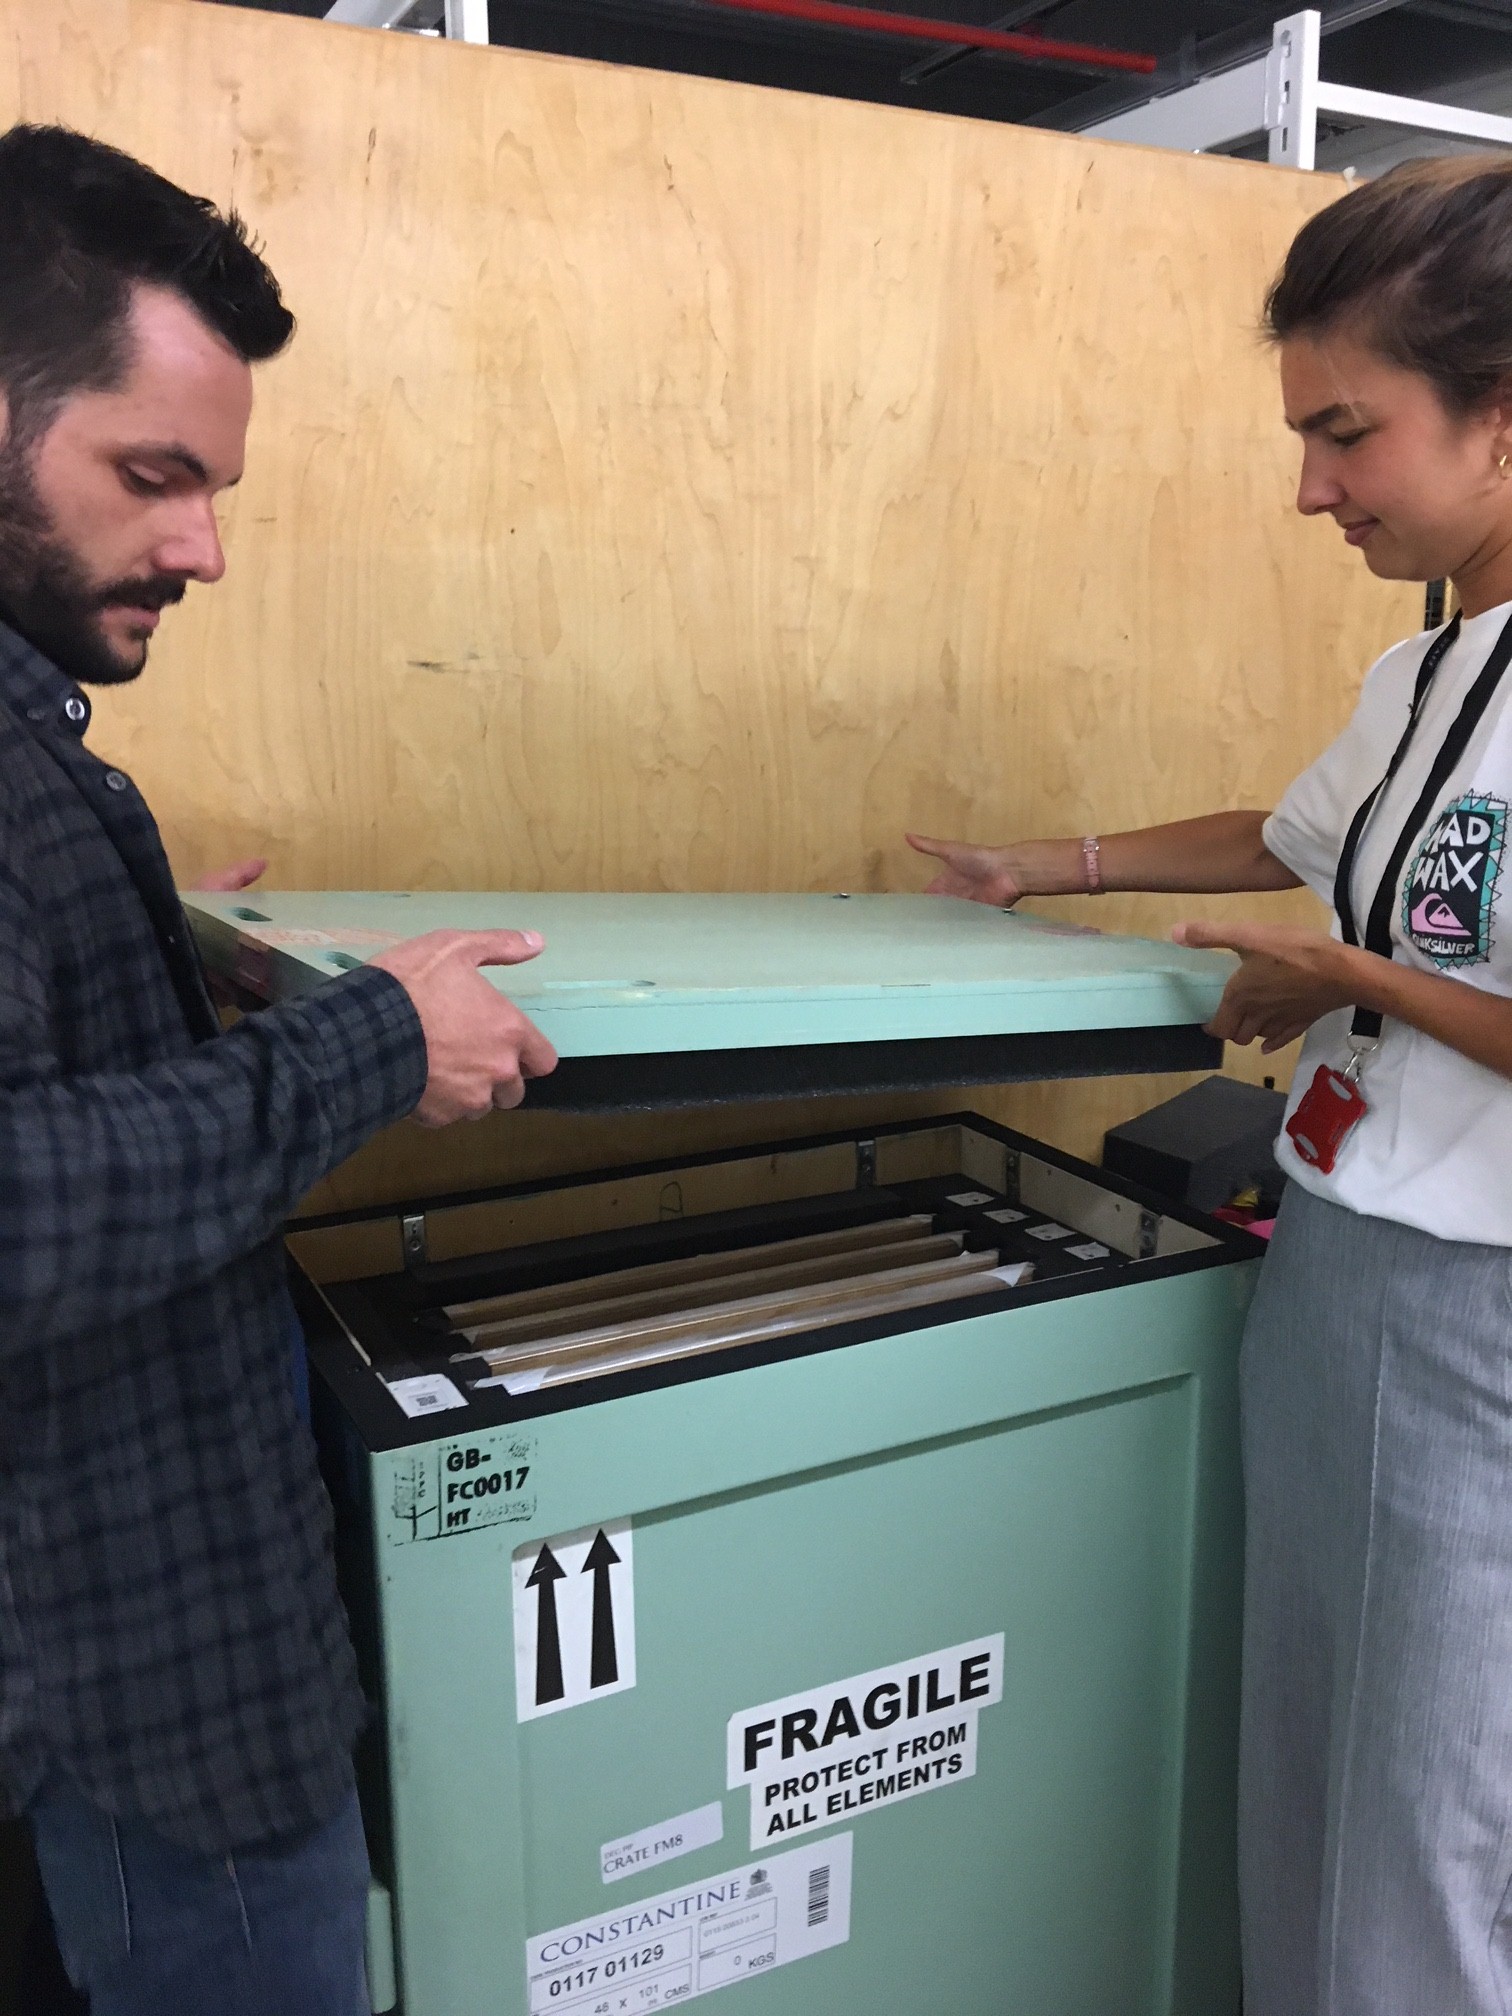
We were then presented with an emergency scenario (fig. 3). We needed to decide our actions and priorities, the equipment and resources required to enable us to perform our tasks effectively, how best to communicate and coordinate with other teams, and assess any requirements for specialist skills and training.

Figure 3 Emergency Planning working group

My group decided that the Collections Salvage Manager would:

  1. Manage the decant of objects to a safe location within a reasonable distance of the incident, but far enough away to ensure the safety of people and objects
  2. Assess the condition of collections and determine quickly which objects are damaged and those that should be prioritized
  3. Determine what sorts of salvage procedures are suitable
  4. Communicate regularly with curatorial and conservation advisors, and present clear instructions to the salvage teams

Emergency Planning Workshop: Outstanding Tasks

We concluded the meeting by discussing issues brought up during the course of the workshop, recorded by Rosie and Helena on sticky notes, and assigned to individual group members to examine further (fig. 4).

Figure 4 Sticky notes for further work

The workshop was beneficial in highlighting the importance of teamwork and shared responsibilities during a potentially chaotic situation. Emergency Planning manuals are not static: they are living documents, which are constantly revised. Continual re-evaluation ensures staff remain involved and have confidence in the Museum’s emergency procedures.

I enjoyed taking part in this workshop immensely and, thanks to the Fitzwilliam Museum staff’s passion and enthusiasm, the day was productive and inspiring.

Bibliography

Waller, R. (1994) ‘Conservation risk assessment: a strategy for managing resources for preventive conservation’, in Studies in Conservation, vol. 39, sup. 2, pg. 13.

LEDs part 2

How LEDs are now very much earning their keep. Conservation viewing aids and other useful pieces of equipment.

Definition of ‘light’: The natural agent that stimulates sight and makes things visible; the key words here being ‘makes things visible’.

Definition of to ‘illuminate’: to enlighten, as with knowledge, to make lucid or clear.

With such a large, diverse and dynamic collection here at the Fitzwilliam1it is hardly surprising that a lot of time is given over to preparing new displays, reviewing items destined for loan and supporting, at times complex in-house exhibitions.

Conservators are required to examine objects extremely closely and quite a lot of their time is spent carefully recording this information. Assessments are made with regard both damage and decay and then to diligently note perceivable change, especially over time. Furthermore, we must be able to establish the construction of an object, the materials that have been used, such as paper and drawing media, and in some instances even the order in which these have been applied.

Although light can be extremely damaging to a wide range of museum objects, its power with regard to illuminating collections can be fascinating and at times, revelatory. As such, both good light and good optics are essential.

Stand alone inspection lamps

To help in these tasks, the museum has recently acquired several stand – alone LED photographic lamps 2. These have replaced older fluorescent lamps which by comparison are somewhat harsh, one directional and at times prone to heating up.

Botticini, Francesco 1446-1497 (Florence). Virgin Adoring the Child, Tempera with gold on a wooden panel, M.10. Task lit using a versatile LED photographic lamp.

Useful features include: an ability to adjust both the levels of illumination and colour temperature and integrated rechargeable batteries, which offer the unit much greater flexibility of use.

A digital display on the back shows how this particular lamp is fully powered, it has a brightness setting of 71 % and a colour temperature of 4100 degrees Kelvin.

For conservators, the technology is now very much out there and the  options available are multiplying all the time. To some extent, the process of selection will be determined by personal preference and in many cases, the cost. Speaking from experience, investing in a good stand (one that is both stable and mobile) will pay dividends. The wheels on ours seem to have a mind of their own and tend to travel in only the one direction!

Hand held LED inspection lamps

The Docter Aspherilux Midi rechargeable LED Torch 3

German-made and the quality really shines through.

A compact torch which gives bright, directional light of even intensity. The metal casing is robust, the body is well balanced and the unit contains integrated rechargeable batteries. The only problem you may have with this particular torch is ‘holding onto it’. In our museum, at very least, useful things become popular with others!

Ambient studio lighting.
A strong and informative (directional) raking light.

This clearly shows the power of ‘raking light’ in revealing the paper undulations, embedded creases, ingrained dirt and other interesting surface textures. Invaluable!

Shown below is a portrait miniature of Charles, 1st Marquis Cornwallis (1738-1805), No 3922. Watercolour on ivory, by John Smart (British artist, 1741-1811) within a decorative gold locket, glazed. Dimensions: 67 x 52 mm.

Condition appears fine, or is it?
On closer inspection (lit by a strong raking light – underside of the cover glass) ‘all is not well’. Click on the image to enlarge.

The black arrow above shows a passage of glass clouding and although subtle, this is important, being indicative of the onset of glass disease4. If this condition is left indefinitely, especially in a poor environment, the sequence of deterioration would become very much more dramatic. As such, by having noticed the change and ideally acting accordingly, this is an important first step in any good preservation plan.

Ultra Violet LED lamp5

A compact Ultra Violet LED torch (Nite Ize, USA)

On occasion, examining an object under Ultra Violet light can be extremely rewarding as illustrated by the 16th century portrait miniature, shown below. In this case the yellowy – green fluorescence indicates  passages of loss, earlier damage and discrete later additions. This particular ‘visual marker’ is indicative of a 19th century pigment, Chinese White (zinc oxide)6.

Photographed in daylight.

Portrait miniature of Henry Frederick, Prince of Wales by Isaac Oliver (British artist, 1556(?)-1617) 3903. Watercolour on vellum laid to card. Dimensions: 52 x 40 mm.

Photographed under Ultra Violet where the edge damage and later additions are clearly visible. Click on the image to enlarge.

Magnifiers

An Optivisor is a useful and inexpensive viewing aid, costing approximately £30-50. This is the sort of thing that one often reaches for whilst inspecting an object at close quarters and is commonly used by paintings conservators engaged in detailed image reintegration -restorations.

Various lenses are available offering different powers of magnification and are easily interchanged. Personally, I have found x 4 most helpful for some of the more detailed conservation tasks.

In recent months here at the Fitzwilliam we have been taking a closer look at many of our miniature paintings7and for this task, I have found a small hand-held magnifier especially useful8.

Leuchtturm-Lighthouse frameless LED Illuminated Magnifier.
Seeing things in a better light.

Portrait miniature of an unknown man, PD.958-1963. Watercolour on ivory  by John Smart (British artist, 1741-1811) within a decorative gold locket, glazed. Dimensions: 38 x 32 mm.

Examining such small works as these under magnification and in good light, helps enormously in their interpretation. Close inspection is invaluable and may reveal all sorts of ‘collection care issues’; such as friable media and/or loss, the onset of glass disease or perhaps even, invasive mould growth (see the detailed image shown below).

An 18th century miniature portrait.

Portrait Miniature of Sir Joshua Reynolds by James Nixon, British artist, c.1741(?)-1812, No 3800. Watercolour on ivory, within a locket, glazed. Dimensions: 80 x 64 mm.

Scale in life: 40 x 60 mm (detail)

Detail of the same, showing invasive and unsightly mould to the surface. Click on the image to enlarge.

Under closer scrutiny, surface mould growth is clearly visible. Spotting this type of damage and taking the necessary action (ideally addressing the mould and being especially vigilant with regard ‘storage conditions’) is important, in any progressive collections care plan .

Conservators are naturally inquisitive creatures and often, through necessity, have had to evolve and adapt. The profession is relatively small and sadly, all too often poorly resourced. As such, borrowing ideas from others is especially satisfying and all the more so when this saves a little money.

LED Light panel – light box 

By way of example our studio recently purchased an LED ceiling light panel9,a chance find at a local electrical outlet. Although most frequently used in schools and hospitals, this even light source has now become our ‘go to’ studio light box.

A fortuitous find: how LED ceiling light panels are now doubling up as a useful, low profile, light box. A reliable, inexpensive source of transmitted light.

Transmitted light (light shone through a surface, such as a paper) is especially helpful in revealing certain characteristics that otherwise may remained hidden, such as a maker’s watermark or perhaps even, the date of manufacture.

A fan shown on an unilluminated LED light panel, nothing spectacular in itself.


The same in transmitted light. Note the physical damage (various losses and tears), information with regard the fan’s structure and the delicate fretwork pattern (small pieces of paper cut out by hand). Click on the image to enlarge.


In detail, unilluminated.


In detail, illuminated (showing the power of ‘transmitted light’)

M.219-2015: 18th century Italian chinoiserie fan. One of 600 or so, rich and varied fans recently acquired by the Fitzwilliam (2015)10.

As conservators we look for clues with regard the paper type, the process of manufacture, the probable age and perhaps even, a place of origin. This not only helps in our better understanding an object it may sometimes lead to more precise authentication.

Below is a watercolour by JMW Turner, photographed in day light.

Venice, storm at sunset by J M W Turner (British artist, British artist, 1775-1851) watercolour and bodycolour, Size 222 x 320 mm. Given by John Ruskin in 1861, No 590.
The same watercolour, photographed in transmitted light, using an LED light panel. Click on the image to enlarge.

When viewed in transmitted light the paper shown above is clearly wove11 and looking more closely, a maker’s watermark ‘J Whatman 1834’ can be seen, which is both of help and significance. Turner is known to have visited Venice on at least three occasions, in 1819, 1833 and 1840, although recent research has suggested that he was also there between 1835 and 1839. The light shining through the paper reveals an extensive inscription written on the back of the watercolour (possibly in Ruskin’s hand) and also gives useful insight into Turner’s working methods where he has scratched back the paper, creating highlights of both the Venice skyline and turbulence seen in in the sky and breaking waves.     

Dated watermarks do not prove the date of production but do provide a reference point of sorts, and it would be reasonable to assume that the work by Turner shown above could not have been produced any earlier. It could, however, have been produced several years later. Some artists are known to have preferred using a seasoned or aged paper, whereas others may have returned some years later to work up an incomplete sketch.

I hope that some of the illustrations presented above are of help and may stimulate others to look more closely and with that all-important ‘questioning eye’.


Acknowledgement: My thanks go to several kind colleagues for reading the text, helping with IT issues and for gently nudging me back on course.


Work Placement in the Prints and Drawings’ Department

This June I was lucky enough to spend two weeks working with Richard Farleigh, Conservator of Works of Art on Paper, as I undertook my training placement at the Fitzwilliam Museum in Cambridge. I have been living and training in Cornwall as a Books and Archives Conservator for just over a year now, having left my posts at the Fitzwilliam Museum in June 2017. It was a real joy to be able to return to the museum this year in a new guise, with new skills and a fresh perspective.

Carrying out my placement in the Paintings, Drawings and Prints Department (PDP) over a two-week period provided a unique opportunity for me to work alongside the Fitzwilliam’s paper conservators whilst also assisting the Department’s technicians with the installation of a new temporary exhibition. Whilst I cannot include in this blog post all that I have learnt, below I have picked out a few highlights from my time at the Museum. Before I tell my little story, I would like to thank the team for making me feel so welcome. It was a real pleasure to work with colleagues, old and new, and to gain such a breadth of experience through doing so.

My first week was largely spent assisting the Department’s technician team with the exhibition ‘Floral Fantasies’, now on display in the Shiba Gallery until 9th September 2018.

Myself and PDP technician Richard Carpenter carefully pinning a mounted watercolour executed on vellum in position. PD.880-1973 A bunch of flowers including peony, roses, hibiscus, asters and gentian by Pierre Joseph Redouté (Flemish, 1759-1840).

It was hugely valuable for me to work on this installation due to the range of objects and materials involved, each presenting its own challenges for mounting and display. It was exciting to see innovation at work in the Museum, particularly in terms of new mounting techniques and the use of acrylic to create bespoke cradles for the paper-based collection and the museum’s precious miniatures.

A cradle made in house using a laser cutter for displaying a complex paper- based artefact (credit: John Lancaster, Manuscripts and Printed Books technician). In this instance for a Valentine by unknown maker, early 18th century. P.14622-R Cut paper, with applied silk and metal leaf (folded).

Coincidentally, my placement fell just at the moment a large consignment of some 80 art works, a loan show, Degas: A Passion for Perfection returned from the Denver Art Museum, USA. I assisted with the unloading and then helped the technician team return the full transit crates to one of the Museum’s picture stores.

The Museum had used a number of shock loggers, packed inside selected crates which monitored shock magnitude in real time.

A small but clever tracking device. This is one of several Shock loggers that travelled from the Fitzwilliam Museum, Cambridge, UK to Denver Art Museum, USA and back.

Some of the works, be they pastel drawings or three dimensional sculptures, are inherently fragile. Information from the Shock loggers was relayed to designated recipients who were then able to monitor levels of shock and/or excessive vibration during the long journey.

I also assisted the conservators and technicians in unpacking several of the crates and then helped to condition check a number of Degas drawings.

Carefully unpacking one of the transit crates which contained several drawings slotted vertically.

It was interesting for me to understand how the Museum manages its various loans and to work through the procedures for condition checking. Later in the year in Cornwall I will be delivering  a training session regarding best practice for display and will certainly be able to include many of the tips that I picked up whilst working in the PDP Department.

Inspecting the surface of a chalk drawing by Degas, using a strong raking light to check for any perceivable change in the condition. PD.25-1978 Portrait of the Dancer Jules Perrot, by Edgar Degas (French artist, 1834-1917).

During my second week I was able to spend time at the bench in the conservation studio with both of the PDP paper conservators. With the Conservator of Prints, Harry Metcalf, I tried my hand at inlaying prints from parts of the collection currently not on display.

Inlaying a print: accurately marking the aperture around the boarder.

I also worked with Richard Farleigh on the mount cutter to learn more about the various house-styles for mounting up drawings. I made a mock-up of a mount for my own print and practiced other techniques using Japanese paper hinges. As exhibition preparation falls outside the remit of our conservation studio in Penzance, it was extremely useful for me to exercise my mounting skills. I now understand how to provide safe and lasting housing for paper-based collections, and how to select the most appropriate display methods.

As I came to the end of my placement, it was a real joy to work in the studio with Rosie Macdonald, a contract paper conservator. In collaboration with the Applied Arts conservators, Rosie is conducting a survey of the condition and the conservation needs of the Lennox-Boyd collection of fans, a recent bequest of 435 folding fans, 10 screen fans and 178 single leaf fan designs. I helped with the survey and the cleaning and packing programme. Fans are complex objects often made from a variety of materials including paper, bone, gems, metal leaf and textile. Their conservation and storage needs are challenging, as Rosie explained.

M.120-2015 The escape of Mary Queen of Scots from Lochleven Castle (a detail), French circa 1790. In this particular case the primary support is not paper but silk with a printed design, applied sequins and metal inlays on the bone sticks. The repair needs of the fan (considerable!) were considered and the time required to undertake the work was estimated.

Careful thought has also been given to the method of packing. Each item is wrapped in acid-free tissue, folded (importantly not rolled) in such a way that the fans are still partially visible through a layer of tissue, whilst also being supported by multiple layers of folded tissue underneath, forming a cushion.

Surface cleaning using a conservation sponge and soft brush to lift dust and dirt.

My return to the Fitzwilliam, albeit brief, has really allowed me to supplement my training in Cornwall by broadening my skills in both paper conservation and exhibition planning and preparation. I would like to give special and sincere thanks to Richard Farleigh for organising my placement and for taking time out of his busy schedule to pass on his skills and provide opportunities for me to collaborate with colleagues.

Until next time Cambridge….


Hollie Drinkwater
New Starter Trainee
PZ Conservation C.I.C.


Rehousing the Egyptian Organics

The Fitzwilliam Museum is well known for its large and diverse collection and the Department of Antiquities alone holds 27,000 objects. The public galleries represent approximately one tenth of this, with other objects packed away in storage areas. The best and most interesting of these are swapped onto display, many other objects, including small items such as pottery sherds and beads, are accessed by researchers whilst in storage. As Departmental technicians, one aspect of our job, is caring for the objects, both on display and in storage, and working alongside the conservators and curators to ensure that they are housed a suitable way, which will help guarantee their longevity and condition.
In the Antiquities stores, as with many museums, space is limited. With many objects kept in storage, it is an on-going job to rearrange both store and the objects, so that the collection can be best accommodated into the minimum amount of space, but remain accessible to researchers. A recent project that is part of this reorganisation is the Egyptian Organics.
As the name suggests, these are Egyptian objects, varying in types of organic material and design. They are extremely sensitive to changes in environmental conditions and insect pest attack, so it is best for them to be stored together, where we can keep a close check on these factors. They have been stored in temporary tray-stacks in several different places, and we were keen to get them repacked, documented and rehoused together.

How are we doing it?
There is quite a bit of work that will go into rehousing this material, it is not a simple case of just transporting them to a new cupboard or box. Each object is assessed individually through a multi-stepped process.

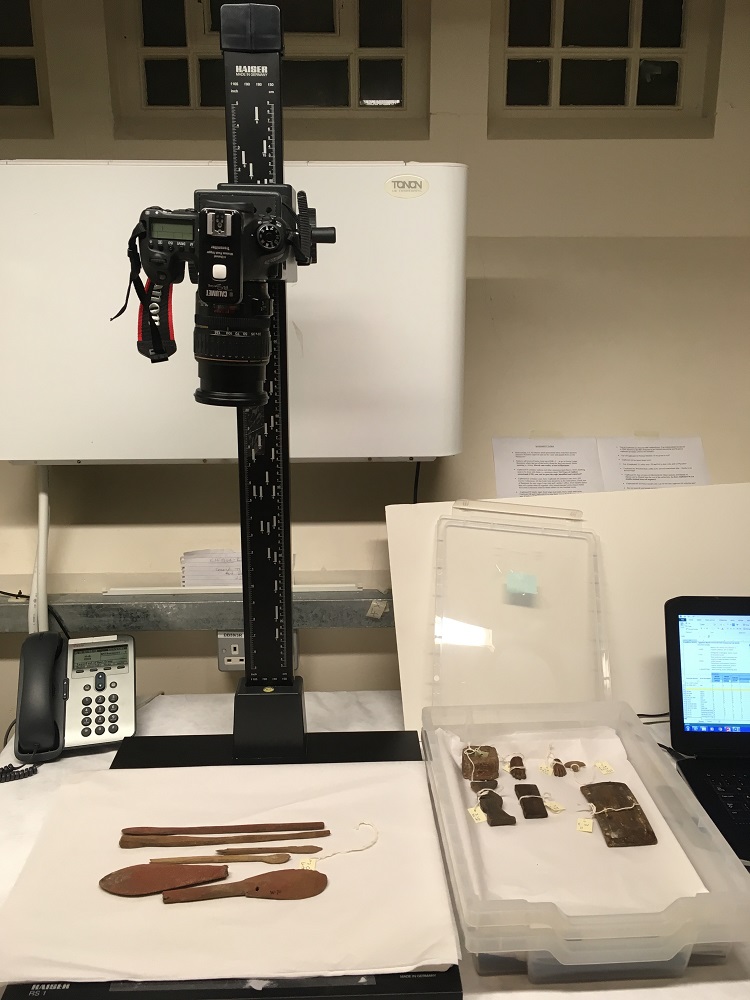
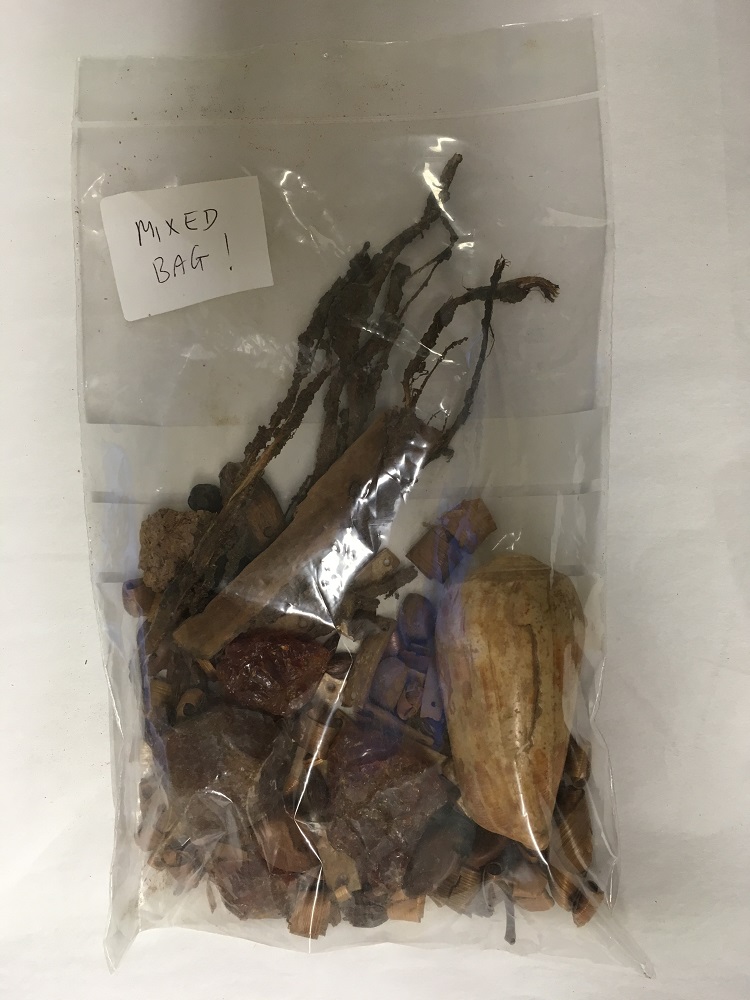
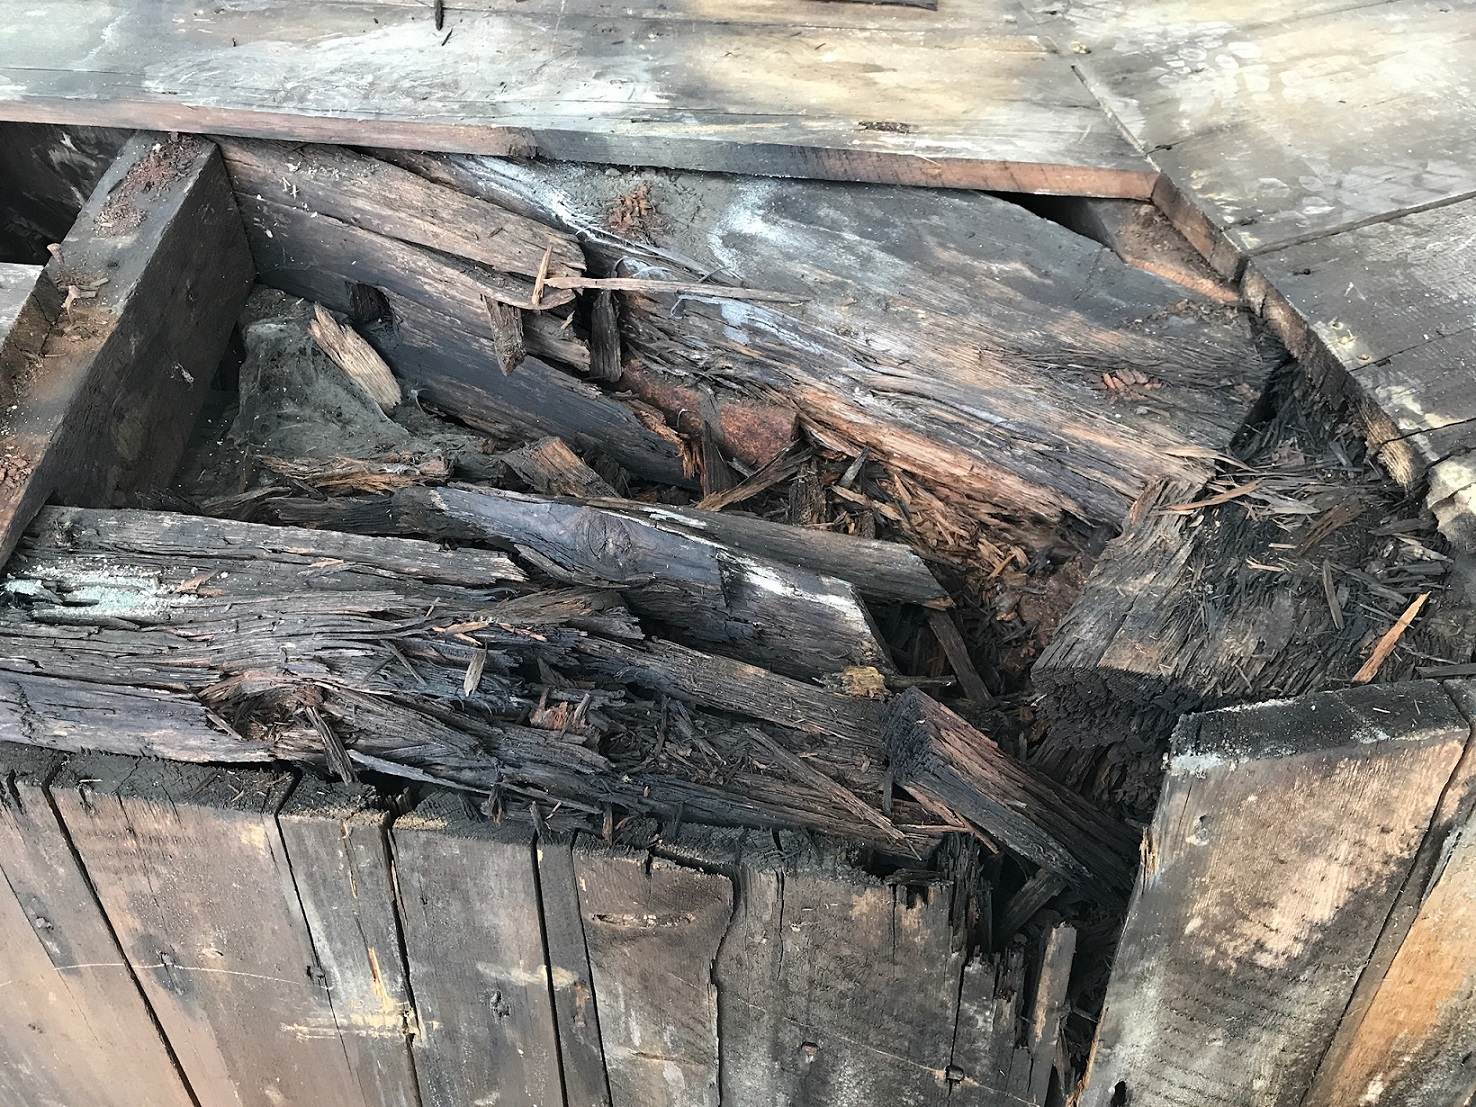
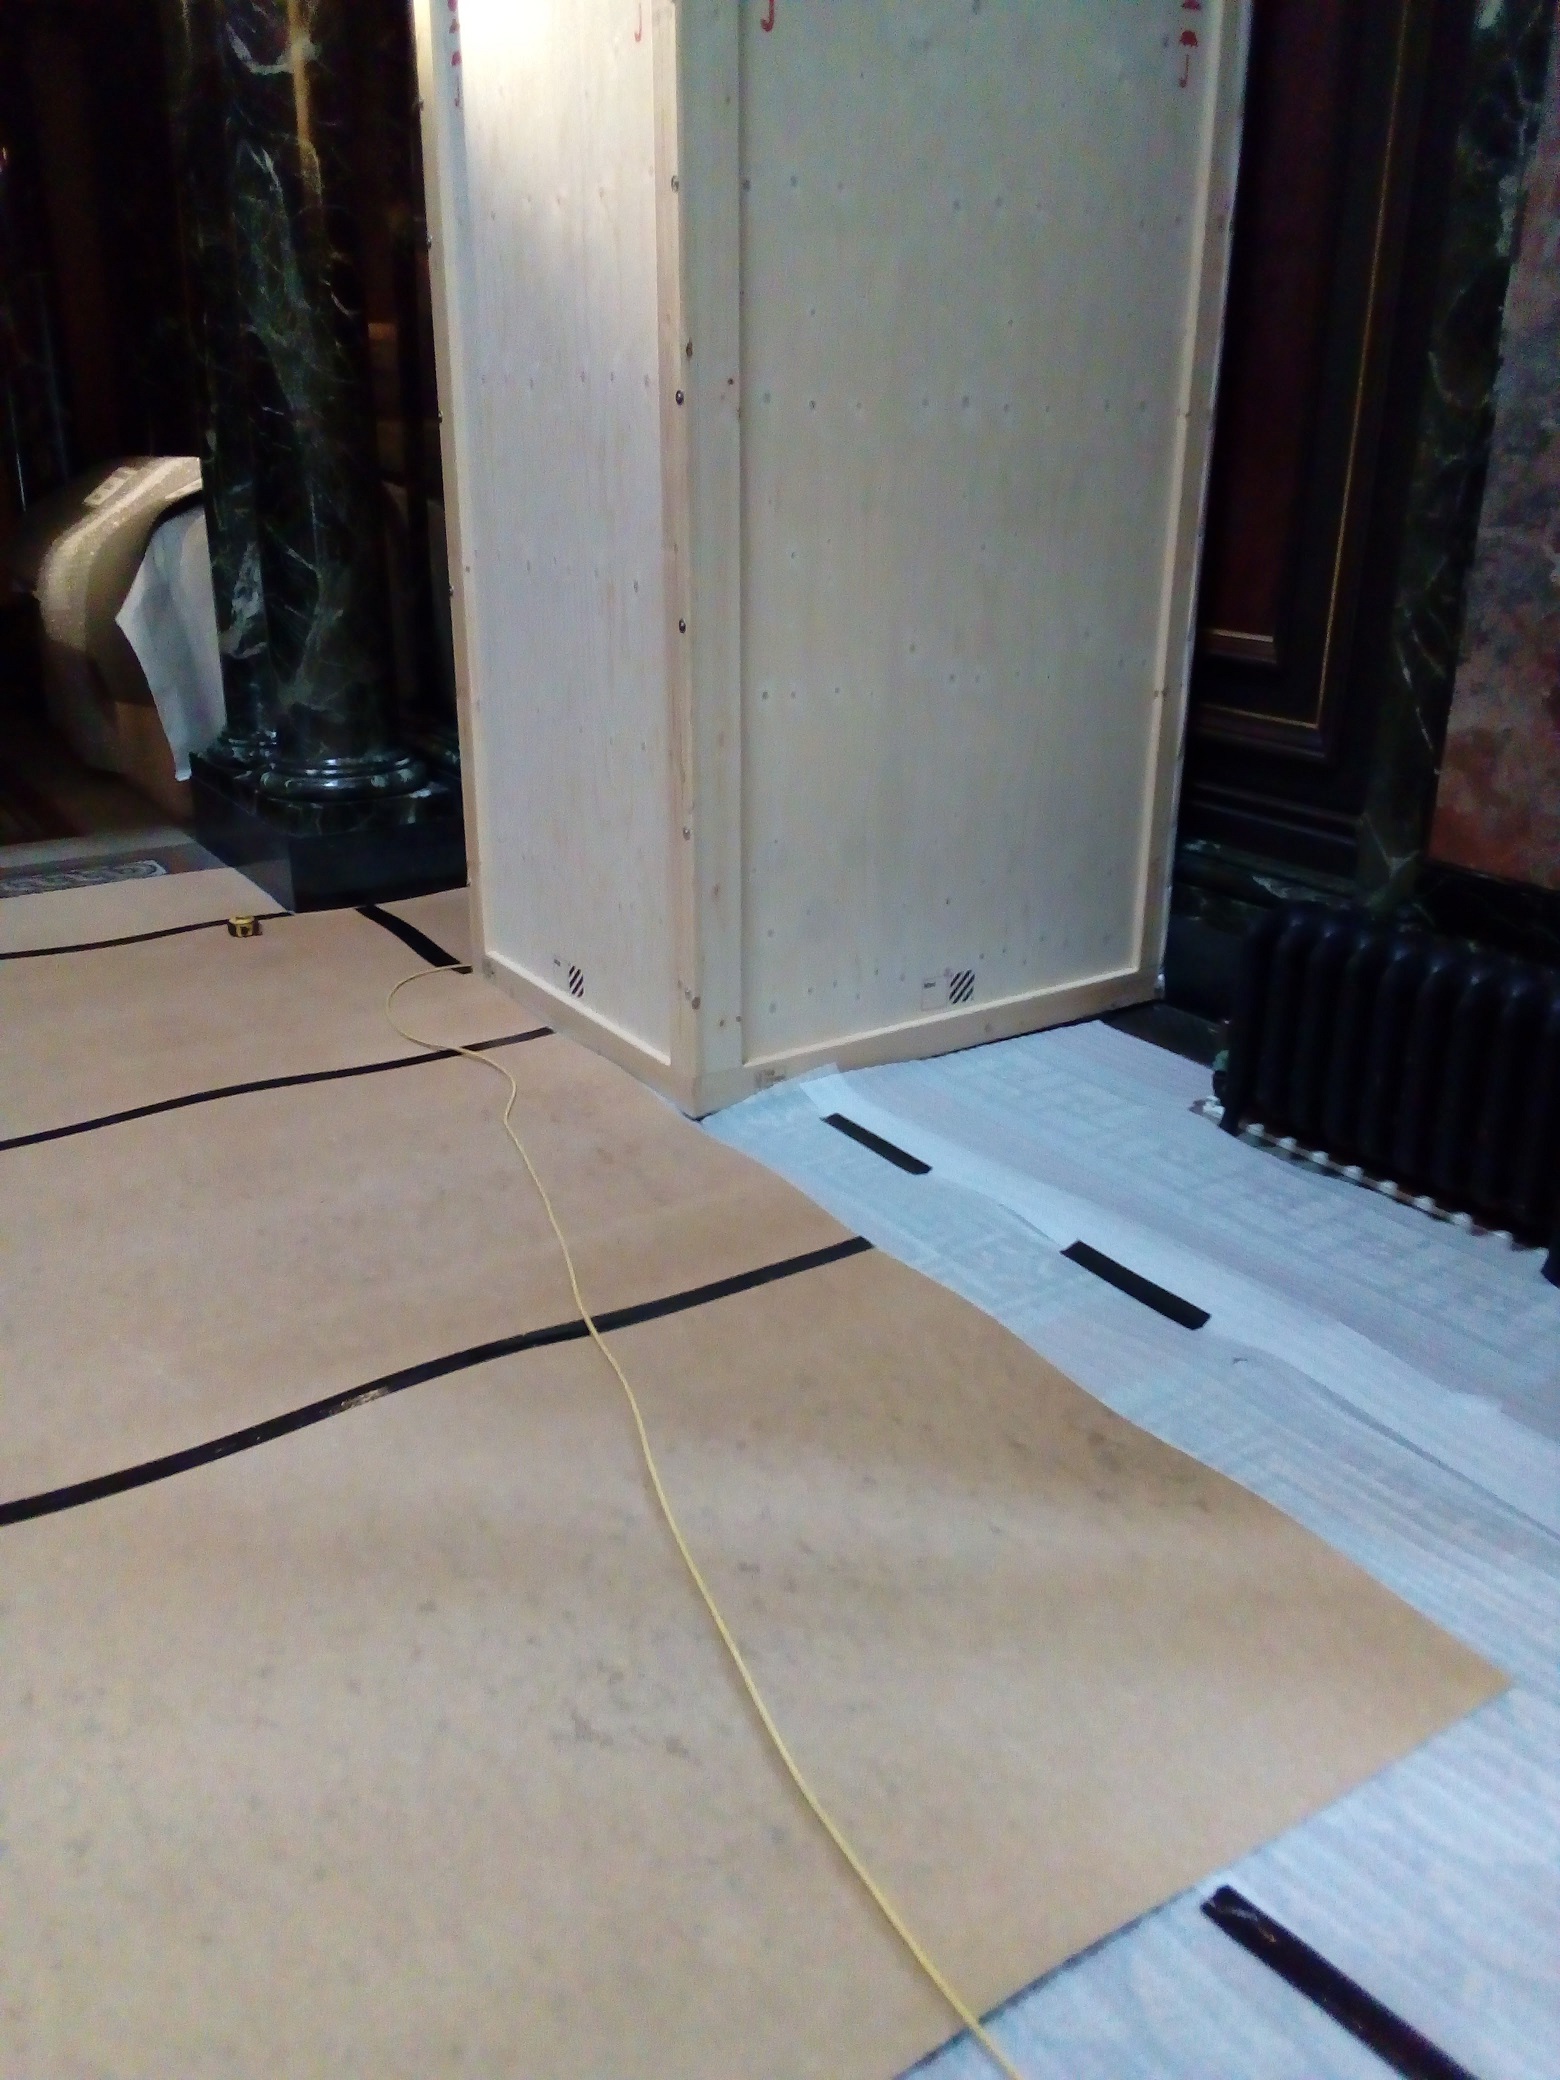
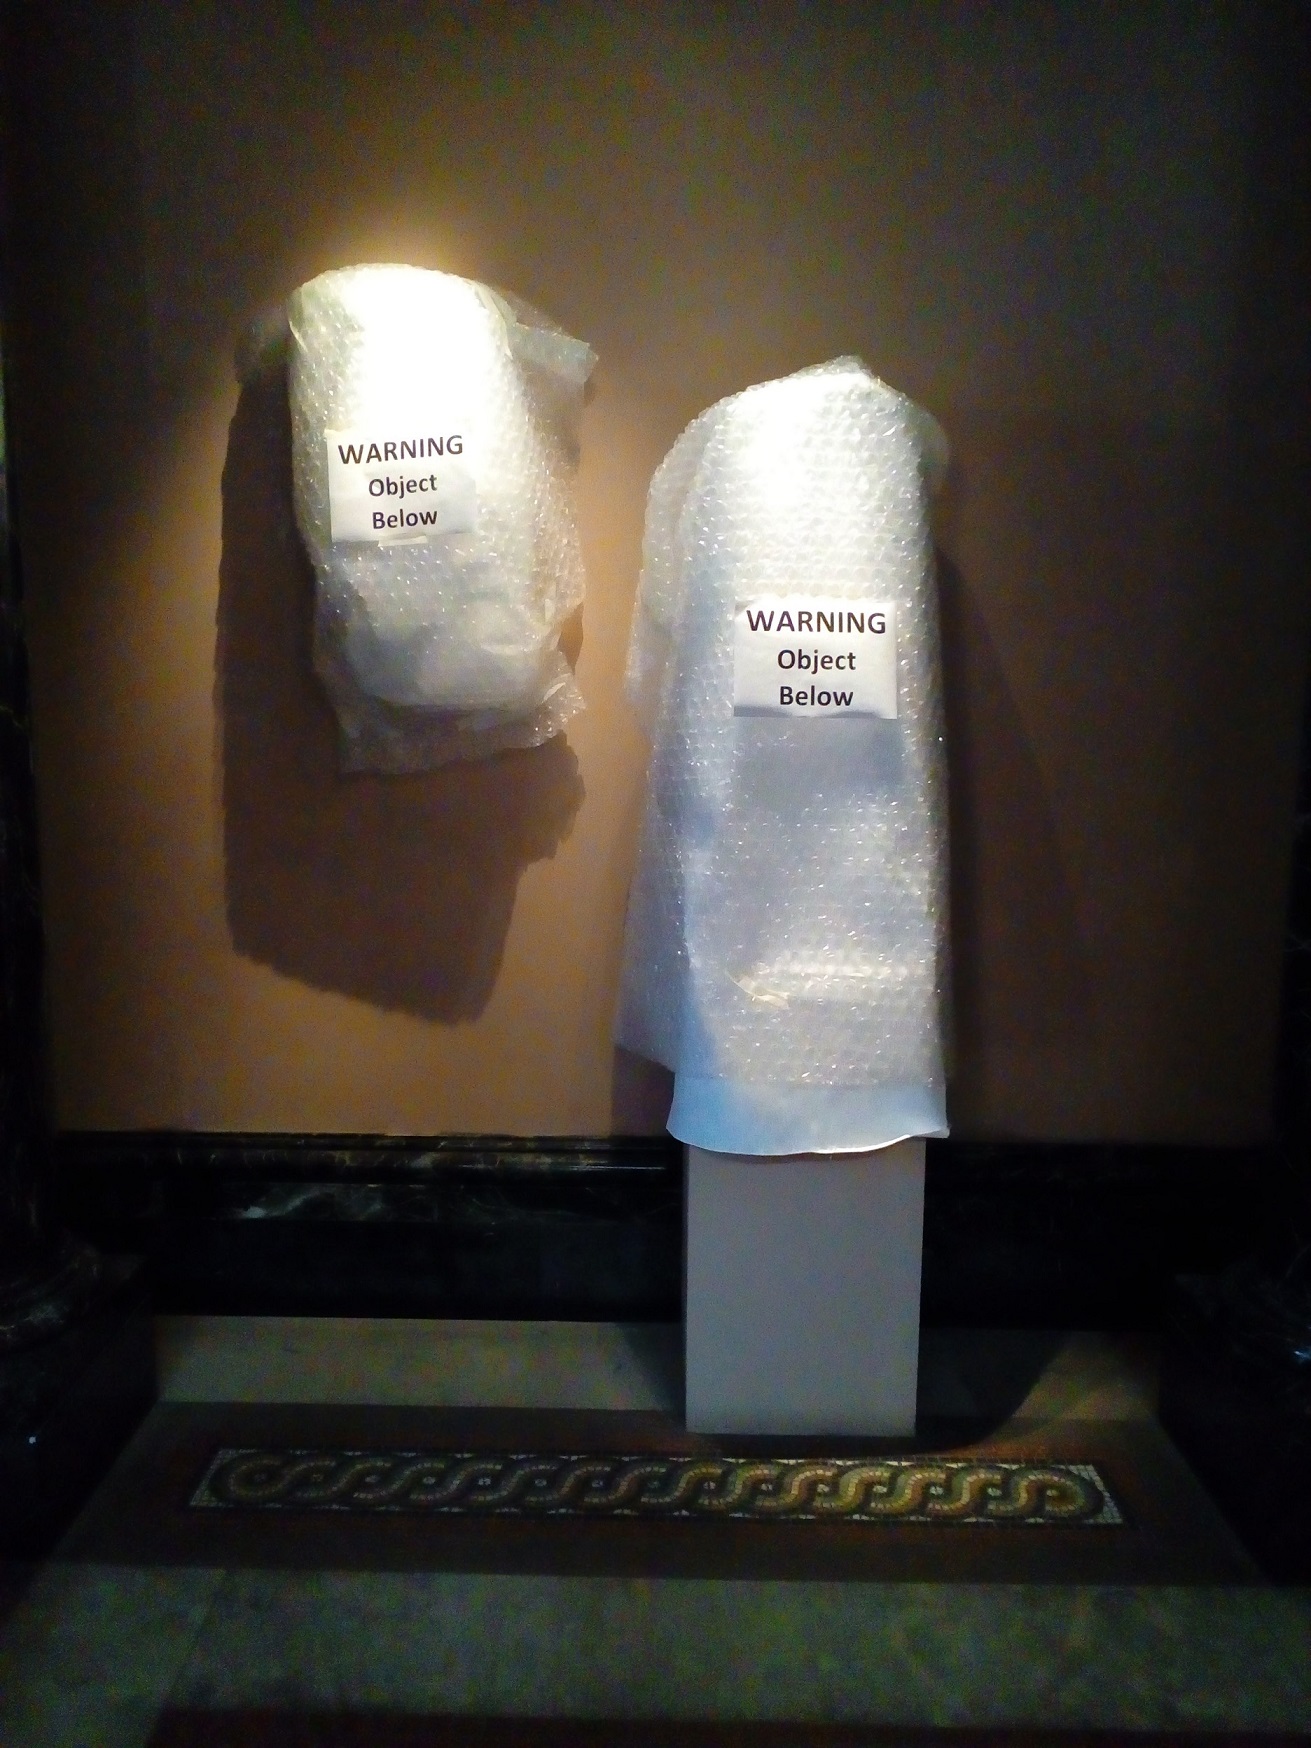
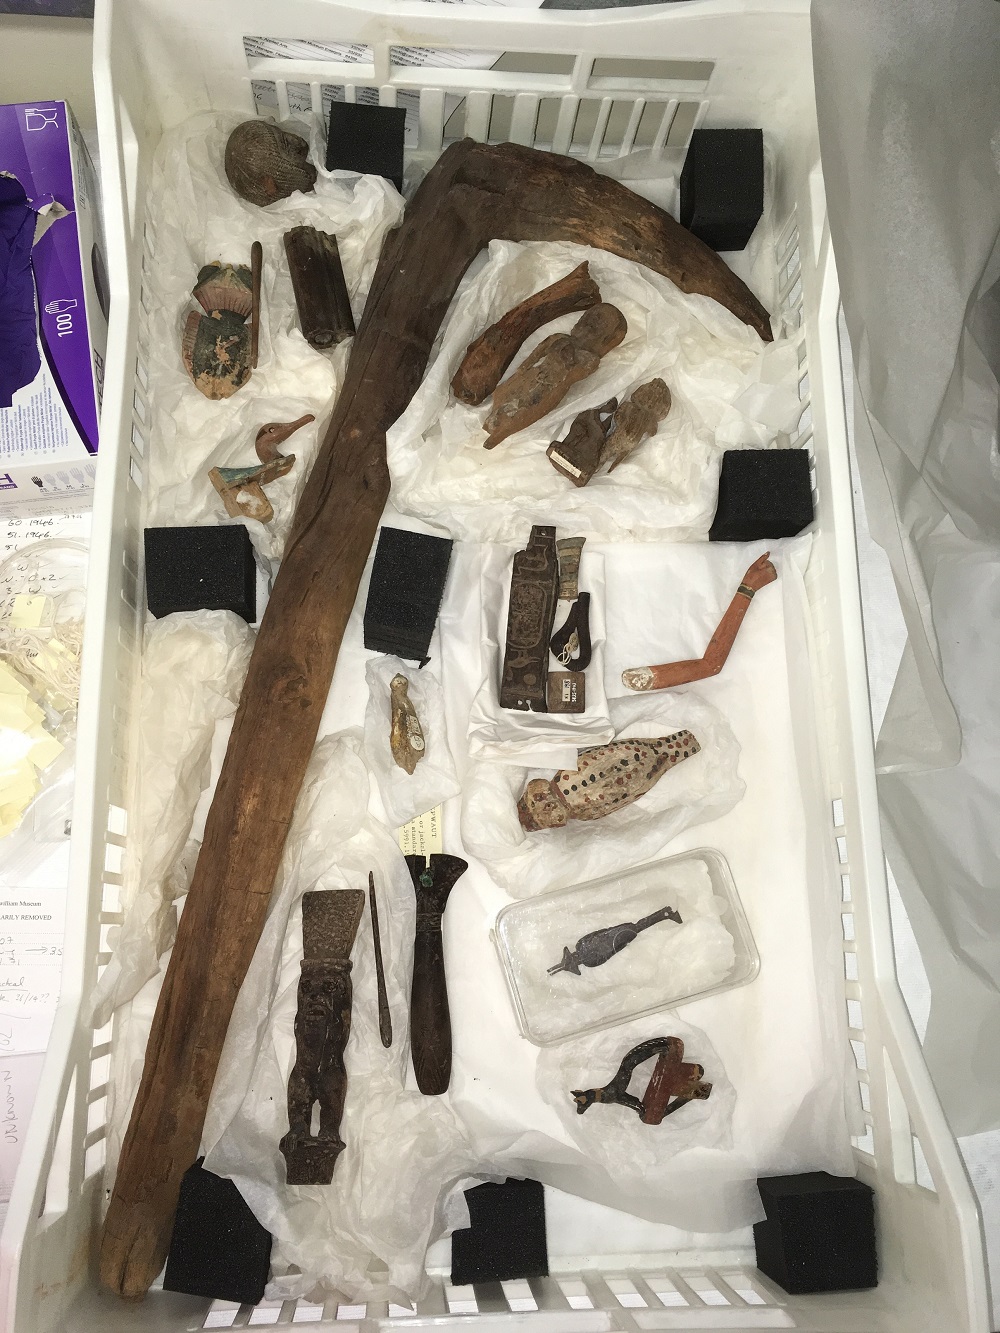
How the objects have been stored previously.

Up until now, the organics have been stored in these large trays. They are lined with inert foam and acid free tissue, however some objects were not as well supported as we would like and we were keen to refresh the tissue and reduce some of the cramped storage. Some objects had also become separated from their information or component parts.
Each object was taken out, photographed and assessed for its conditions and needs. Information on each object is imported into a spreadsheet, which includes details such as the museum number, a brief description of what the object is, what types of deterioration are present, whether there are old repairs, or metal components. We also gave it a condition grade out of 5, with 1 being in the best condition (similar to the condition of the objects out in the galleries) and 5 being the worst, meaning it might need immediate treatment.


Organics being photographed, documented on the spreadsheet and labelled up.

The museum number is usually written somewhere on the object itself. It may seem strange to permanently mark the object, but it is the best way to ensure the number remains attached, as labels and tags can easily fall off and become disassociated. These days, when marking an object we do it in a way that is reversible and not harmful to the object, but pieces that arrived in the collection in the past sometimes have the number directly applied to the surface. The museum number is how we identify the object, it links it to all its records and documentation, including information on when and where it was found, and how it came to be part of our collection.

An object like this would be hard to identify if we didn’t know its museum number. Luckily it has survived and is still legible.

This tells us that this object came into the museum in 1943, and it was the 5842nd object to be accessioned that year. It means we can easily access all the documentation and provenance for this object. By looking at the online database, we can find out that E.GA.5842.1943 is a figure of a Pygmy with a monkey on its shoulder.

Once you know what the object is supposed to be, it is a lot easier to recognise.
When all his information is recorded, and his label is attached, he is nestled into new acid free tissue paper and placed into a lidded plastic tray.

Even though his museum number is clear to read, giving him a second visible label means we do not have to handle him to check his number in future, thus minimising further damage.

Sometimes, due to the condition of the object (or the handwriting!) the legibility of the number can become a problem. If we are not sure of the number, we can check it against our Slip Books. For many, but not all of the objects, these Slip Book records were created at the time the objects were given a number. They contain lots of useful information, including drawings and sketches of the objects (as this was before cameras were readily used) which can be used to match the object correctly.


Object with its Slip Book entry and drawing.

These drawings are extremely helpful as we can determine what state the objects where in when they arrived and how they are faring now in comparison. It is important to note that the condition of most of these objects has barely deteriorated since they arrived at the Museum. Some objects, especially the tomb model figures, were found to have remnants of newspaper attached to them. As many of the Slip Books entries also make note of it, we can determine that it is likely this newspaper was wrapped around them, as packing material when they were first shipped to the UK after excavation. The newspaper has adhered itself to the surface of the object and became embedded within the grain, making it potentially a tricky (and long) job for a conservator to tackle.

Any object that does not have a number and we cannot straight away identify from the Slip Books, we assign an ‘Unknown’ number. Currently over 100 of these ‘unknown’ numbers have come out of this project.

All these unknown organics will have to be identified through investigation through both our online database and our Slip Books, some unfortunately might take a bit of work to identify!

However, as they are all now safely packed and documented, the conservators can get to work on any that require immediate treatment whilst we investigate!

Rehousing all these artefacts safely is only the first step. There are still many phases of conservation, research, and documentation to be carried out, along with more permanent housing for those that need stabilising. However they can now all be easily accessed and identified, as well as safely packed away.

Projects like these allow us to look at our collection in depth, building up a good picture of the nature and the condition of the objects. It is also one of the most enjoyable parts of our job, as you never know what you might come across next…

LEDs Part 1 Seeing things in a new light

How LEDs are now very much earning their keep
Gallery lighting – setting the scene

The best type of gallery lighting should be versatile, easy to calibrate, natural in appearance and ideally, environmentally compliant.

In recent years the advances in Light Emitting Diodes (LEDs)1 have been little short of extraordinary. This is now an established lighting technology and is ‘absolutely where the future lies’, no ifs, no buts.

Here at the Fitzwilliam Museum most of the lighting, along with many other heritage institutions and art galleries, is predominantly by halogen incandescent2 and to a lesser extent, fluorescent lamps. Although well-honed and now quite sophisticated, there are downfalls: significant energy usage, local heat production and certain reliability issues. Furthermore, when compared to LEDs, incandescent lamps have a pitiful lifespan and to compound matters, the sourcing of suitable parts has become increasingly difficult.

Replacing bulbs can be time consuming, disruptive, and in certain situations it is not always easy to undertake without an element of risk.

The average life expectancy of a traditional incandescent bulb will be around 5 years whereas by way of comparison, an LED will be closer to 100. These statistics alone reveal a startling disparity, and one that increasingly just cannot be ignored.

Recent advances in LEDs have seen a broader range of lenses available and perhaps of more significance, a greater accuracy with regard their colour rendition. So, when the cumulative power saving projections alone are taken into consideration, the argument against their implementation falls pretty much at the first hurdle.


Selection of LEDs

When selecting the type of LED for gallery use, four important factors should be considered carefully The colour rendition index, colour temperature, wavelength profile and light output or illuminance.

Diligent research and seeking guidance from an established supplier will pay dividends. See also: ‘LED Decision-Making In a Nutshell’ by James R. Druzik and Stefan W. Michaliski, August 2012, pp. 22, 23.


Colour Rendition Index (CRI)

The effect of a light source on colour appearance is expressed by the CRI index, on a scale of 0-100.  Natural outdoor light has a CRI of 100 and is used by way of standard comparison.

CRI 60 – reasonable

CRI 70 – moderate

CRI 80 – good, reflecting colours ‘truly and naturally’

CRI 90 – excellent, a full and vibrant colour range (heritage organisations should be aiming for 90 plus). 


Colour temperature

The colour temperature of a lamp can be used to understand how the light will appear to the human eye. Measured in degrees Kelvin (K).

Both natural and emitted electrical light (various types) will be composed of different wavelengths. Light, from whatever the source, will have a unique profile and in turn a ‘specific colour temperature’.


Warm light           2,700 – 2,800 K

Neutral light         3,500 – 4,000 K

Cooler light           5,000 – 6,500 K      (simulates daylight)

Daylight at noon is generally cited as being around 5,600 K. However, in reality this figure will vary according to both the time of day and weather. 


Wavelengths

Measured in nanometres (nm)


Ultra-violet3 (UV) light waves fall below 400 nm and is invisible to the human eye. The lower the wavelength, the higher the frequency and potentially, more damaging to museum collections. UV should be excluded wherever possible.

By contrast, Infrared4 radiation is above around 750 nm at the higher end of the scale and will produce heat. Heat speeds up chemical reactions and this becomes relevant when caring for collections with regard the rates of decay and degradation.

The graphs below compare old incandescent lighting in the Flowers Gallery with newer LED lighting in the recently refurbished Dutch Gallery.

Correlated Colour Temperature: 2750 K

Colour Peak: 766.77 nm

Lighting: Incandescent lamps (Halogen) and some filtered daylight


Correlated Colour Temperature: 3761 K

Colour Peak: 545.82 nm

Lighting: LED (predominant gallery light source)

Skylights: Fluorescent tubes minimal filtered daylight


Wavelength profiles captured with a Spectrometer (GL Optic’s GL SPECTIS 1.0 touch) January 2017.


Light Output – Illuminance

Measured in Lux5

The illuminance considered appropriate for most gallery spaces will be dictated by both addressing audience need and the various sensitivities of the collections displayed (the material type, make-up and overall condition).

Taking a light reading6 in the Dutch Gallery. Oil on panel (detail) by Abraham van Calraet, 1642-1722.

Light levels and exposure should be carefully monitored and ideally logged, since light damage to museum objects is often subtle; the effects are cumulative and crucially, any change inflicted is irreversible.

By way of an example see the drawing below where the cut away top mount shows just how drastic the change can be.

Black and white chalk drawing on a coloured paper by Walter Sickert, 1860-1942 (detail).

In this particular case, the coloured paper support was originally and entirely, a greenish blue. The colour shift from green to brown, where the drawing has been exposed to light, alters both the look and quite possibly, the intended context. Fortunately, such extreme examples are rare within museums and as conservators, we always endeavour to keep it this way.

A computer generated overlay gives an impression of how this drawing would have originally looked.


Intelligent lighting design: Creating a sense of theatre

With carefully calibrated light levels, directional beams and consideration to the colour balance (within the range of whites) the impact of intelligent lighting can be little short of ‘transformative’. As such, many of the more informed galleries are now making good use of specialist lighting designers.


An example of exhibition lighting here at the Fitzwilliam Museum:
Degas: A Passion for perfection (2017).

Wall mounted art works and a cased table top display, carefully lit.


Bronze Spanish Dancer (foreground), posthumous cast, by Edgar Degas.

In the above two examples both the needs of the museum objects and the overall gallery lighting has been planned.


The recently refurbished Dutch Gallery (2014)

As part of a recent refurbishment project in one of the galleries here at the Fitzwilliam Museum, various lighting modifications were considered. The museum adapted – it embraced change and now this particular gallery is predominantly LED lit.

The Dutch Gallery with a c1690-1700 Flower Vase (foreground) hosting, in this case, some convincing silk flowers. 7

Displaying a mixture of museum items within the same gallery space can present certain challenges since each item type will have a different tolerance.

As such, the most sensitive object will tend to dictate the parameters. In this particular gallery the light levels falling on the displays range between 80 – 130 Lux (UV excluded) and are fully compliant with current standards.

The Dutch Gallery (above) is a wonderful example of just how beautiful a space can become with careful consideration and resourcefulness. LED’s are now very much part of the conversation and with regard to a transition, it is not a question of if but when. For my money – the sooner the better.


Seeing things in a new lighthow LEDs are now very much earning their keep. Part 2 will follow in the coming months. Various pieces of studio equipment making use of LEDs will be further investigated and discussed.


Further reading

The Museum Environment, (second edition), Gary Thomson, ISBN 978-0-7506-2041-3 Butterworth-Heinemann

Lighting for the built environment LG8: Lighting for museums and art galleries (The Society of Light and Lighting) ISBN 978-1-906846-7

Guidelines for Selecting Solid-State Lighting for Museums, James R. Druzik and Stefan W. Michalski, August 2012 (Canadian Conservation Institute & The Getty Conservation Institute) pp 22, 23 ‘LED Decision-Making In a Nutshell’

Lighting Industry Liaison Group, A guide to the specification of LED lighting products, 2012


Thanks go to my many kind colleagues, including the photographic team here at the Fitzwilliam Museum, Helena Rodwell in Collections Care and to Richard Carpenter, our PDP Technician, for quite literally giving me a hand (his right hand in ‘taking a light reading’). Lastly, to Gwendoline Lemée, for her invaluable guidance and ever cheerful encouragement.


Lantern Project in the Founder’s Entrance (Part 5)

What lies beneath…

As with many conservation projects, new discoveries are made as work progresses.

The contractors for the lantern repairs, Brown & Ralph, have provided an explanation as to what happened when they looked below the surface. What was revealed showed why this project is so crucial for the future of this historic building:

Having removed the original weather-proofing from the lantern, several areas of suspected decay to the timber structure beneath were identified. Upon further investigation, it was found that some timbers were rotten and the structure weakened in these areas. This is thought to be the result of long term minor water ingress.

“Once the areas were identified, the Museum’s Structural Engineer worked with carpenters from Brown & Ralph to design a repair to the timber structure. This involved propping critical load-bearing timbers, cutting out rotten timber, forming joints and ‘letting in’ of new timber.

“The repairs were all worked out individually to cause as little interference as possible but maintain maximum strength throughout the structure. B&R were able to carry out all the repairs employing traditional timber joints. The replacement timber (some with sections as large as 300mm x 150mm) was selected from a trusted saw mill and used slow grown Douglas Fir to mimic the timber used when constructed originally.

“As a result, the structure is back to full strength whilst maintaining the original aesthetics. It has since been re-boarded with similar Douglas Fir.”

Lantern Project in the Founder’s Entrance (Part 4)

Work on the Founder’s Entrance lantern is in full swing. The internal plaster conservation works were completed last month, along with the conservation cleaning.  And Tobit Curteis Associates have given us the below update on the conservation paint treatments they have been working on.

The scheme of decorative plasterwork and polychromy in the entrance hall is among the finest of its period in the country. It was conserved for the first time at the turn of the millennium at which point it was found that, although the surfaces were extremely dirty, having lived through the Industrial Revolution, the condition of the plaster and paint work was generally very good. Cleaning and conservation revealed the decoration in all its richness and had a huge effect on the appearance of the hall as visitors enter the museum. Some 17 years later, the conservation survey showed the condition still to be generally very good although there had been additional accumulation of dust and dirt as well as some minor flaking and loss resulting from unstable environmental conditions.

The aim of the current conservation project therefore is to record and document the condition of the decoration and to carry out limited stabilisation, cleaning and retouching. The team of conservators, working with Tobit Curteis Associates, has now been working on the conservation of the polychromy for three weeks and the work is progressing well. Most of the treatment carried out by Tobit’ team in 1999 and 2000 has remained stable and the areas of more recent damage have responded well to treatment. The planned relighting of the entrance hall will further improve its appearance so that visitors can again experience the decorative scheme much as the architect originally intended.

Tobit Curteis Associates

Lantern Project in the Founder’s Entrance (Part 3)

Discoveries

Investigations into the lantern are well underway.  (Catch up with what has happened so far by reading Part 1 & 2.)

Specialist contractors Brown & Ralph have begun to look at the side windows of the lantern. After removing the glazing putty from one of the panes of glass, more information about the original intent has been revealed.

Original pane of glass removed

Each pane has a central section of etching, with a clear border around the edges. Over the years, as repairs have been done and panes replaced, the putty and paint lines have crept further inwards, making the clear border not visible.

Red dotted line showing original line

The glass will be removed and cleaned. And, as the glass is reset, the putty line will be restored so that the clear border will be visible again. Looking at the windows as a whole, it is possible to tell which panes have been replaced.  The ones with a rose tint are original.  As part of this project, we intend to replace the newer non-tinted glass with rose-tinted etched glass in order to return to the original aesthetic.

View of side windows showing difference between old rose-tinted panes and the later non-tinted panes

Keep an eye on the blog – we will keep you updated as the project progresses.


Lantern Project in the Founder’s Entrance (Part 2)

Atlantes and lantern side windows viewed from scaffold platform
Protection during installation of scaffolding

The installation of scaffolding took several weeks. During this time, there was a great awareness of the potential risk to the historic interiors and the collections in surrounding galleries.  There were several methods of protection in place, to minimise risk from physical damage (e.g. knocks, scratches), as well as dust.

Foam and plywood were used to protect the historic mosaic floor. Sculptures which could not be moved were boxed in.

Nearby objects were protected from potential knocking and additional dust fall.
During the scaffold construction, the balustrade, bannisters and floor were boarded. Boards underneath scaffold legs ensured the additional load to the floor was spread. The scaffolding was cleaned before coming into the building, and clean wood was used. There was an increased risk of dust ingress as the front door would have to be left open while materials were moved into the building, so additional dust protection was in place; plastic sheeting proved invaluable to minimise dust movement to surrounding galleries.
Up close
Scaffold platform aptly nicknamed ”The Ballroom”

Now the scaffolding is up, survey work has begun and it provides a rare opportunity to get up close and personal with the lantern interior.  Not only do we need to establish the extent of any deterioration or damage to the building and its decorative interiors, but also if we can understand the causes.

For example, staining in the dust below the side windows indicates that there has been condensation or water ingress. Closer inspection of the internal timber reveals that there is a condensation tray at the base of the lantern side windows. This design originally allows for collected condensation to flow through an outlet pipe to the outside.  It may be that the pipes have been blocked by insects, causing the tray to overflow.  To stop this happening in the future, we need to confirm the cause and either make modifications to the design or ensure changes to the maintenance of the current pipework.

Interior condensation tray with pipe leading outside
Exterior pipes for condensation pipes

We are still at the early stages of the project, and so survey of the plasterwork and internal decoration are ongoing.

We shall keep you updated as the project progresses – watch this space!