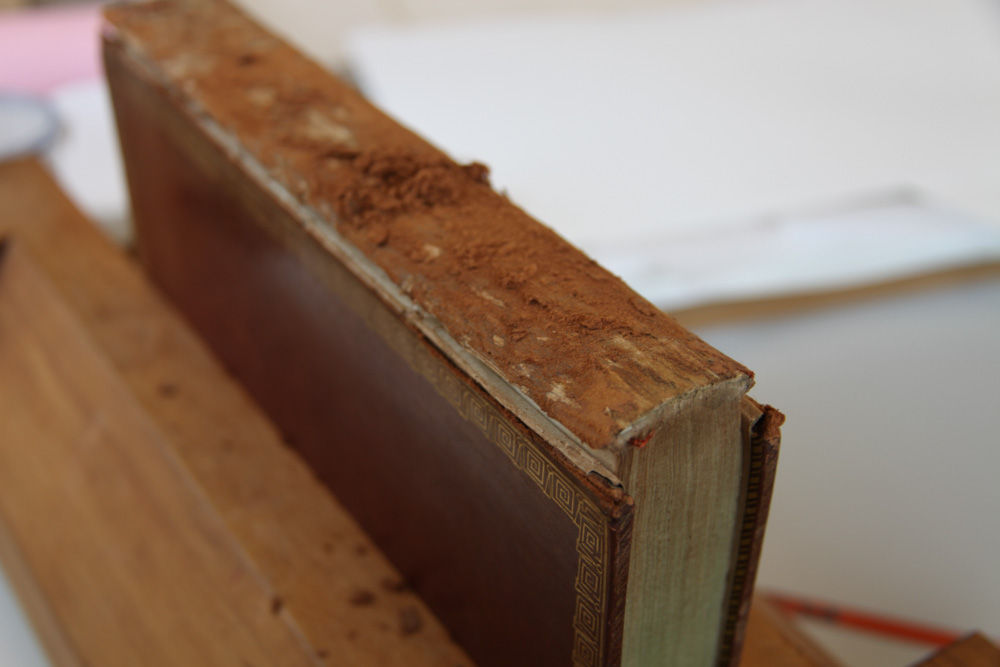
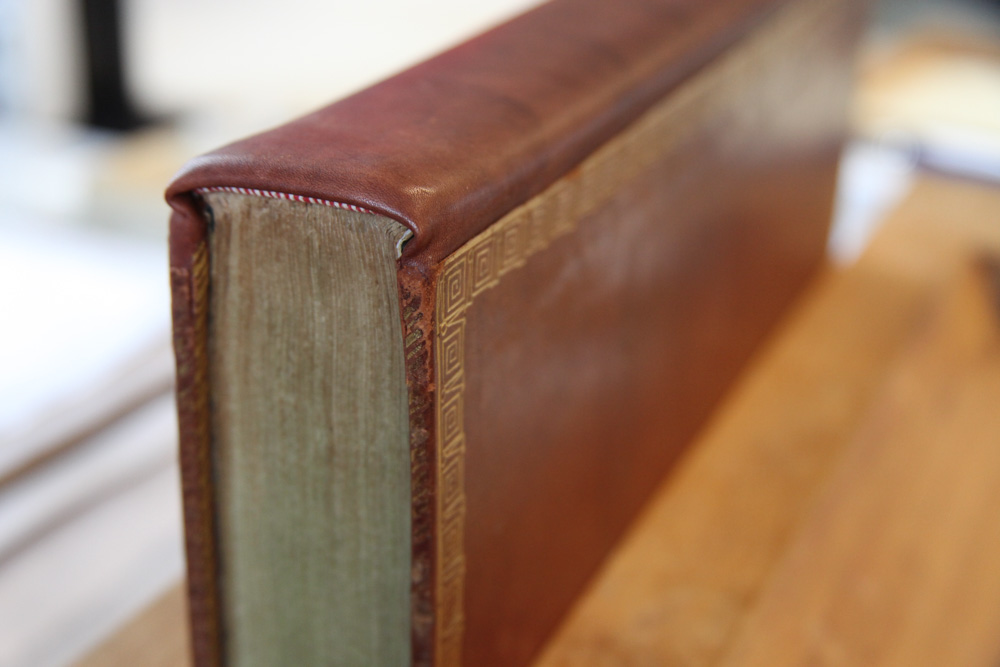
Earlier in the year a small group of Fitzwilliam conservators were given fascinating insight into the new and latest Hirox 3D Digital Microscope, PC Edition (RH-2000). A pretty sophisticated bit of ‘non destructive analytical kit’ by any comparison. Neat and tidy, with an impressive ability to process complex data fast.
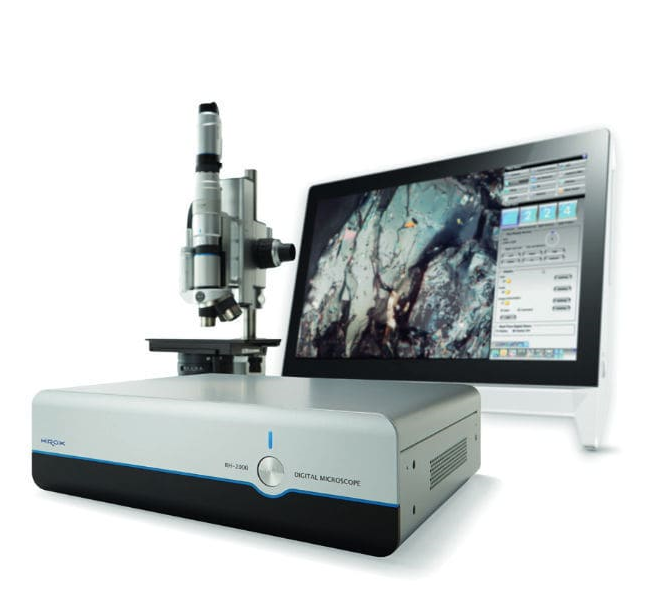
As is often the case in conservation this technology has been developed for and embraced by other industries requiring ‘close scrutiny and exacting quality control’ such as precision engineering, electronics and other fast emerging fields such as nanotechnology. So, conservation sitting on these rather better funded coattails by way of mutual benefit, is no bad thing. Thank you, Formula One.
On the day, the brothers Alessandro and Marco Brecciaroli (representing Hirox) smoothly and in a charming way, guided us through the system. All too often in life it is difficult to make the full and appropriate use of a piece of equipment until one knows ‘just what it may be capable of’ and believe you me, Hirox is no slouch!
We were keen to see just how such a clever microscope could help in the field of Conservation. Could it extend the parameters of observation and perhaps more specifically, enhance our understanding. Quite possibly, and as such, this was an opportunity too good to miss.
Several of us brought museum objects with us on the day, mostly small and necessarily portable by way of putting Hirox through its paces – real objects under real scrutiny.
These included an early stained glass fragment, a painted swatch of powdery blue pigment, an intriguing small Egyptian coffin, a pre prepared pigment cross section cast in resin and a surface detail from a rare 19th century French watercolour painting.
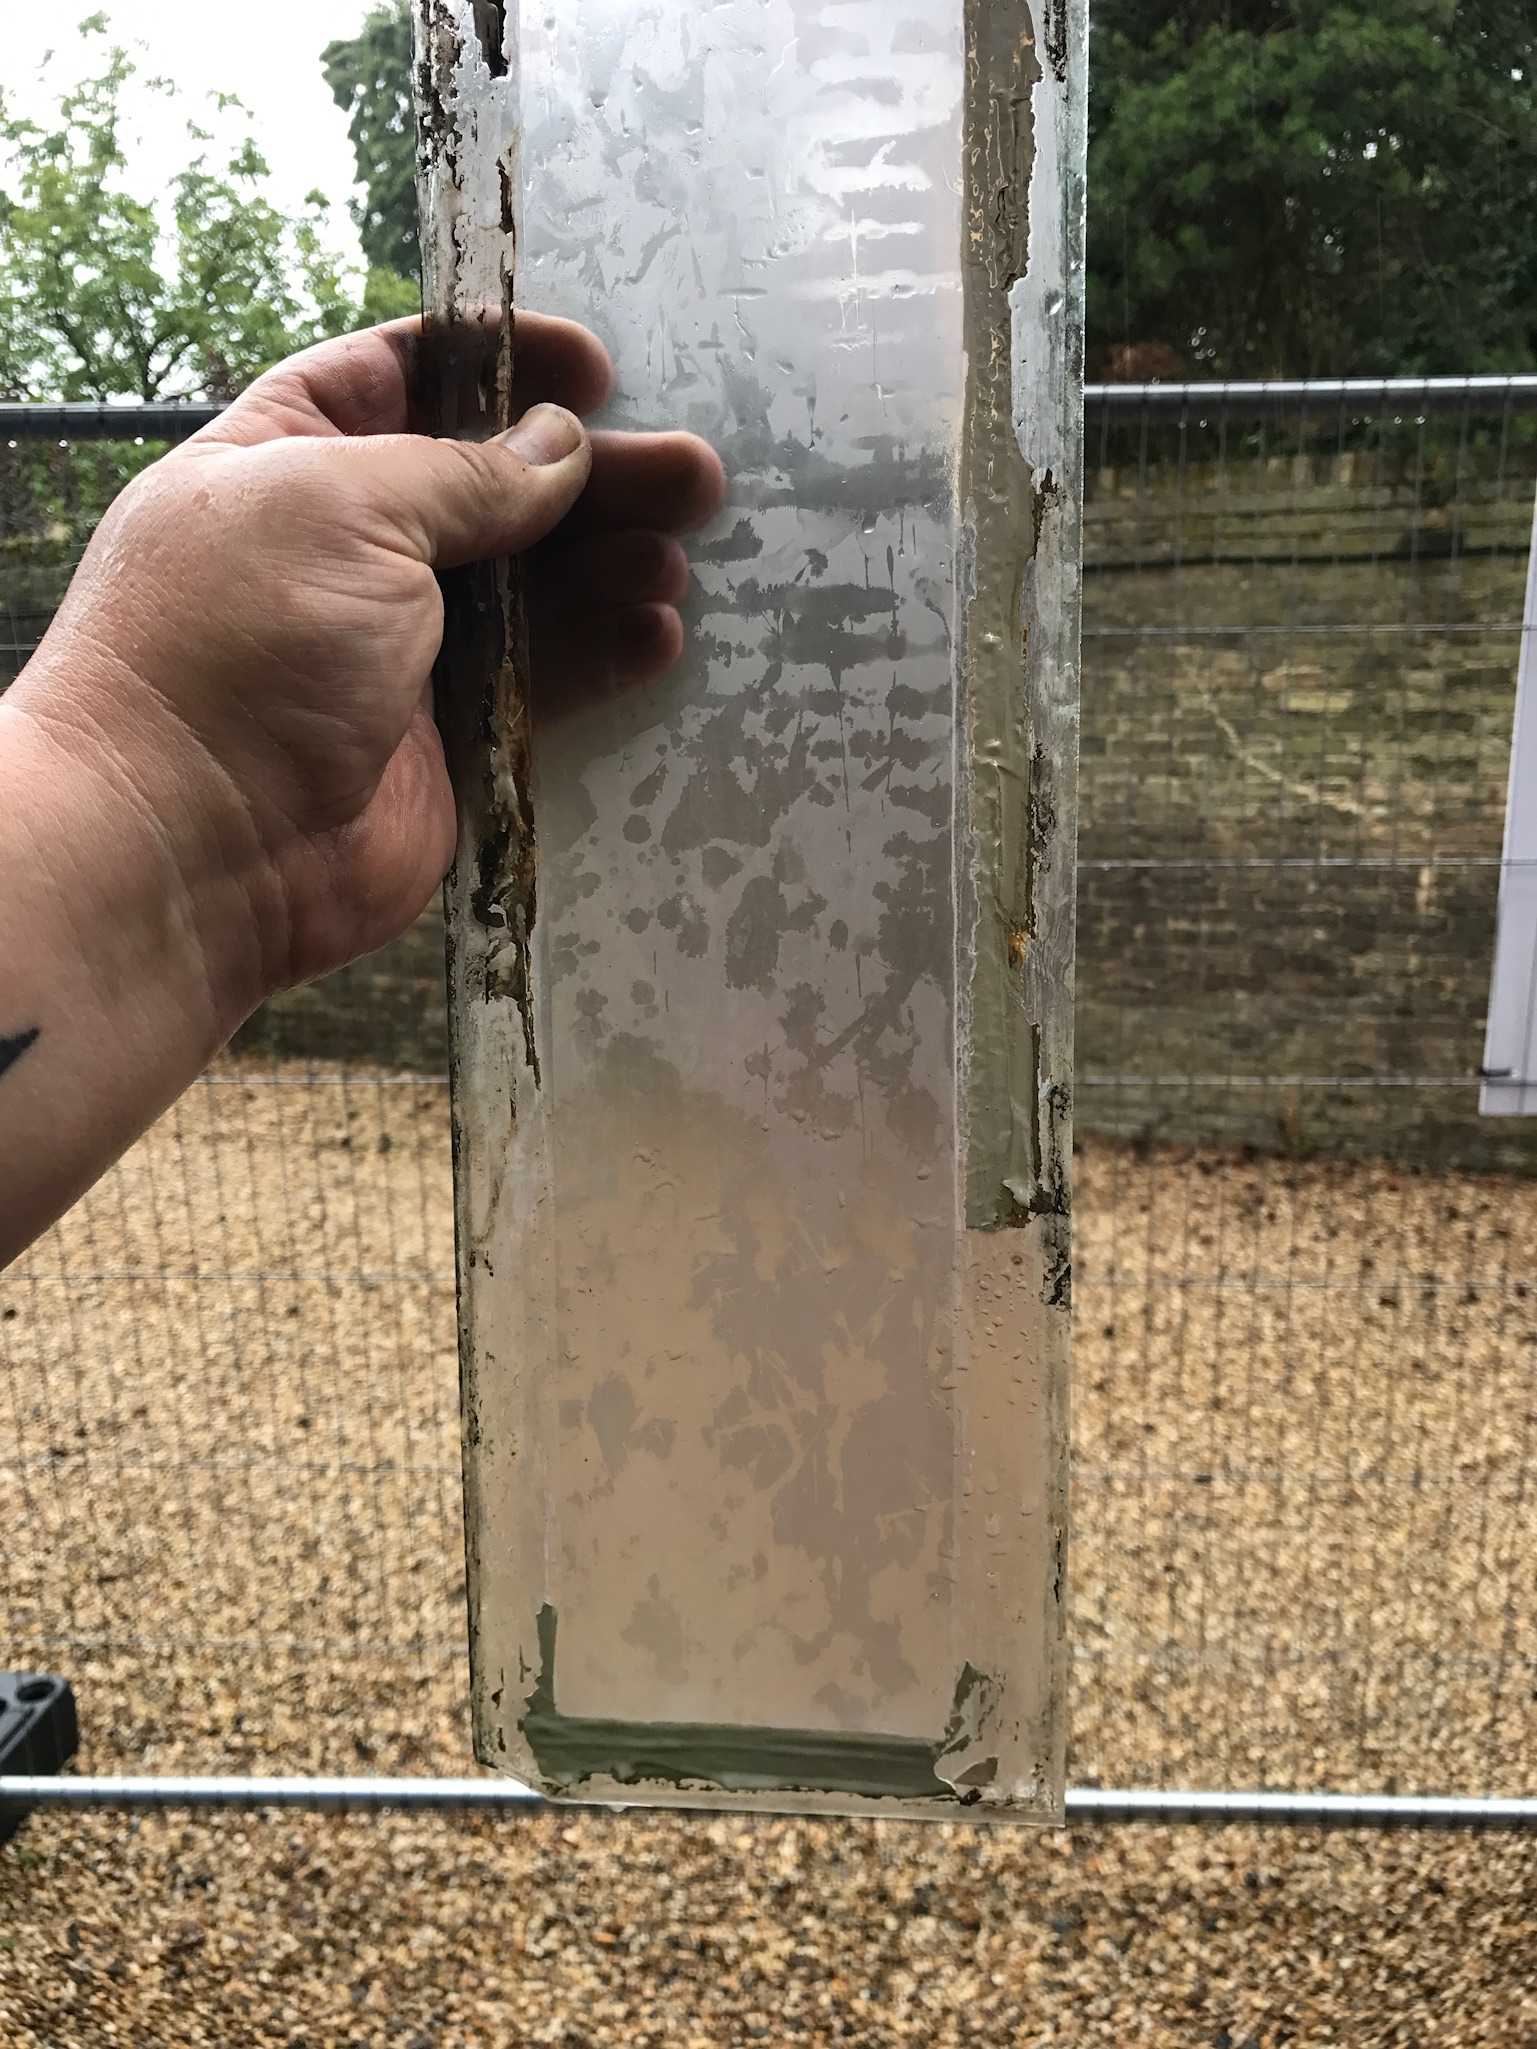
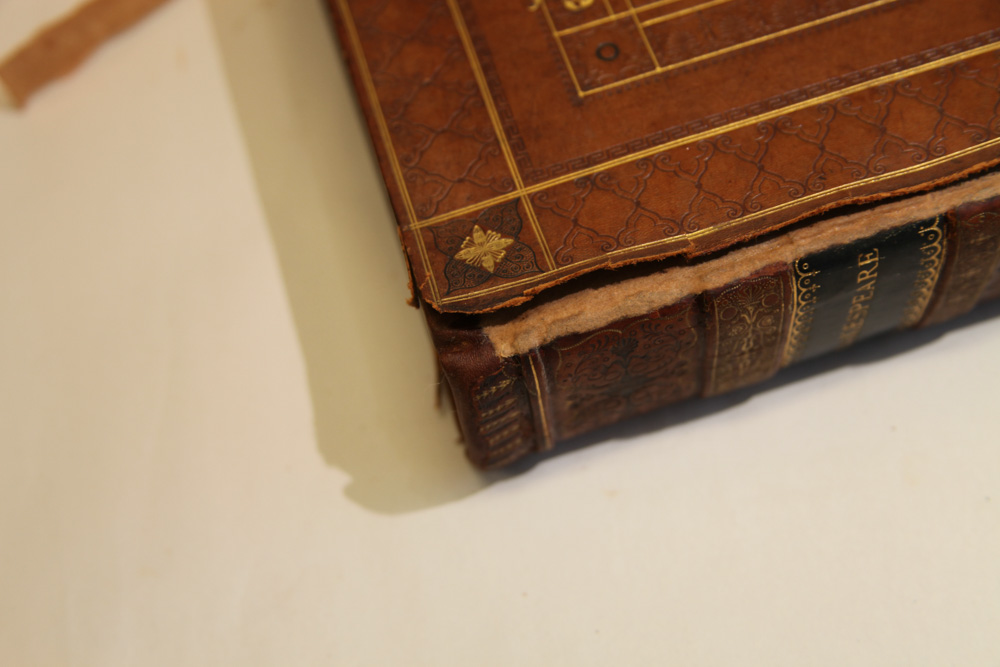
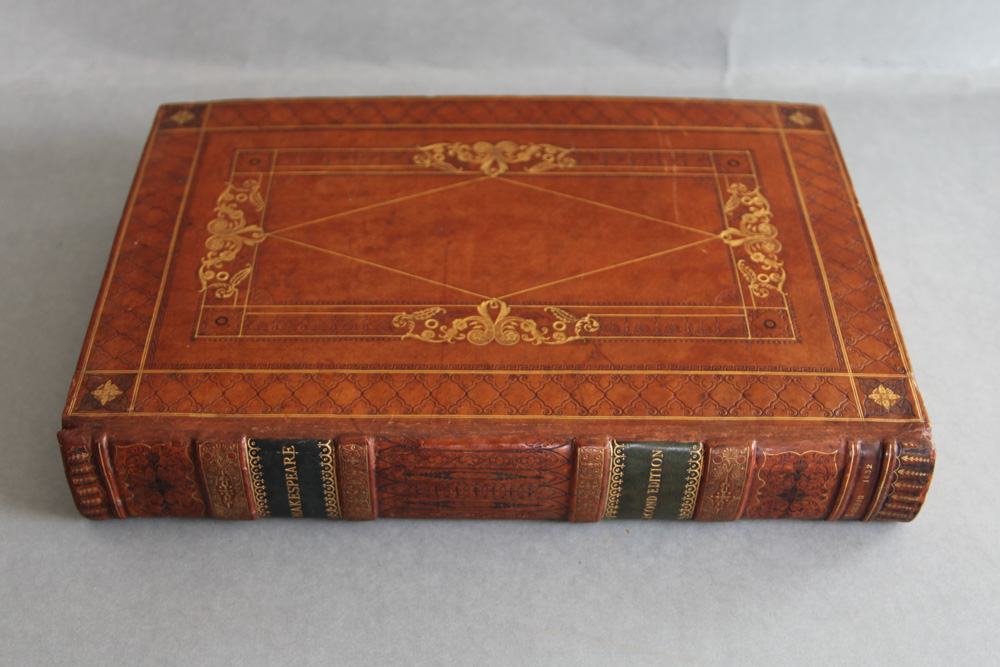
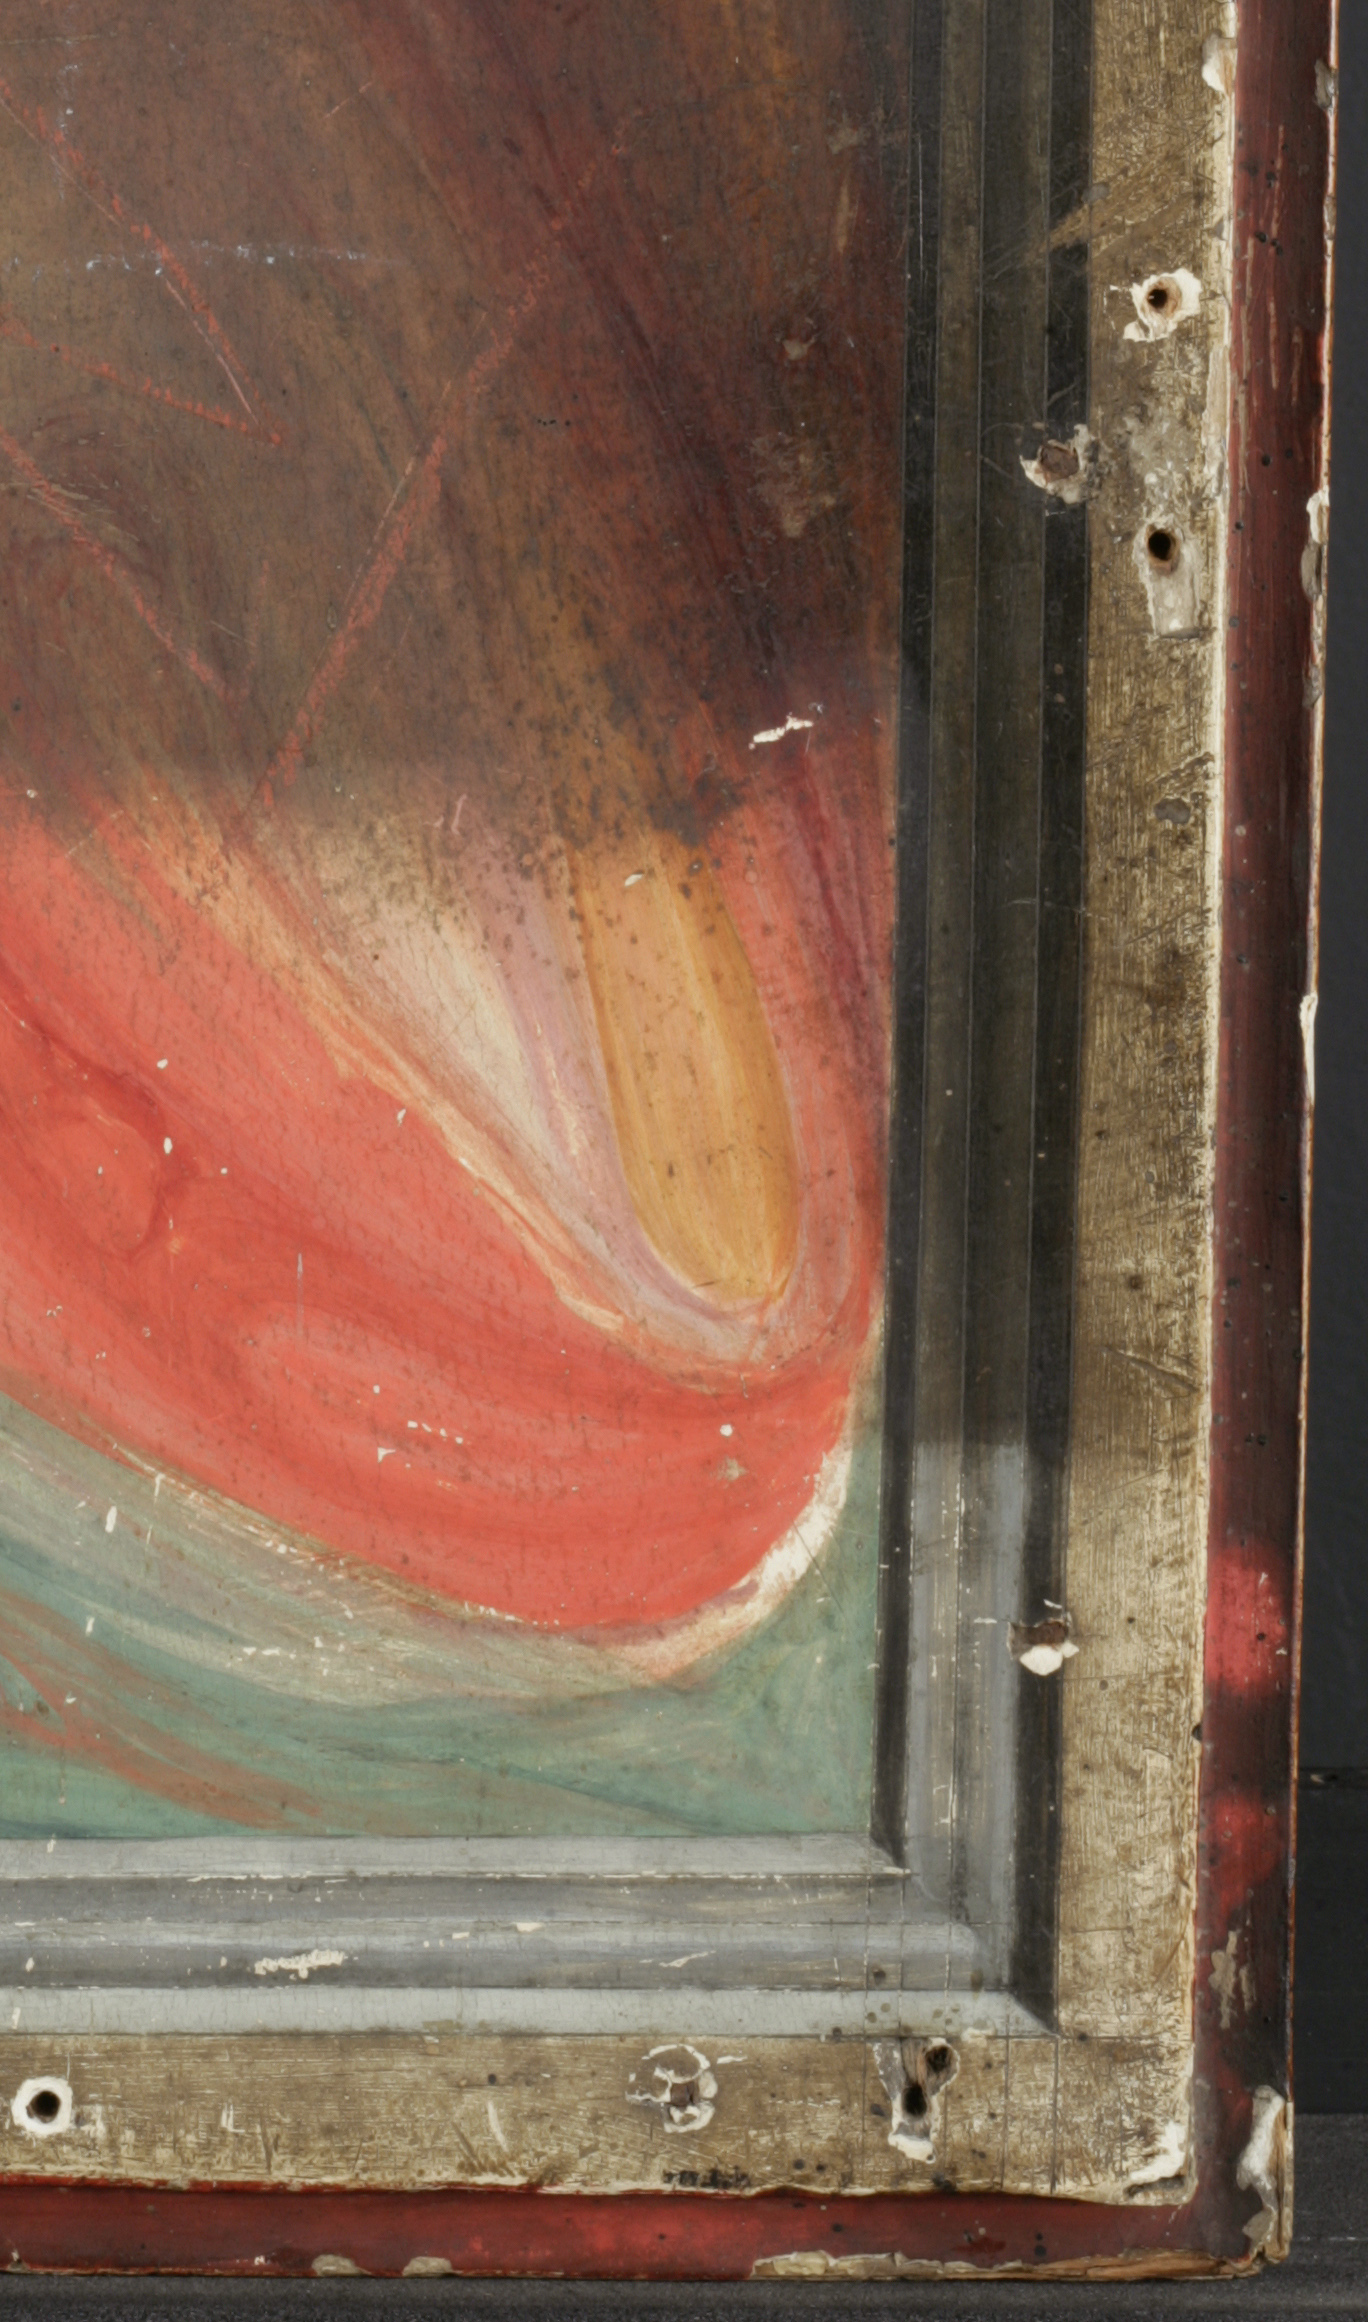
Early stained glass fragment
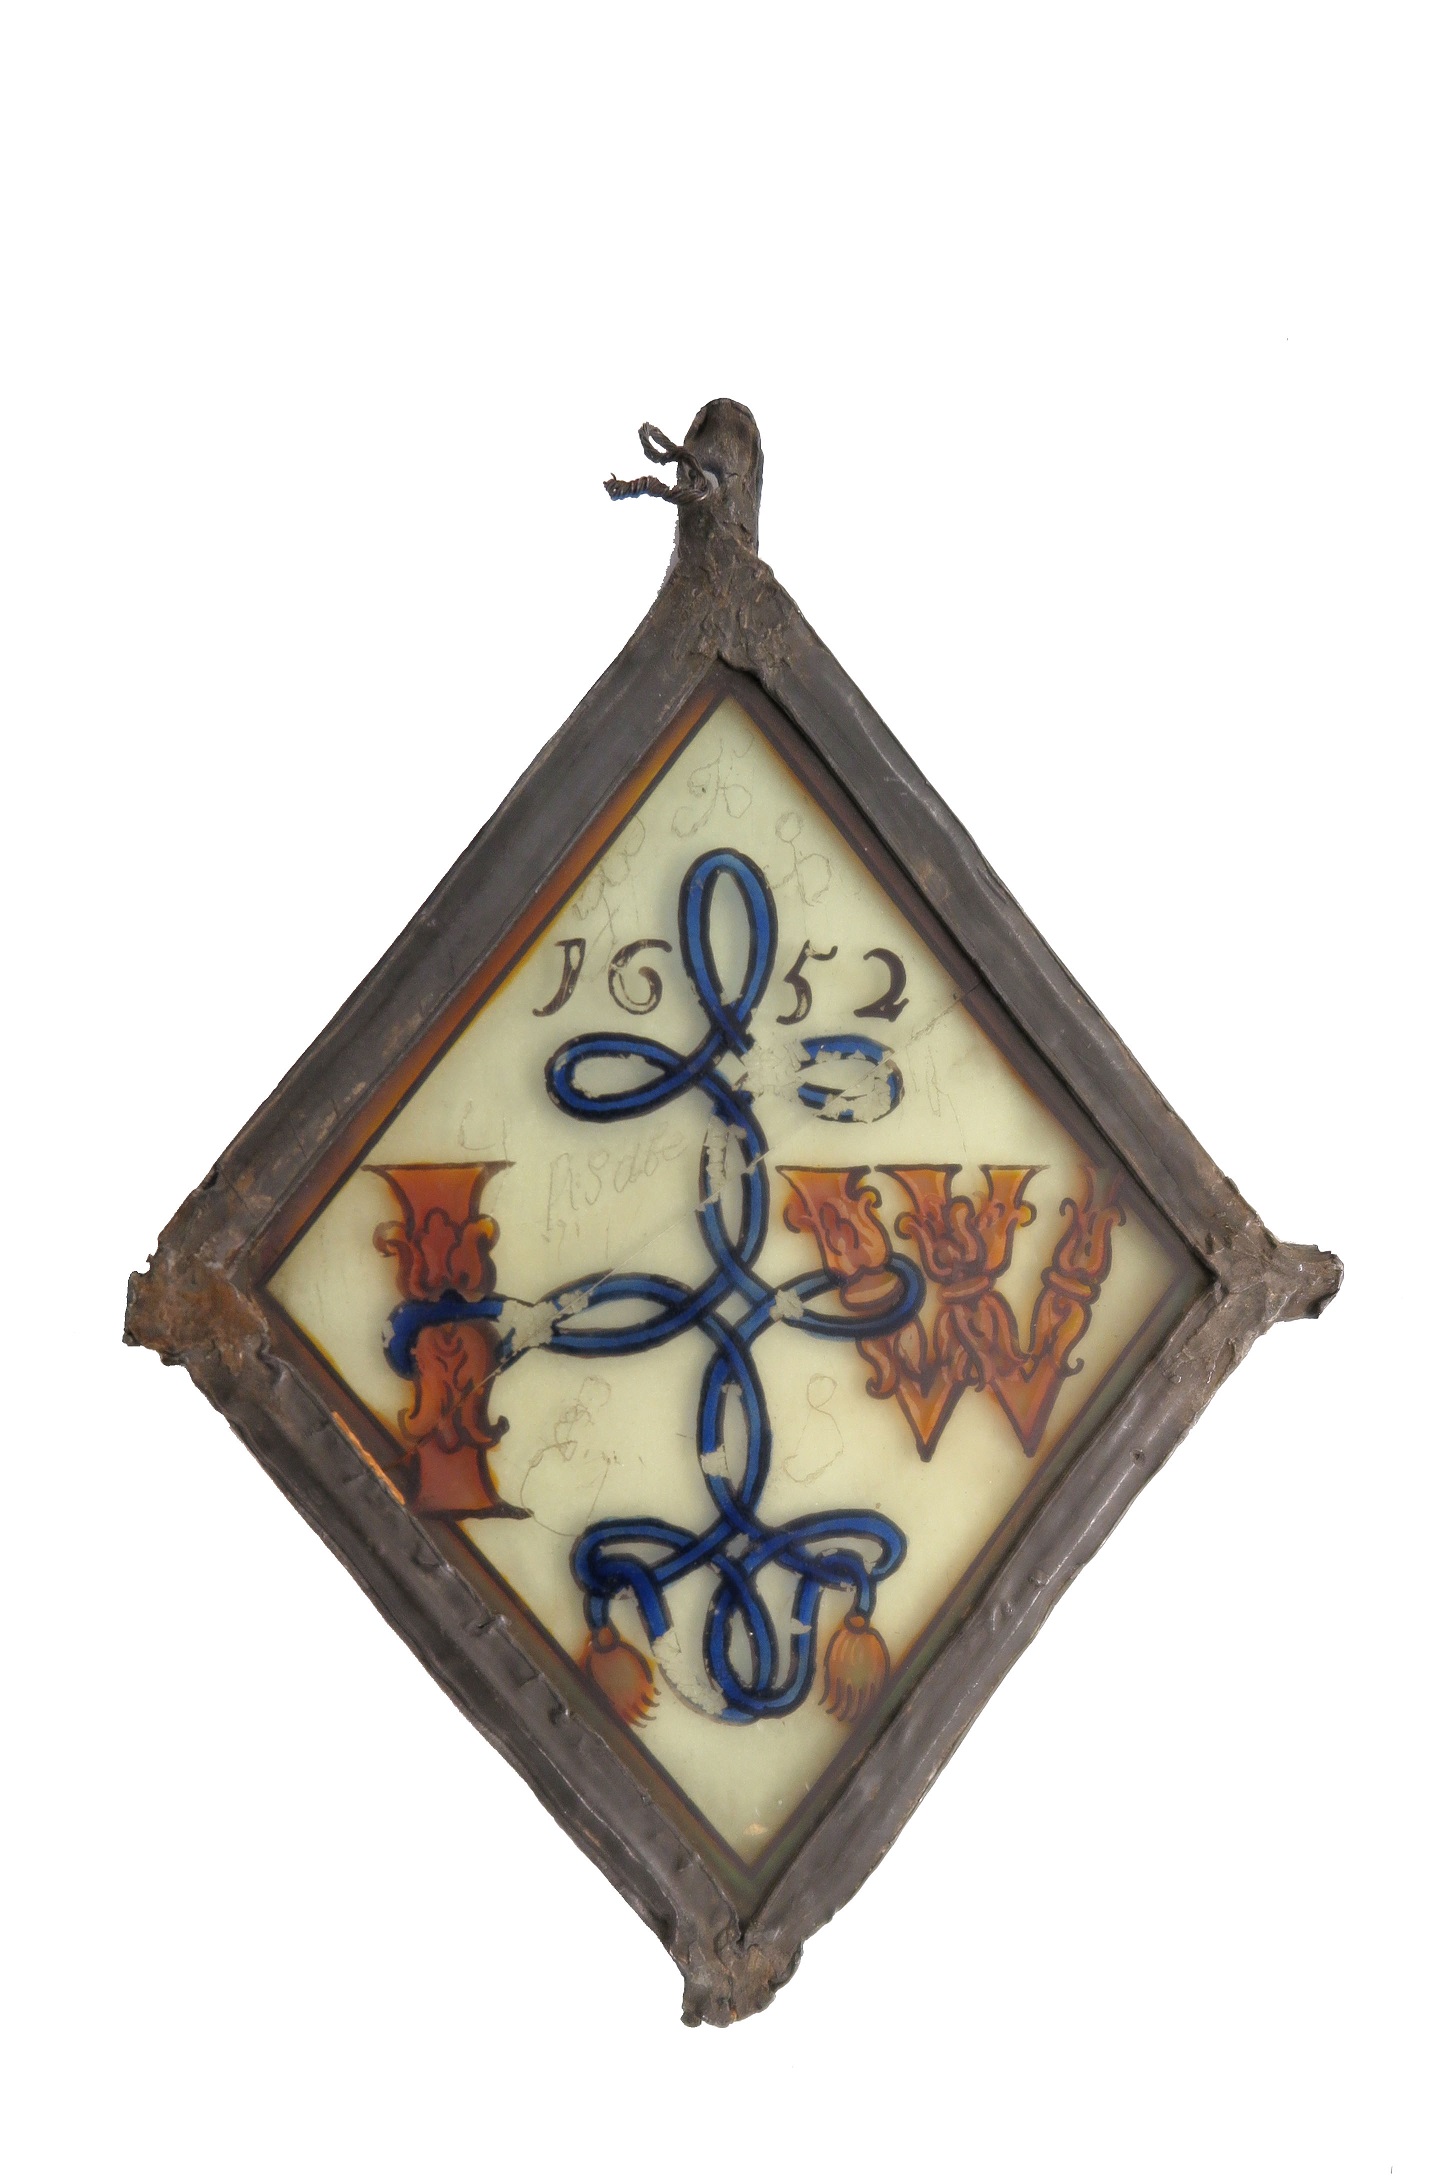
Post medieval stained glass panel (4230a Department of Applied Arts)
A studio photograph using a conventional camera
Hirox got up close and personal and the revelations, to say the very least, were impressive.
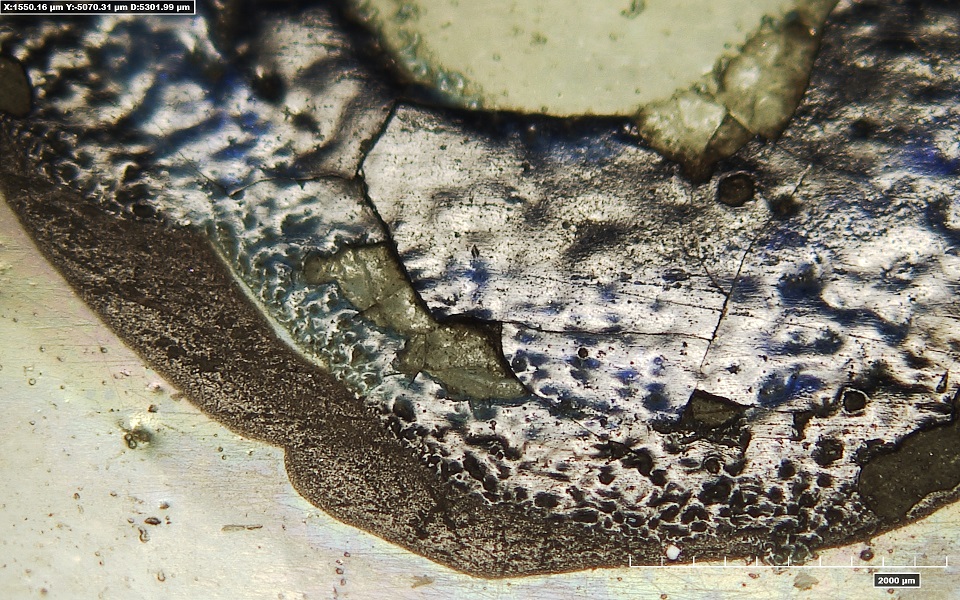
In the detail above, courtesy of Hirox, we see the black tracing line, subsequent coating of blue enamel and the surface disruption to the glass below.
The glass surface is mildly scratched, it contains inclusions of sand (most probably silicate not fully melted during the original glass making process) and has a number of small ‘alluring air bubbles’, held captive since the middle of the seventeenth century!
The decorative element is now cracked and there are several small losses. As such, this particular artefact is somewhat at risk from further flaking.
Key features of Hirox
-Wonderful graphic quality, breath-taking magnification and the ability to capture and merge multiple images and/or create videos. And if that were not enough Hirox can be fitted with an endoscope enabling the investigation inside of an object.
-Uncompromising picture sharpness and reduced Digital Noise by way of ‘smart focusing’ and a camera that boasts the capacity to take somewhere between 50-100 frames per second, all at high resolution (1920 x 1200 pixel).
-Lighting is versatile, delivered by Light Emitting Diodes (LEDs) at a colour temperature of 5700 Kelvin. Various options include: Reflected, Transmitted, Bright Field / Dark Field and Polarization. Lighting with an Ultra Violet spectral range of 200-400 nanometres is also available if required. It would be prudent to check on both the emitted and cumulative light levels in particular and with regard any potentially light sensitive items.
-A broad range of high quality lenses are available anywhere from 1:1 to a staggering 10,000 x and numerous variant thereof. The changing of lenses appeared quick and easy by way of a bayonet fitting.
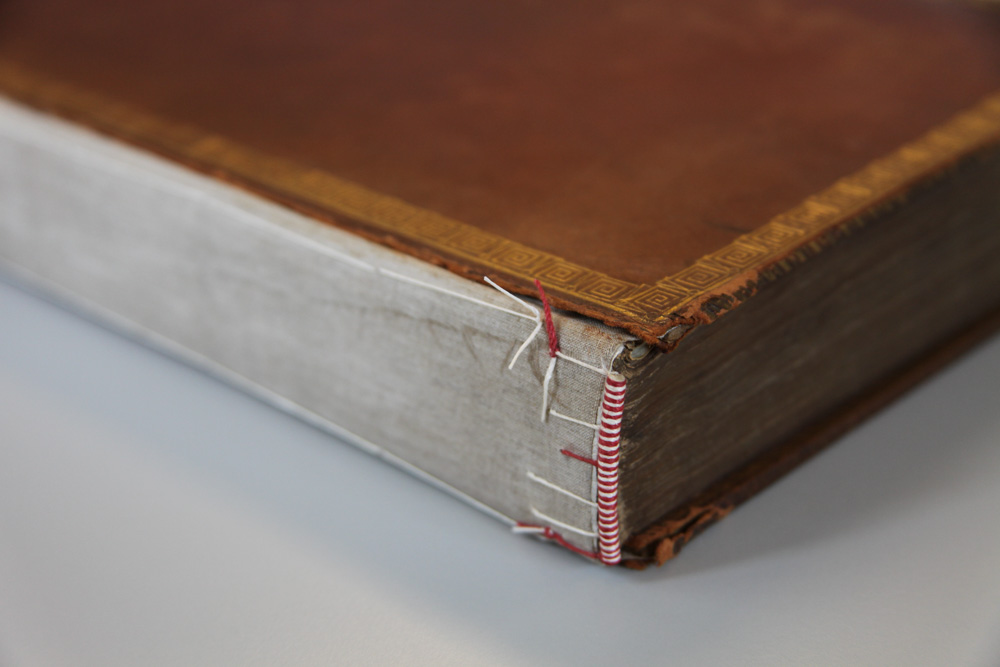
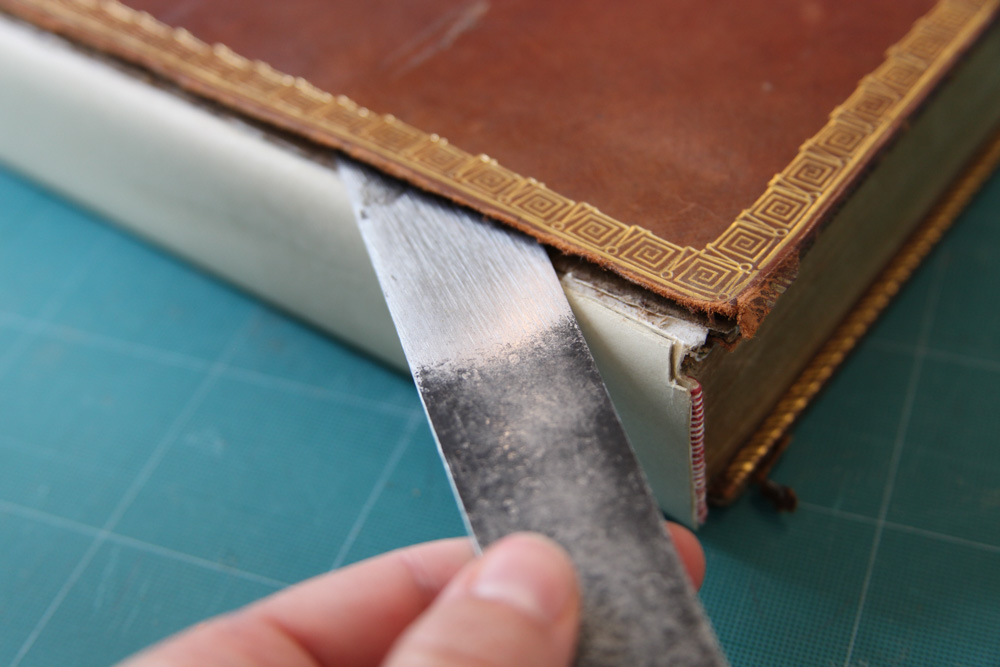
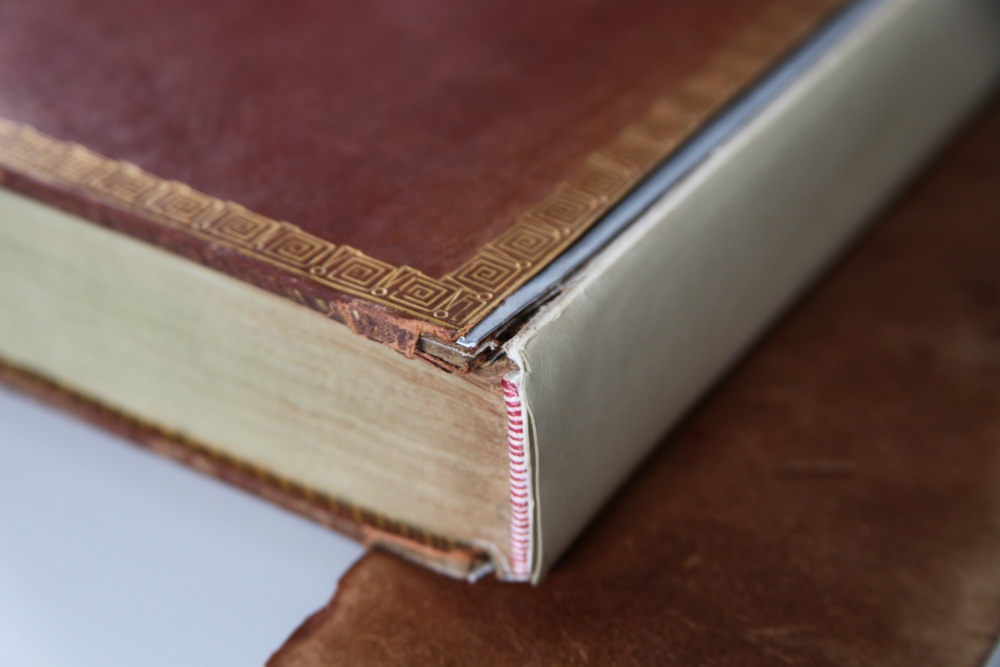
What soon became clear is that the examination of a small sample size and/or object was somewhat easier. For larger items one would require more careful planning and adequate space in order to engage the services of a bespoke and importantly ‘stable jig’.
Another option includes the use of a portable contact hand held lens.
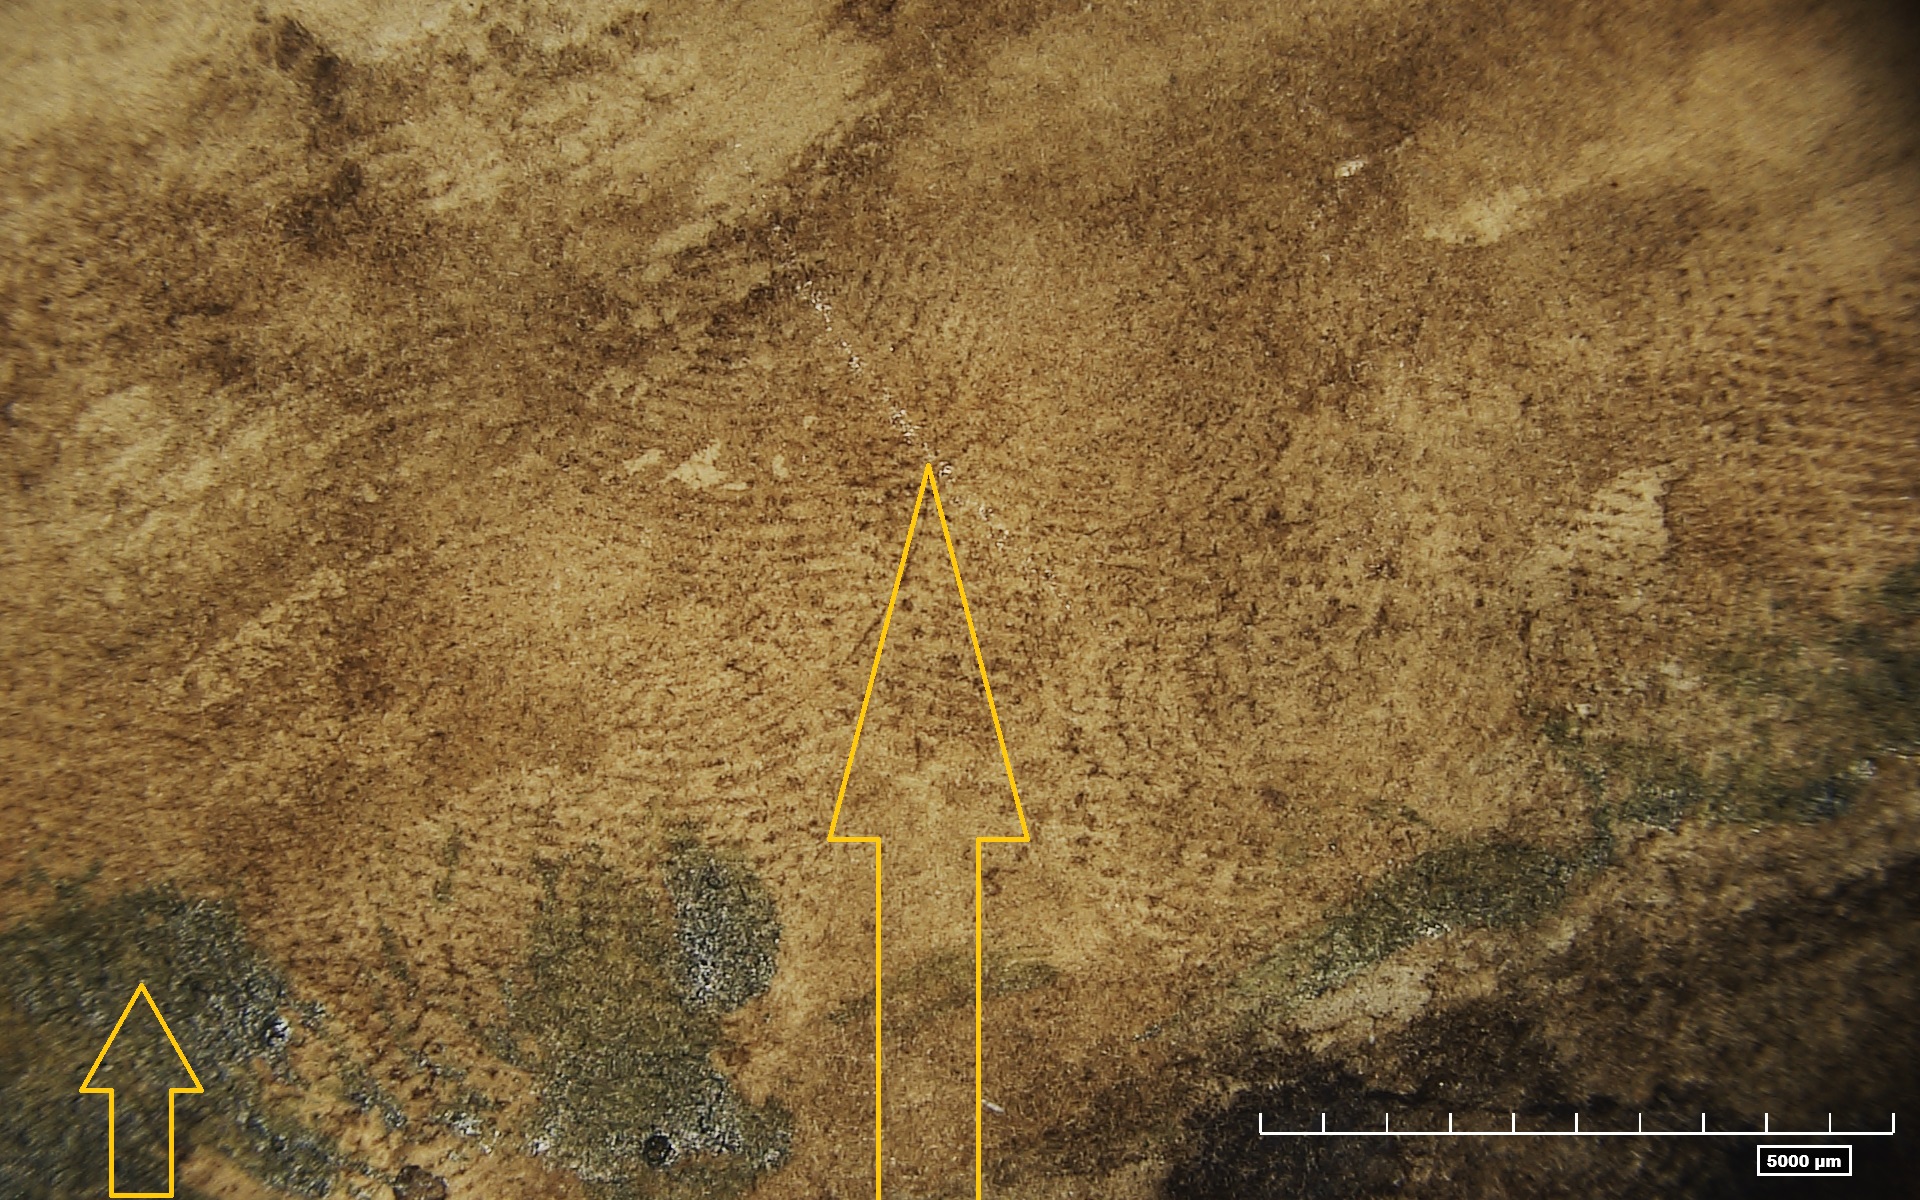
Painted swatch of powdery blue pigment
Something as simple as the inclusion of a scale, seen here below in ‘microns’, is especially useful whether making a passing assessment or perhaps more so, by way of any future comparison.
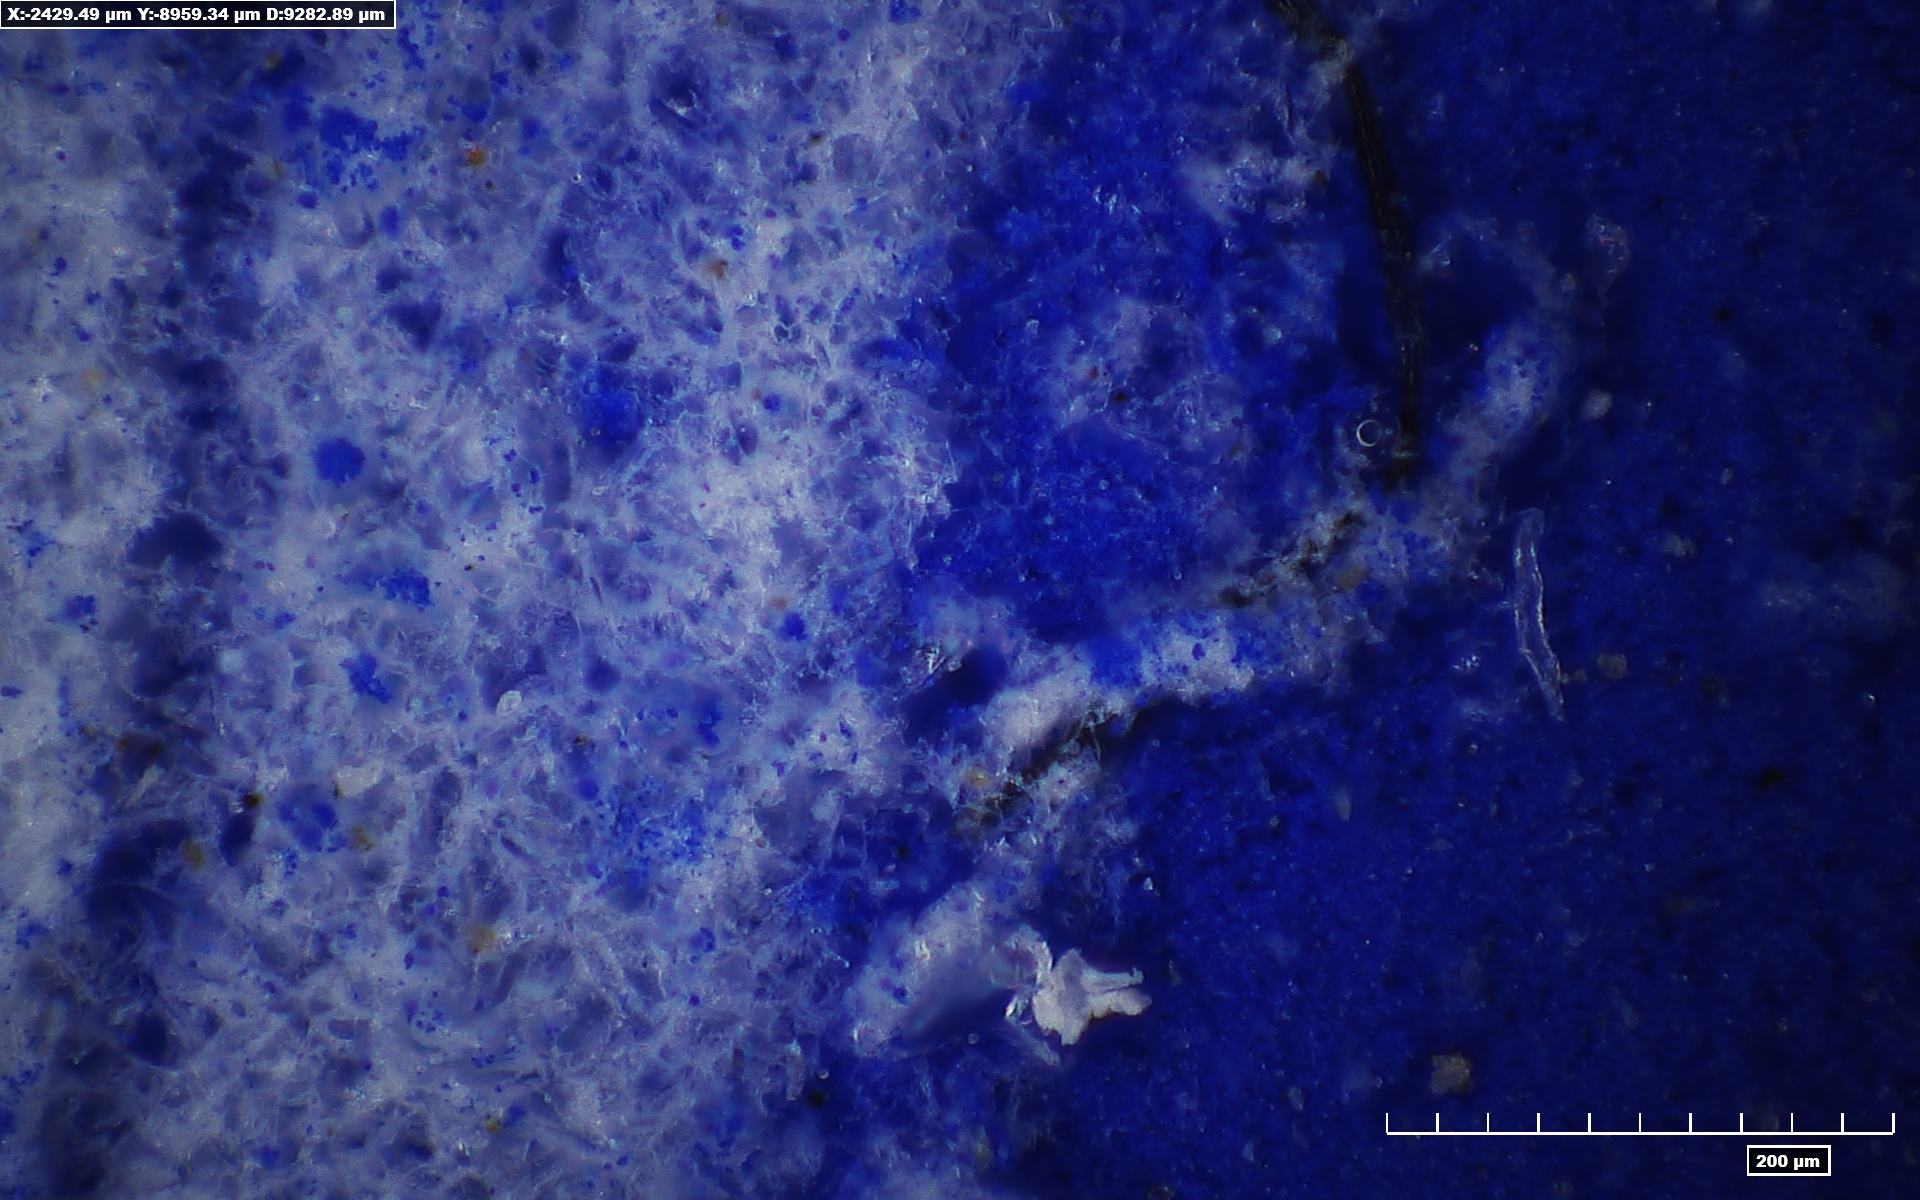
The above image illustrates a powdery blue pigment part coated with a white waxy Cyclododecane consolidant – in this case applied via an aerosol and now part sublimated (evaporated).
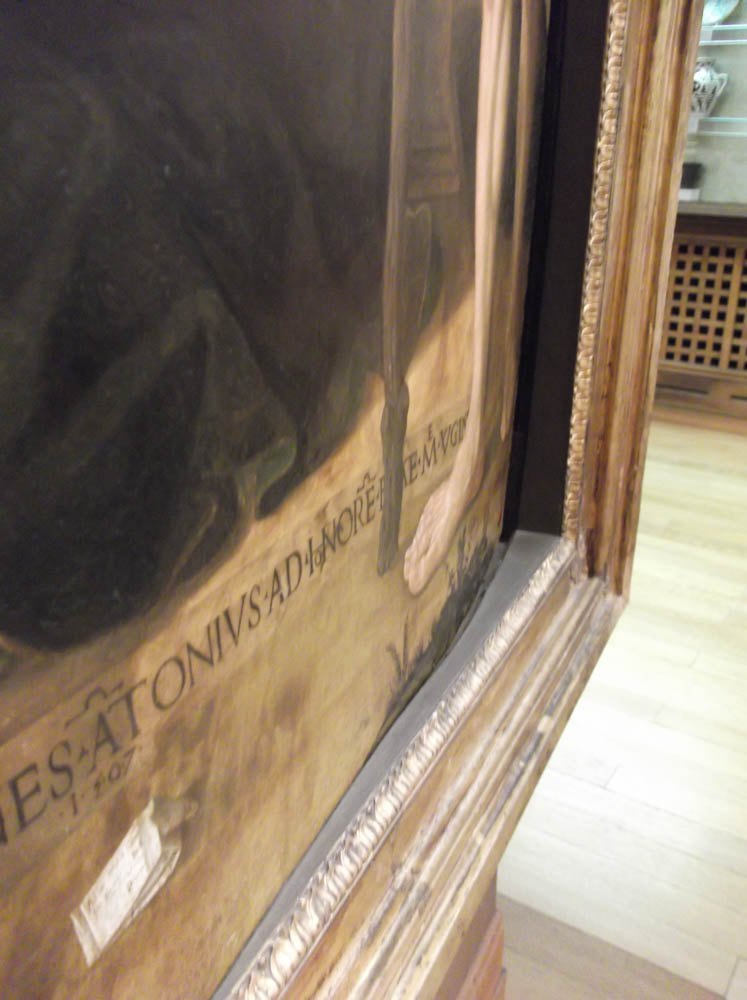
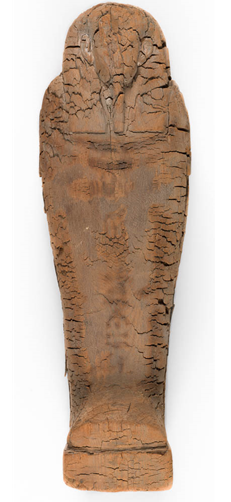
Small Egyptian coffin
c. 600 BC / before the Common Era
The coffin surface is heavily deteriorated leaving very little of the original decoration and as such, one is left searching for clues. Hirox affords a different viewpoint and to some extent ‘a journey into the unknown’.
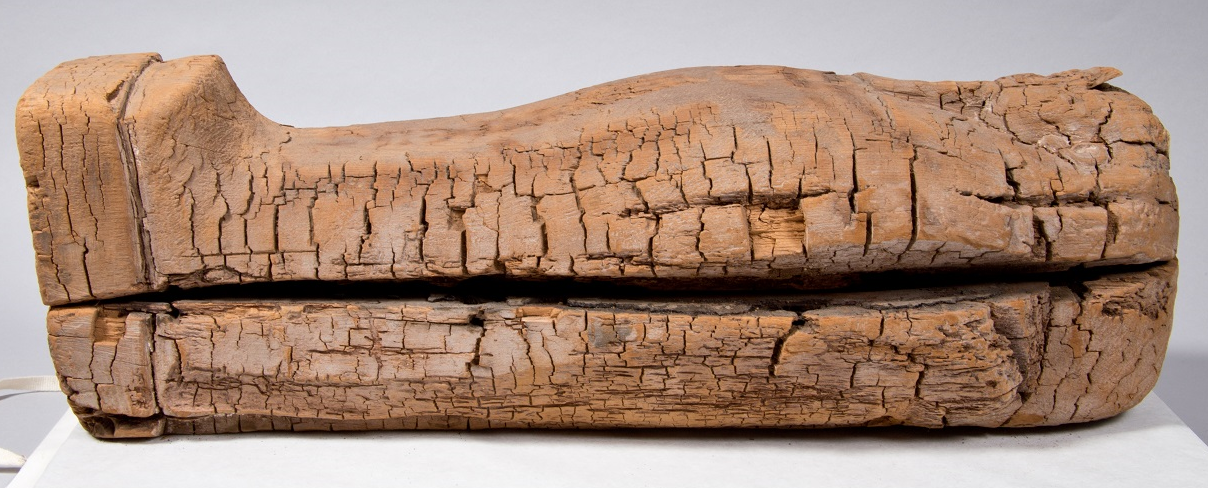
A small Egyptian wooden Coffin (E.43. 1907 Department of Antiquities)
44 cm (L), 13 cm (W), 14 cm (D)
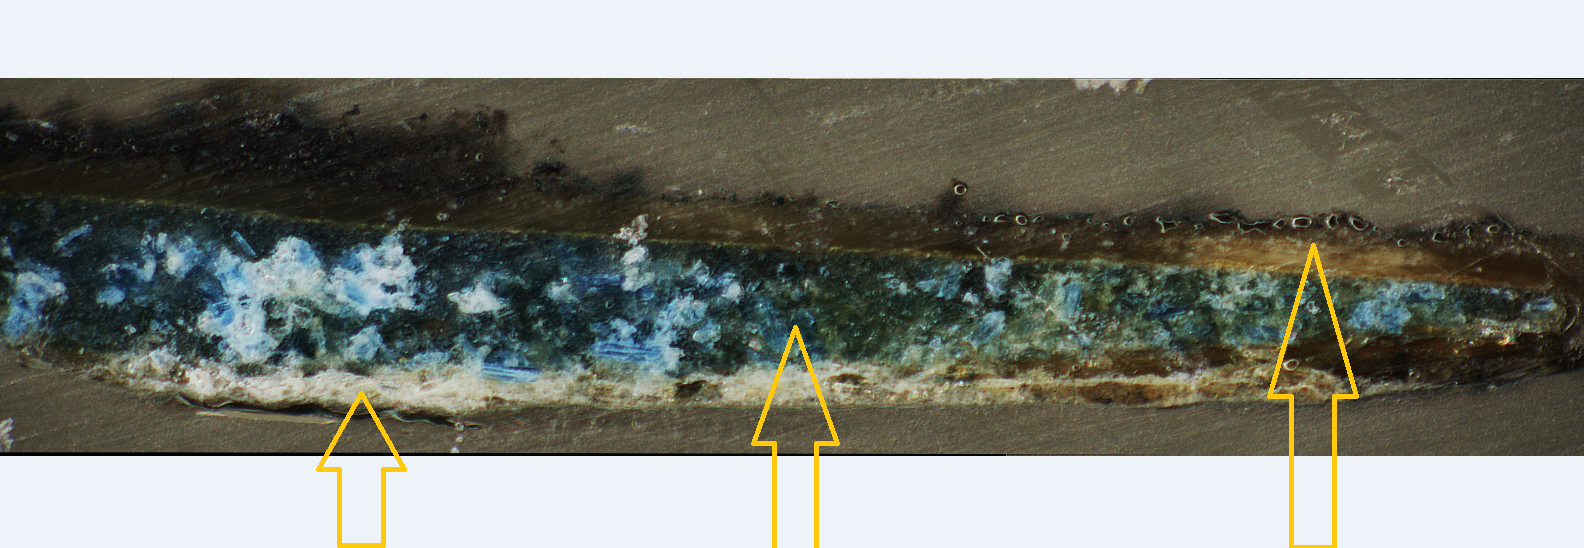
Video footage across the coffin surface
The pigment trace seen in this short video is Egyptian Blue. The remnant is trapped in one of the cracks of the coffin’s surface and although not wholly surprising it does indicate that the entire ‘wig decoration’ would have originally been painted in blue. This sort of information not only helps in our understanding of the object but it also allows for a far more accurate interpretation.
Pigment cross section
An example of a ‘stitched image’ captured by Hirox
Calcium ground Egyptian Blue pigment Varnish layer
Cross section of a paint sample containing Egyptian Blue (in this case a minute pigment sample was cast in resin and polished, prior to viewing).
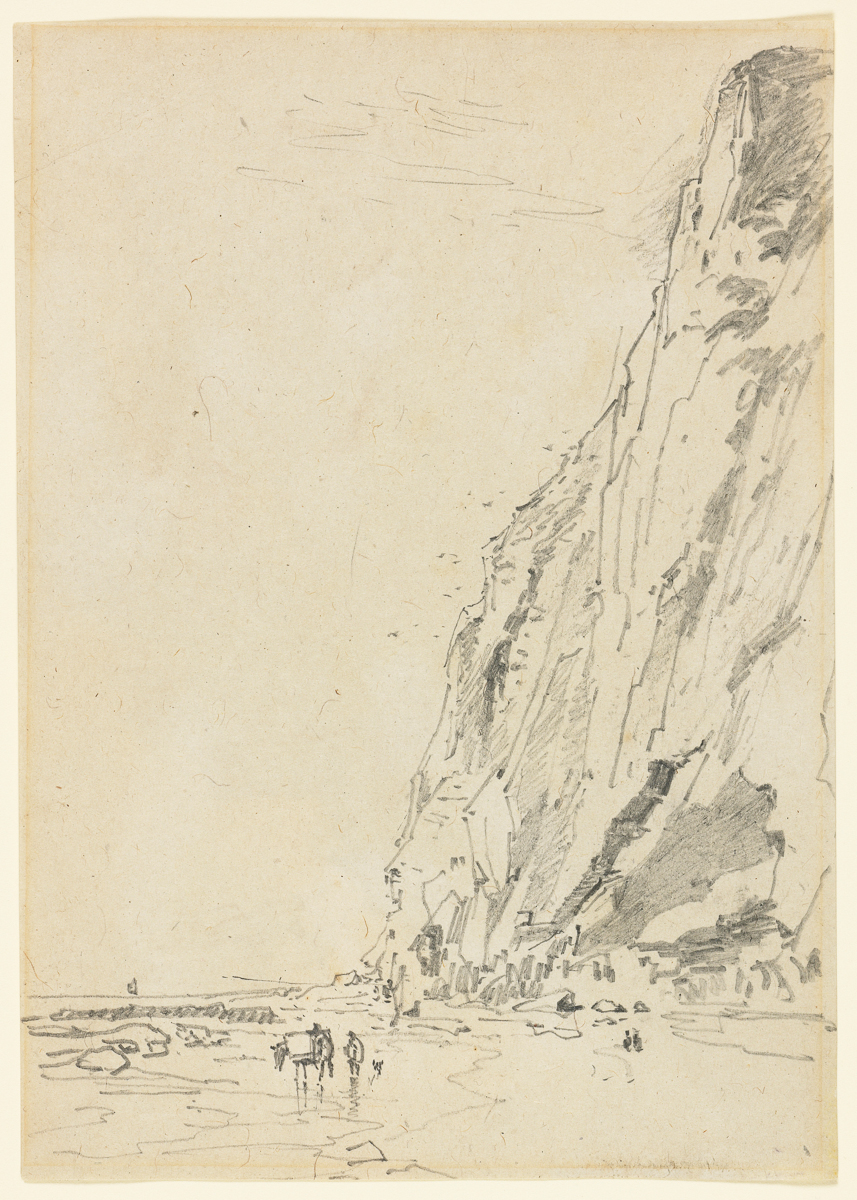
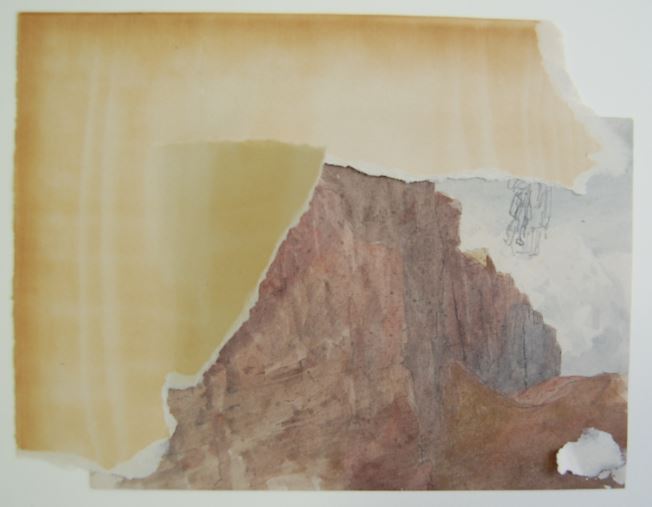
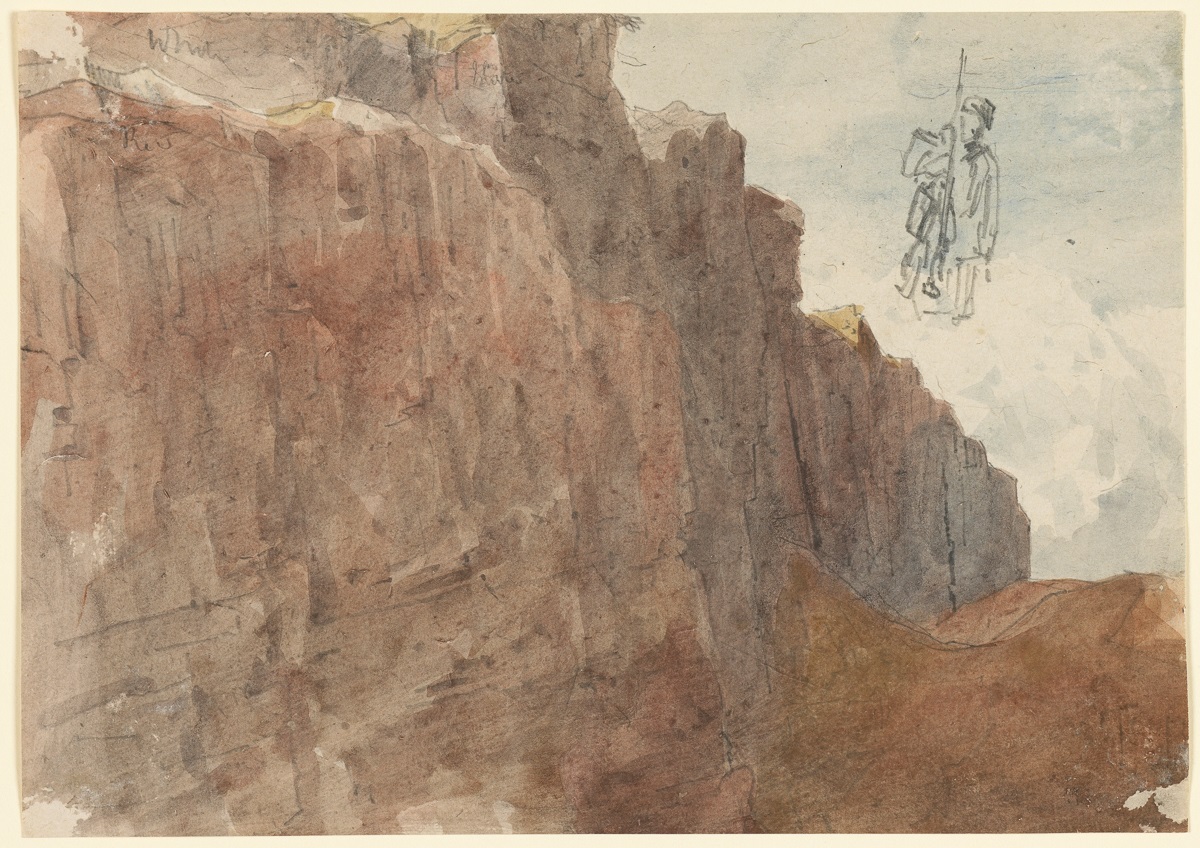
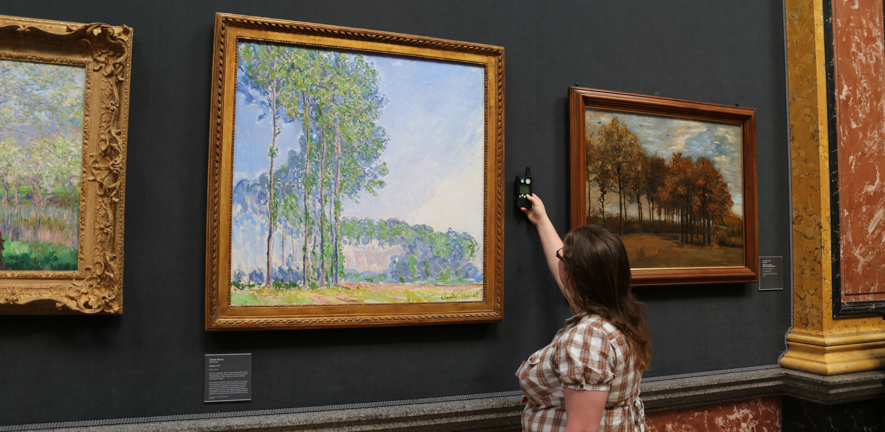
19th century French watercolour
France, Normandy to be precise. The handy work of just who ?
This rare artwork will be on display at the Fitzwilliam Museum in the autumn of 2017 in what promises to be an exquisite show. The maker will be revealed and much more besides.
A gum glaze over watercolour Surface abrasion
A close surface detail of a watercolour painting showing assorted fingerprints and other interesting information
3 dimensional modelling
Art meets science and maths, ooh and some pretty impressive graphics.
Real time measurements including length, angle and the surface area can be captured detailing the terrain and presented various styles. For obvious reasons, this sort of data could prove invaluable by way of comparison should the need arise, post loan or perhaps, assisting with an on going object ‘condition appraisal’.
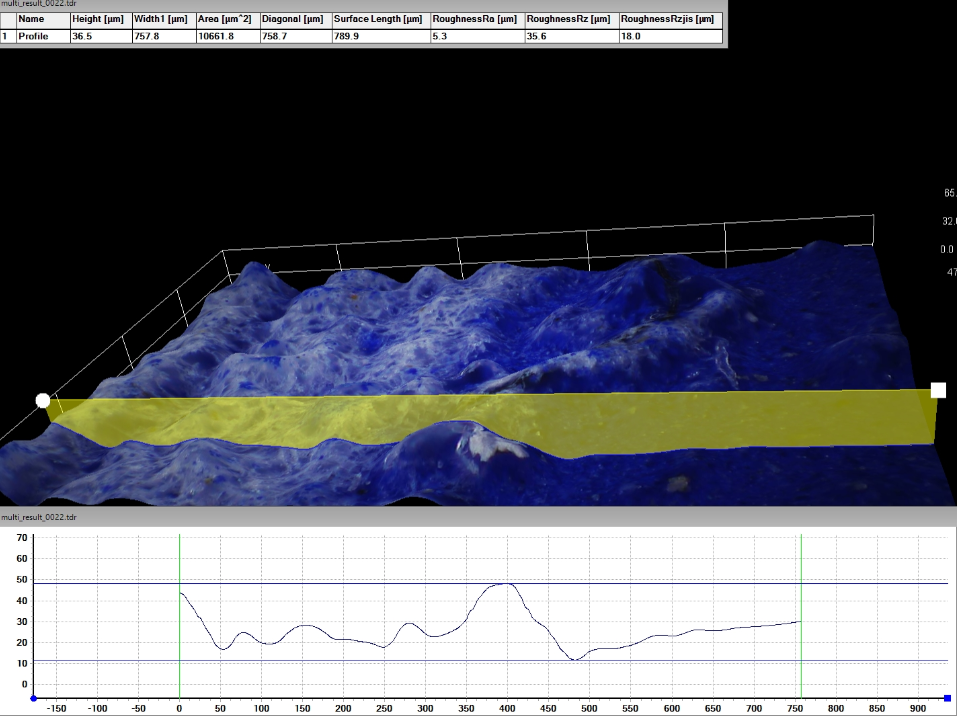
3D Modelling of the powdery blue pigment part surface coated with Cyclododecane wax (see the earlier image of the same by way of comparison)
Like so many things in life, in order to capitalize on any investment (prices start from around £60,000 at the time of writing) one would have to give Hirox time and with that time one could reap bountiful rewards.
As such, I remain hopeful this Christmas!
For more information visit:
www.hirox.com
Alex Brecciaroli, Sales & Technical UK
alex@sharedlabseurope.com
www.sharedlabseurope.com
Thanks go to Alessandro and Marco Brecciaroli for their captivating introduction to this impressive piece of equipment and also, to my many ‘kind and resourceful’ museum colleagues.