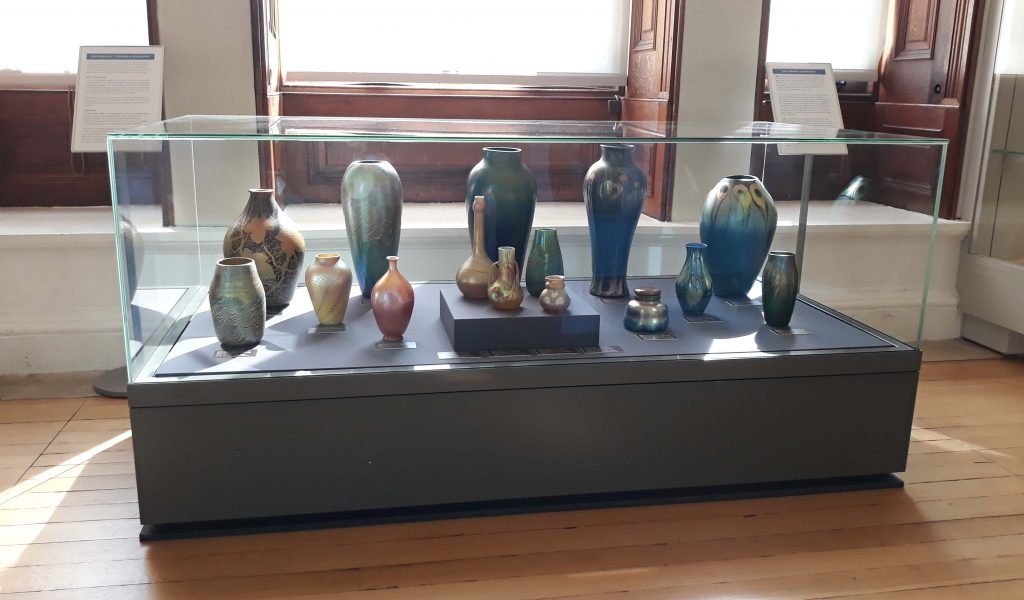
I’ve recently enjoyed making an interesting connection between our Roman glass collection and a beautiful display of Tiffany and Loetz glass that is part of the Frua-Valsecchi collection. You can see this for yourself in our Cypriot gallery.
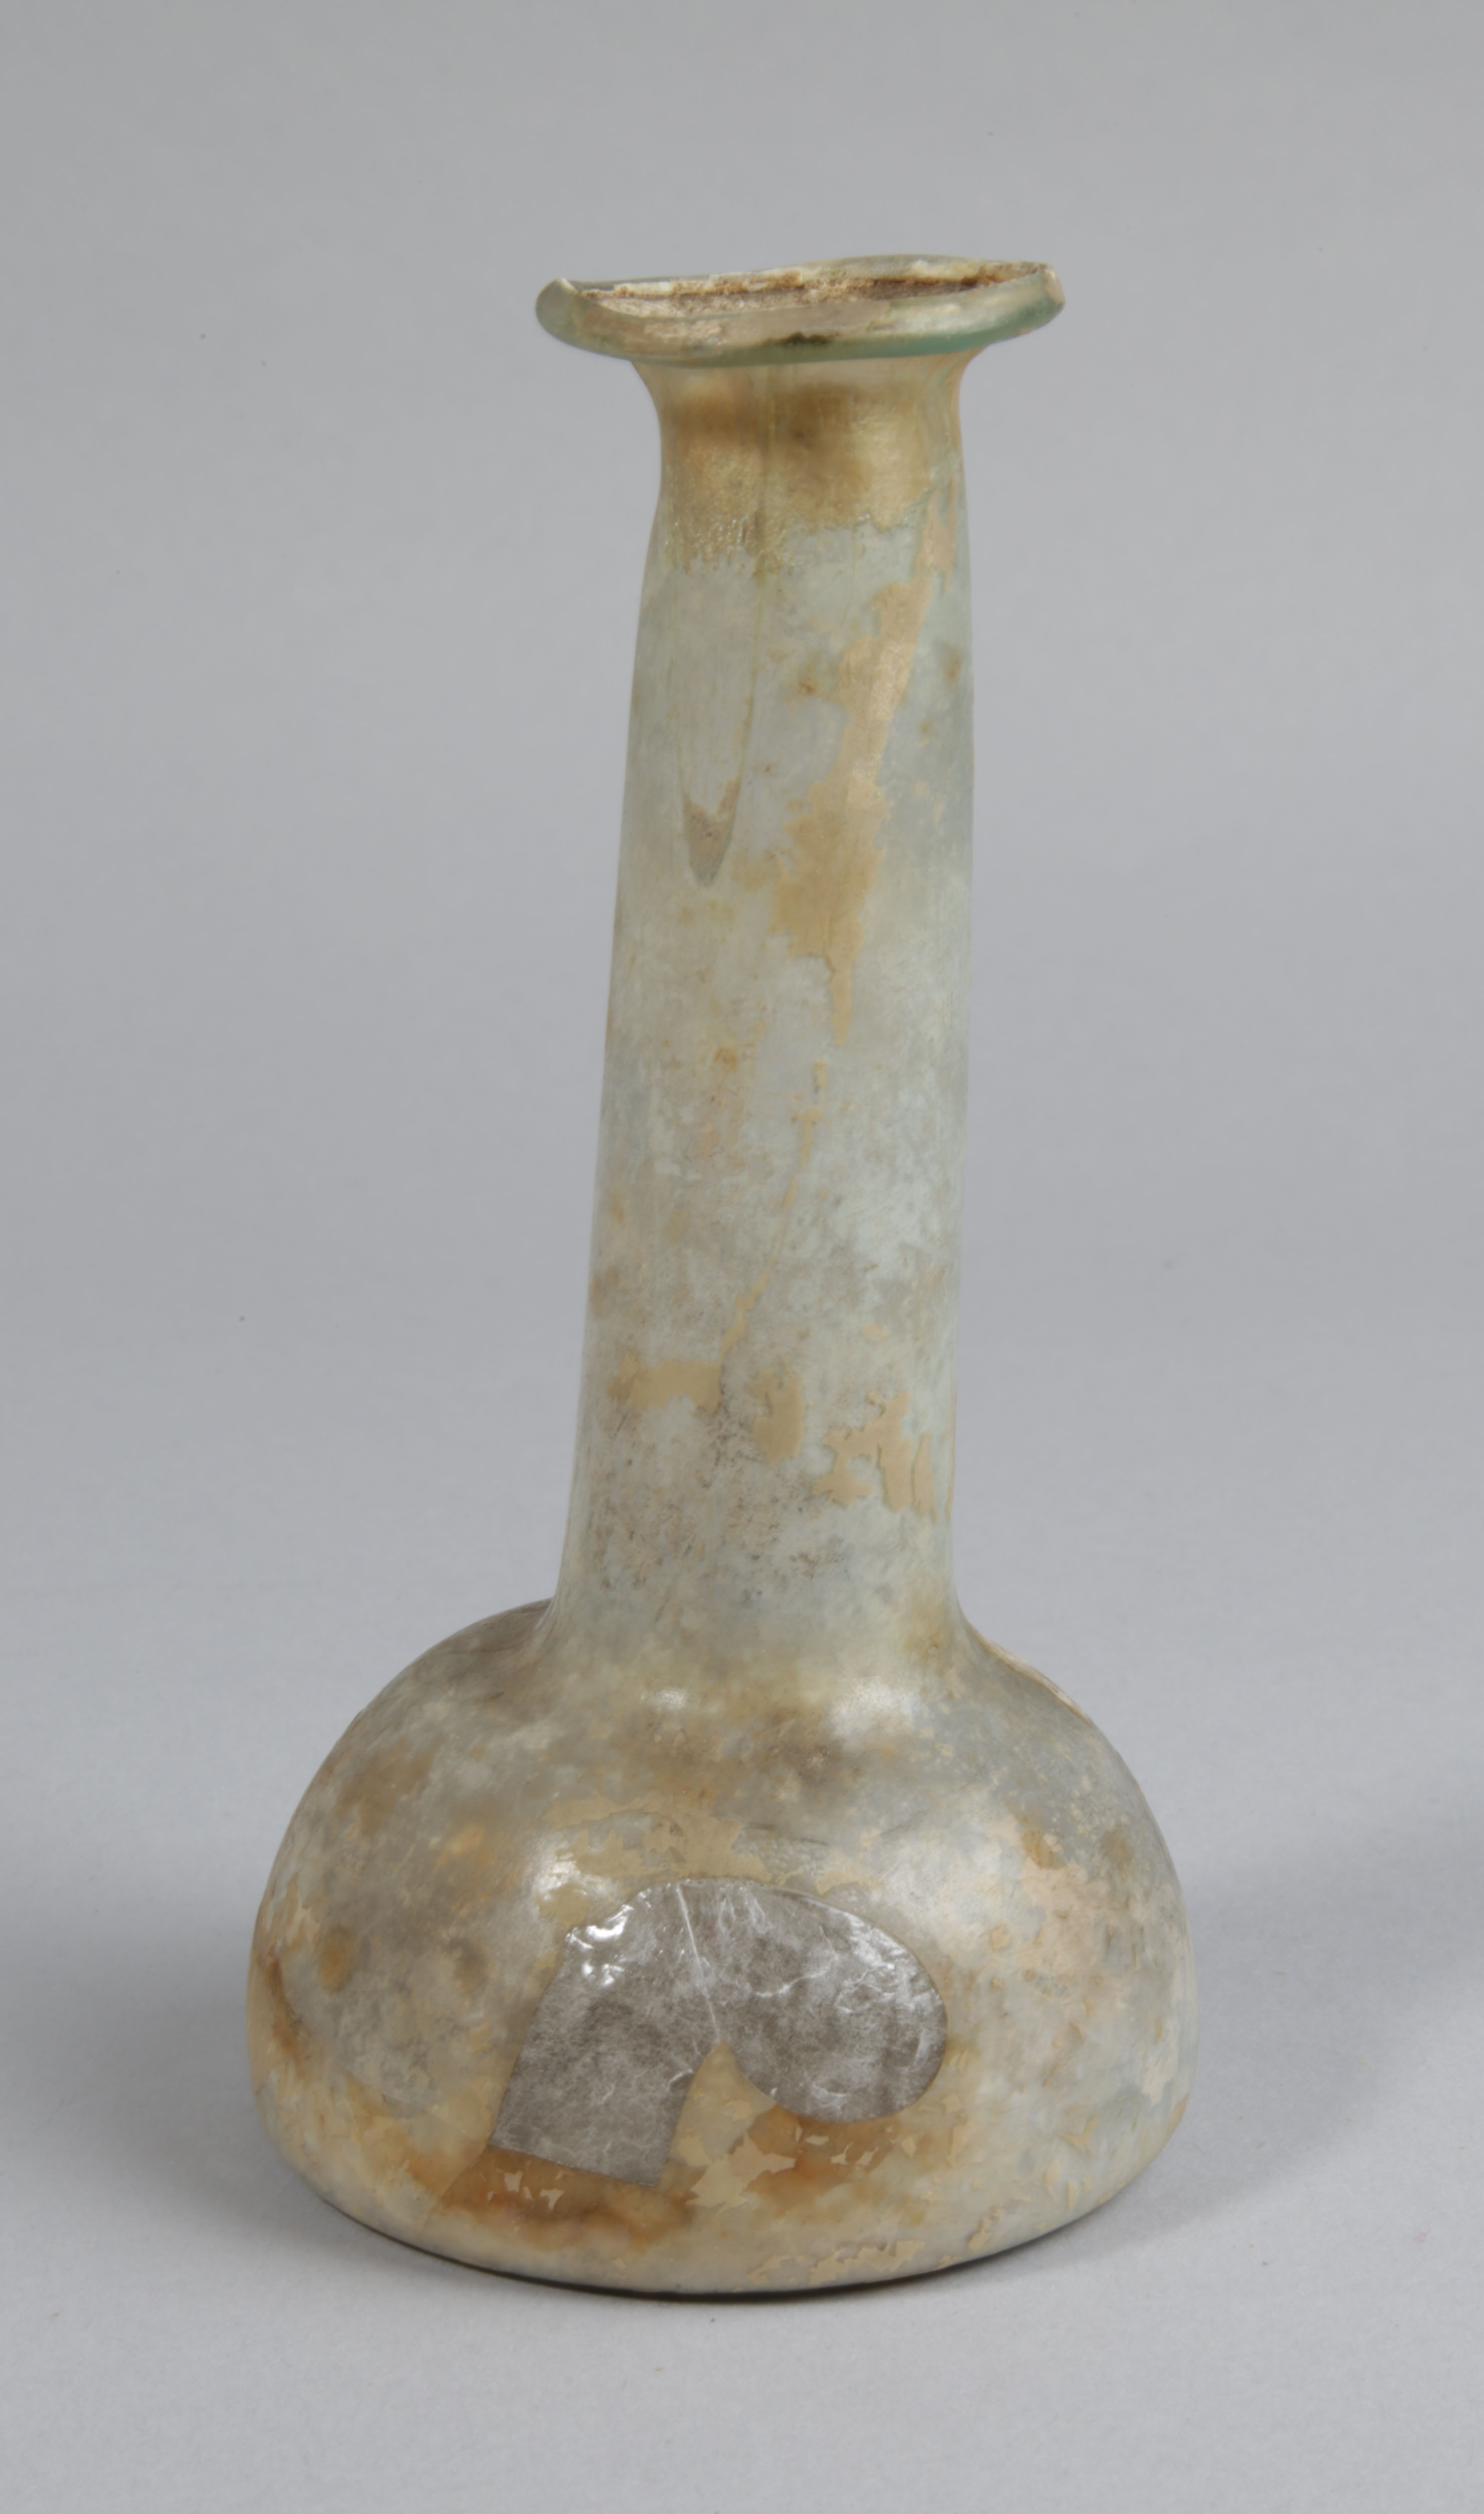
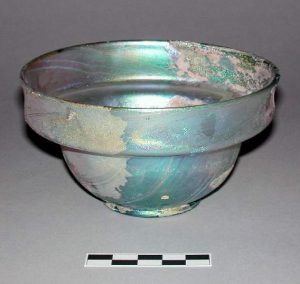
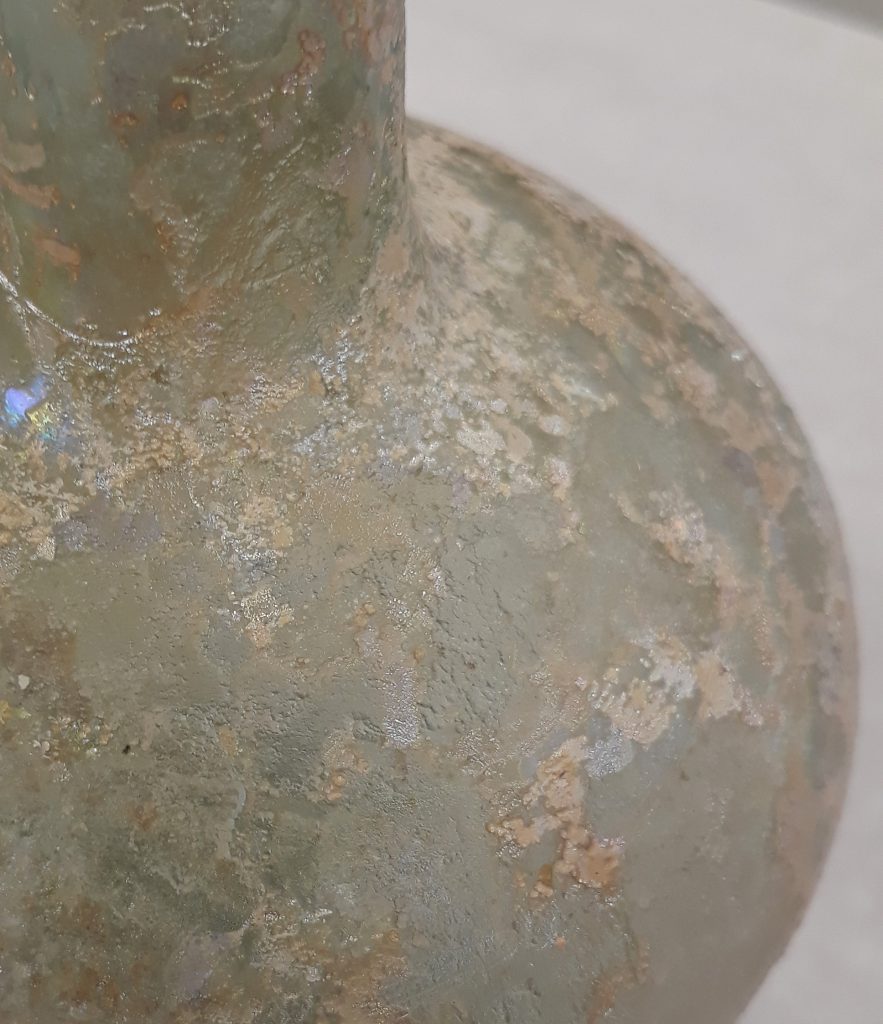
Much of the Roman glass in our collection displays a pearlescent sheen known as iridescence. Although beautiful, and copied by 19th and 20th century glassmakers such as Tiffany and Loetz, this wasn’t deliberately produced by ancient glassmakers, it is the result of the deterioration of the ancient glass.
What is Roman glass?
The major component of glass is silica, found in sand. The melting point of silica is 1600-1713oC, which is too high for production in simple glass furnaces (about 800oC) so an alkali is added to reduce the melting point. In Roman glass this was soda, which is found in many naturally occurring salts. Lime is also needed to stabilise the material. This is found in many sands. Soda-lime-silica make a very stable form of glass.
Much Roman glass is slightly blue or green; this is caused by small quantities of iron in the natural materials used in glass making. Other colours could be produced by choosing particular sources of sands that contain different minerals.
Deterioration
Although largely stable, our Roman glass has had to contend with many challenges to survive to the present day. Vessels may have been physically damaged during use, at the point of burial or during excavation. Prolonged contact with water is also a significant challenge to the chemical stability and surface appearance of the material (take a look at a previous blog post where one of our conservation students worked on part of the glass collection).
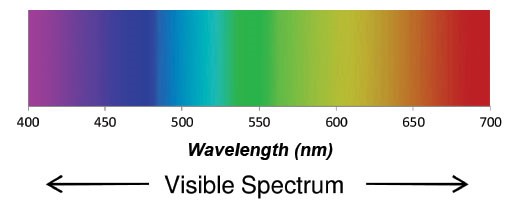
Water leaches the alkali (soda) from the surface of the glass, especially in slightly acidic burial environments. This leaves behind fine layers of silica that can flake off the surface. The iridescence is purely a visual effect; in the same way that water droplets in the air cause rainbows, light is bent and split into its separate colours as it passes through the thin layers of deteriorated glass and air.
Copying history
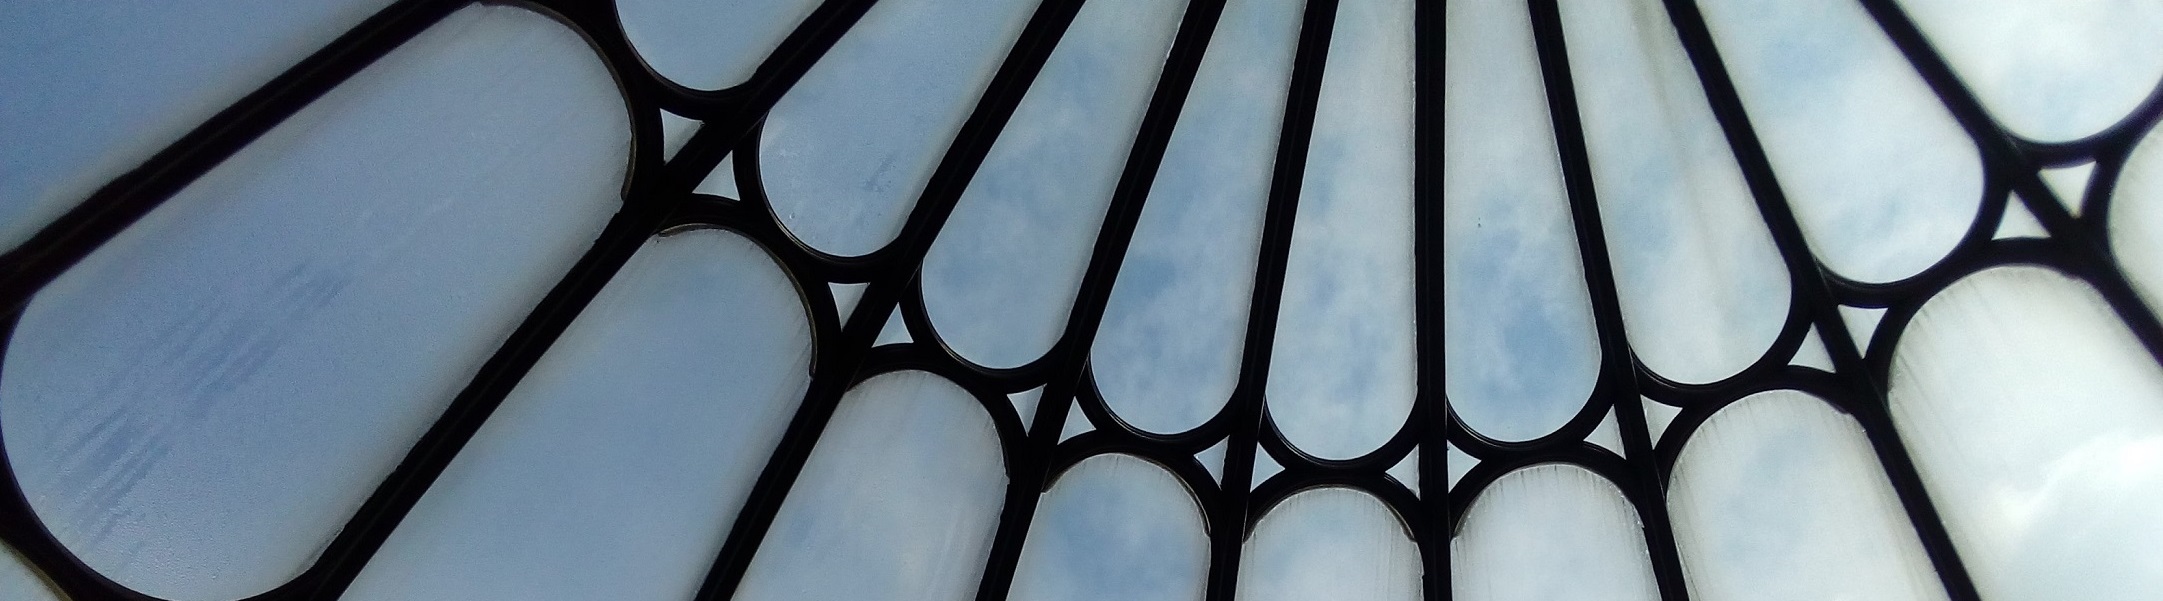
Tiffany – Louis Comfort Tiffany was an American artist and designer well known for his work in stained glass. In 1865 Tiffany travelled to Europe and visited the Victoria and Albert Museum (then the South Kensington Museum). Here he was struck by the colours of the Roman and Syrian glass collections, reflecting on the “rich tones” achieved without the use of paint. It is likely that Tiffany did not recognise the impact of deterioration on the appearance of this material.
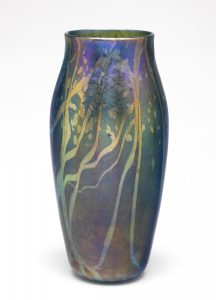
The Tiffany Glass Company was established in 1887 in New York, but he was working with glassmakers at more than one Brooklyn based glassworks prior to this. In the early 1890s, Tiffany patented the Favrile glass making technique, which was heavily influenced by the appearance of ancient material. Multi coloured iridescent glass was produced by mixing different colours of glass together and spraying metal solutions onto the hot surface of the glass before the vessels were blown. The glassmaker Arthur J. Nash developed this method, passing it on to his son Leslie Nash. They kept the recipe a closely guarded secret that even Tiffany did not know.
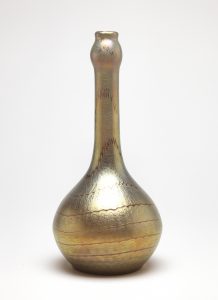
Loetz – A glassworks was established in Klostermühle (today called Klášterský Mlýn) in 1836. This changed hands several times until it was bought by Frank Gerstner and his wife Susanne Loetz in 1851. Loetz was the widow of a glassmaker and ran the business for 20 years after the death of her second husband in 1855. The business was then transferred to Loetz’s son-in-law Maximilian von Spaun in 1879. Working with the glassmaker Eduard Prochaska, he modernised the factory and developed new glassmaking techniques.
In 1897, von Spaun, saw Tiffany Favrile glass exhibited in Bohemia and Vienna. This inspired him to focus production on Art Nouveau style glass, which led to the most artistically significant and profitable period of the company’s history.
Being able to make this type of comparison of objects from widely separated time periods is one of the joys of working somewhere like the Fitzwilliam Museum. Come and take a look for yourself in our Cypriot Gallery.
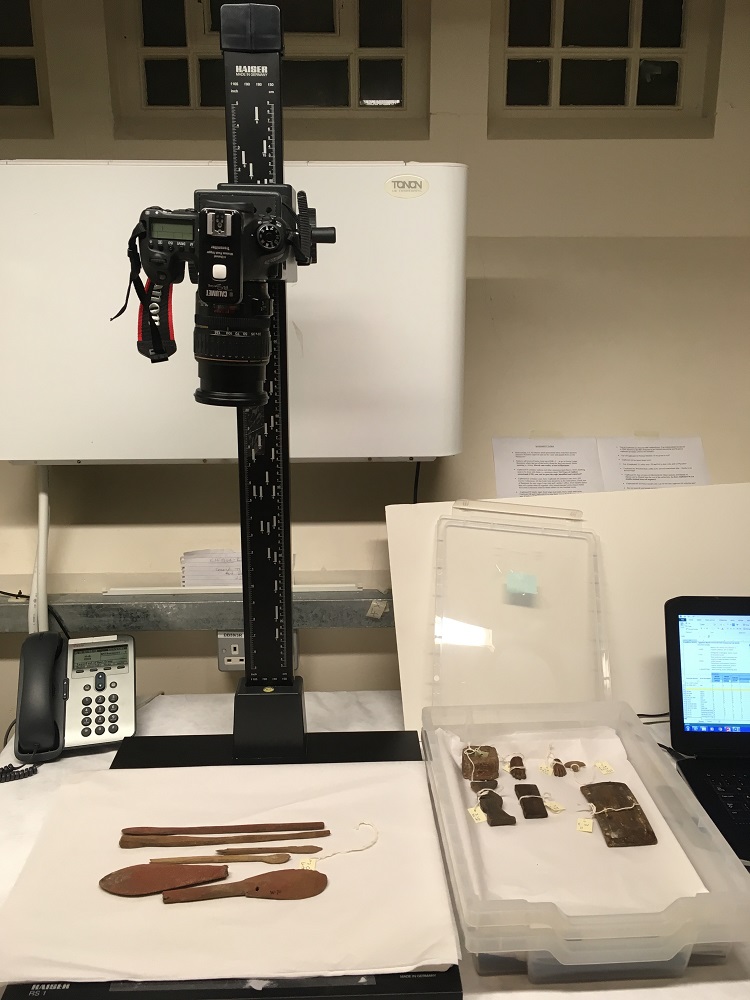
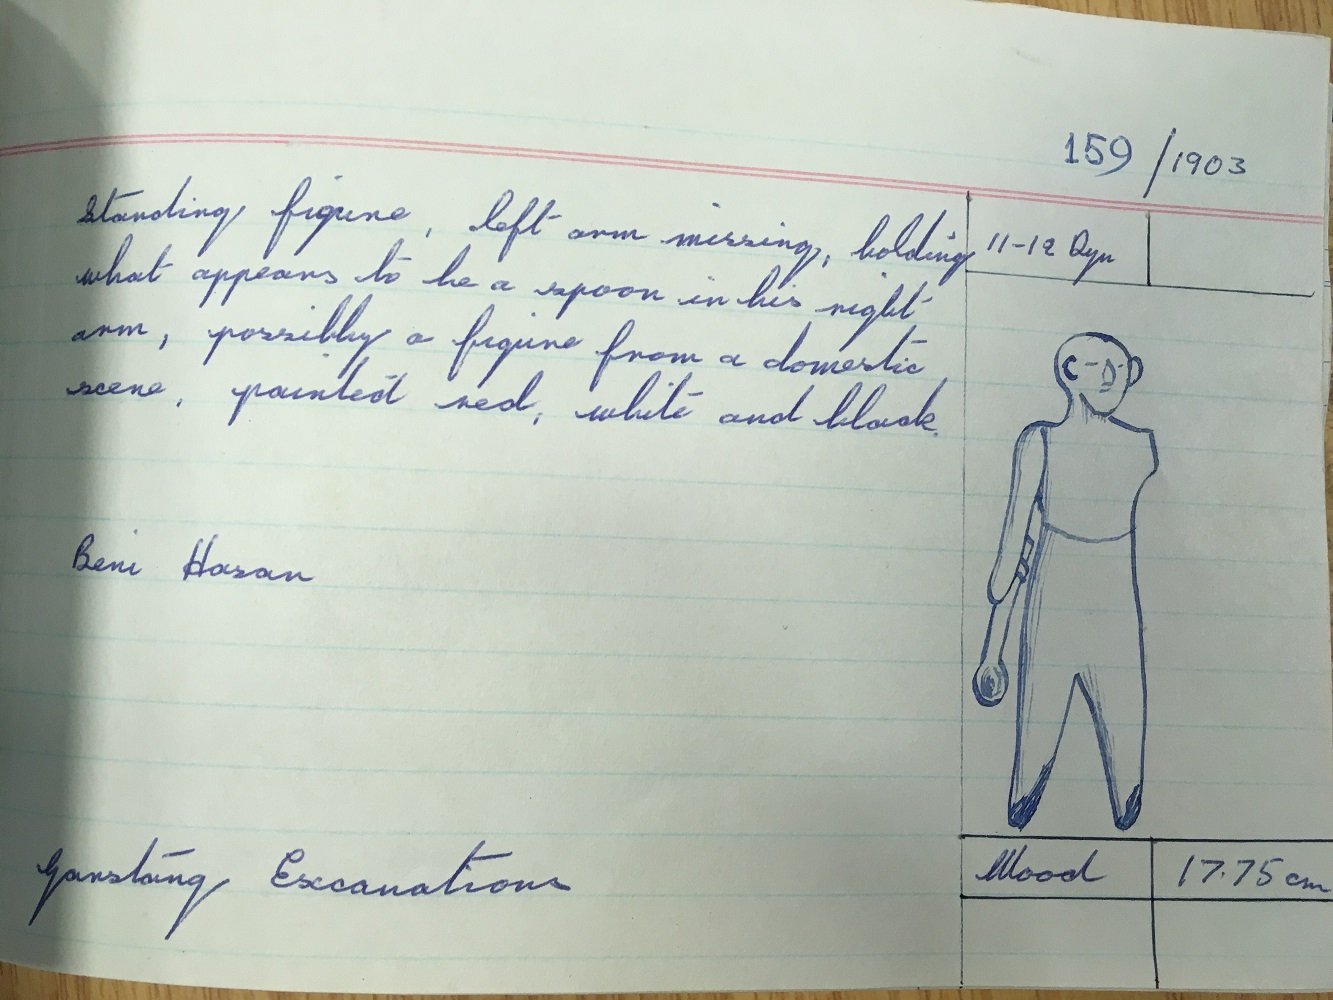
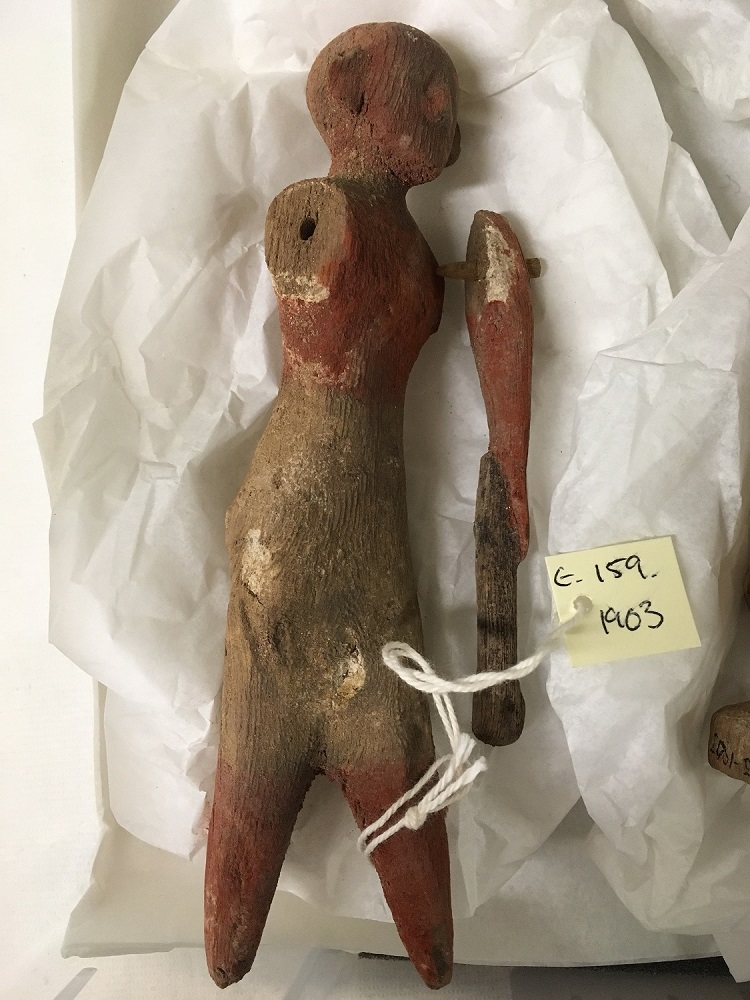
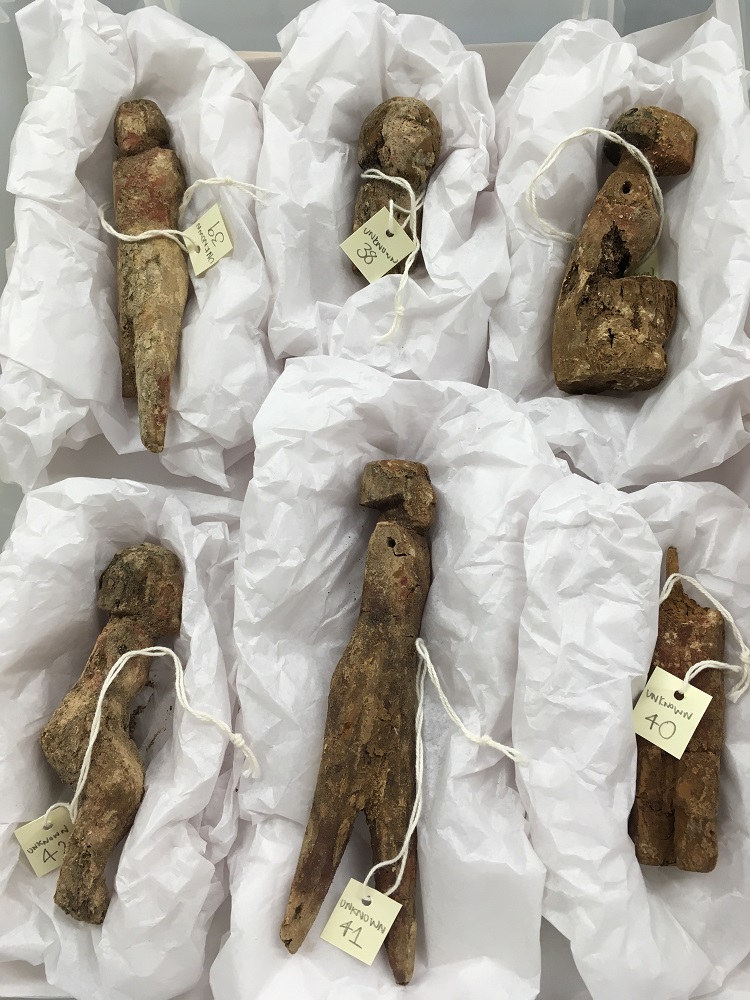
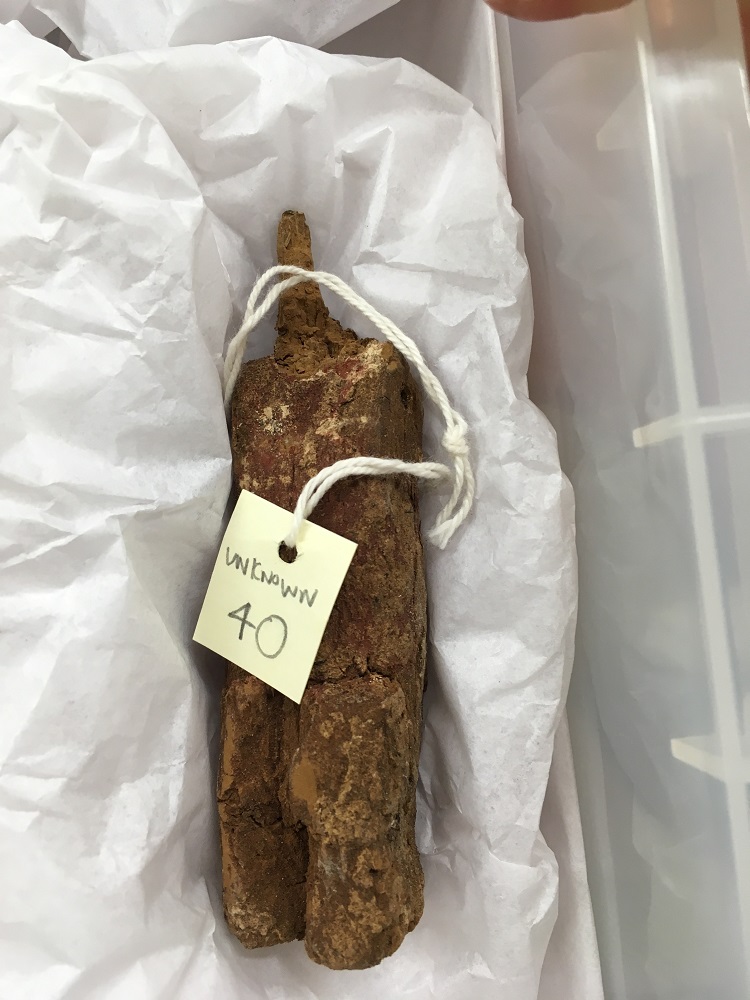
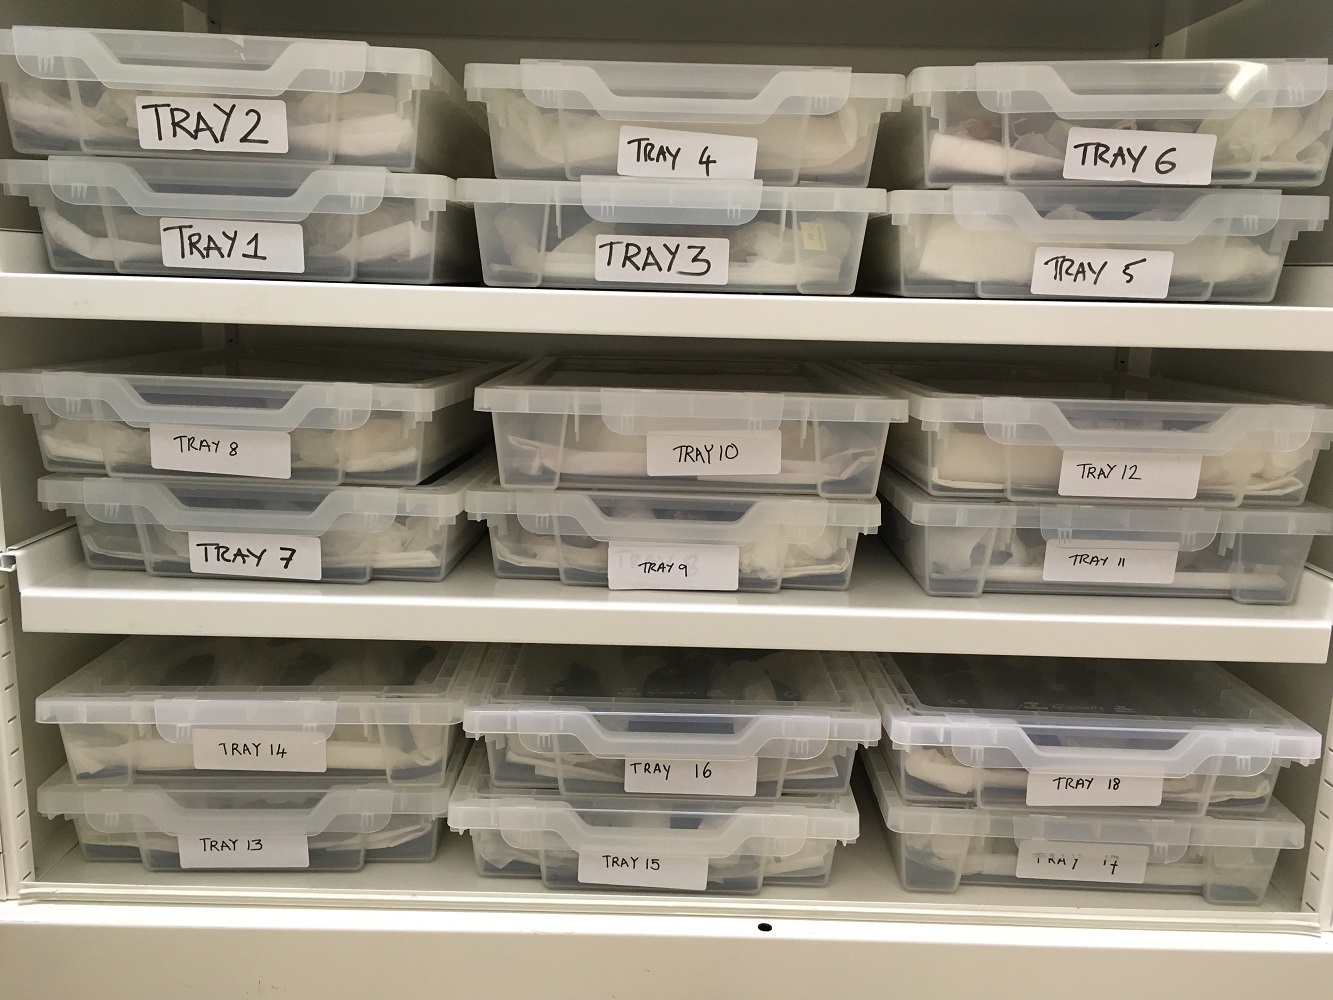
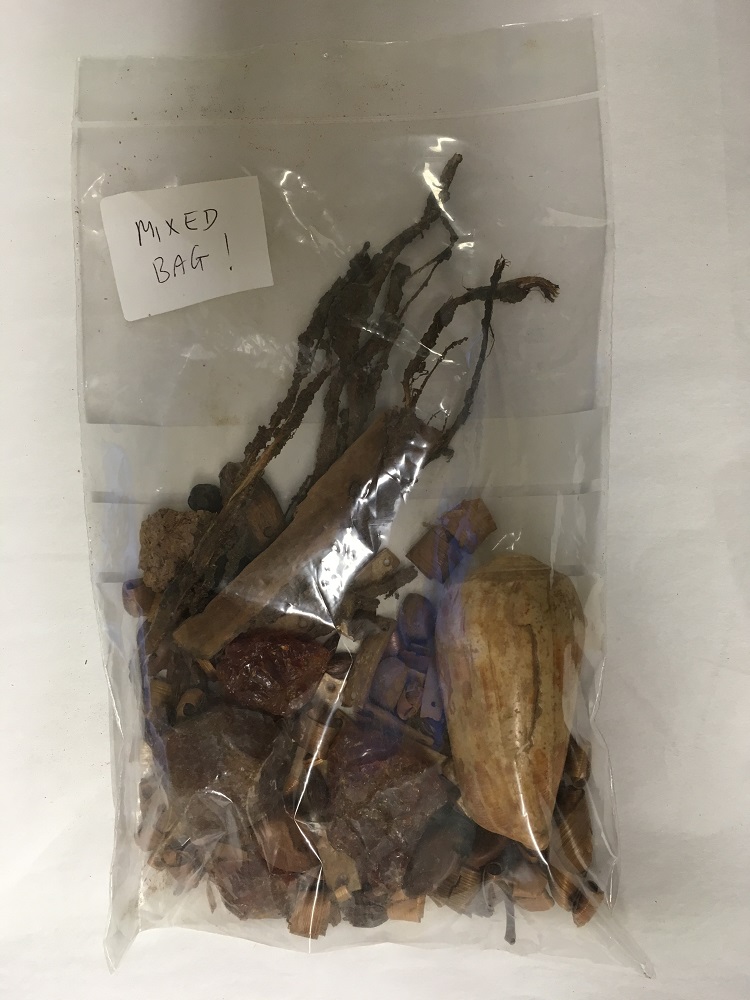
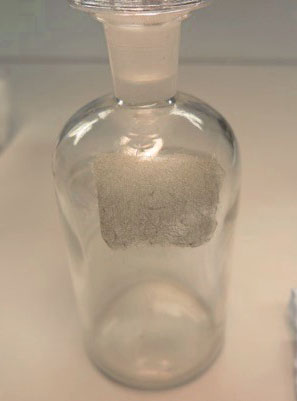
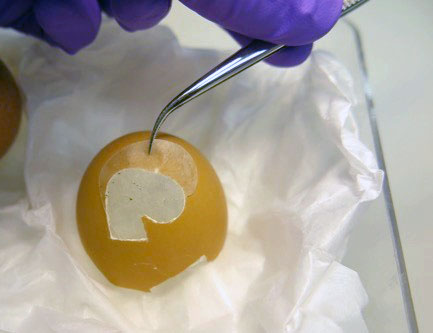
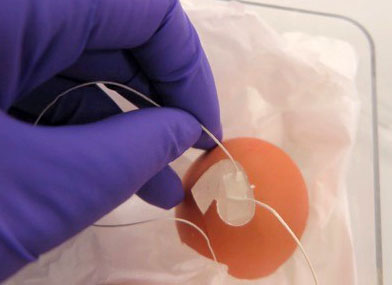
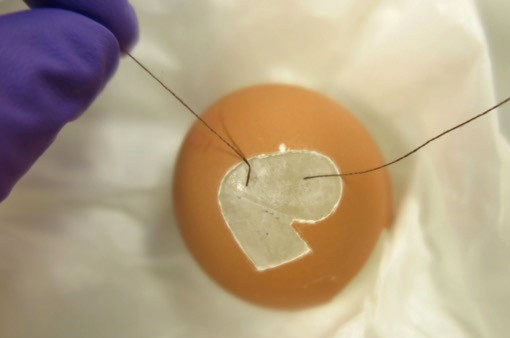
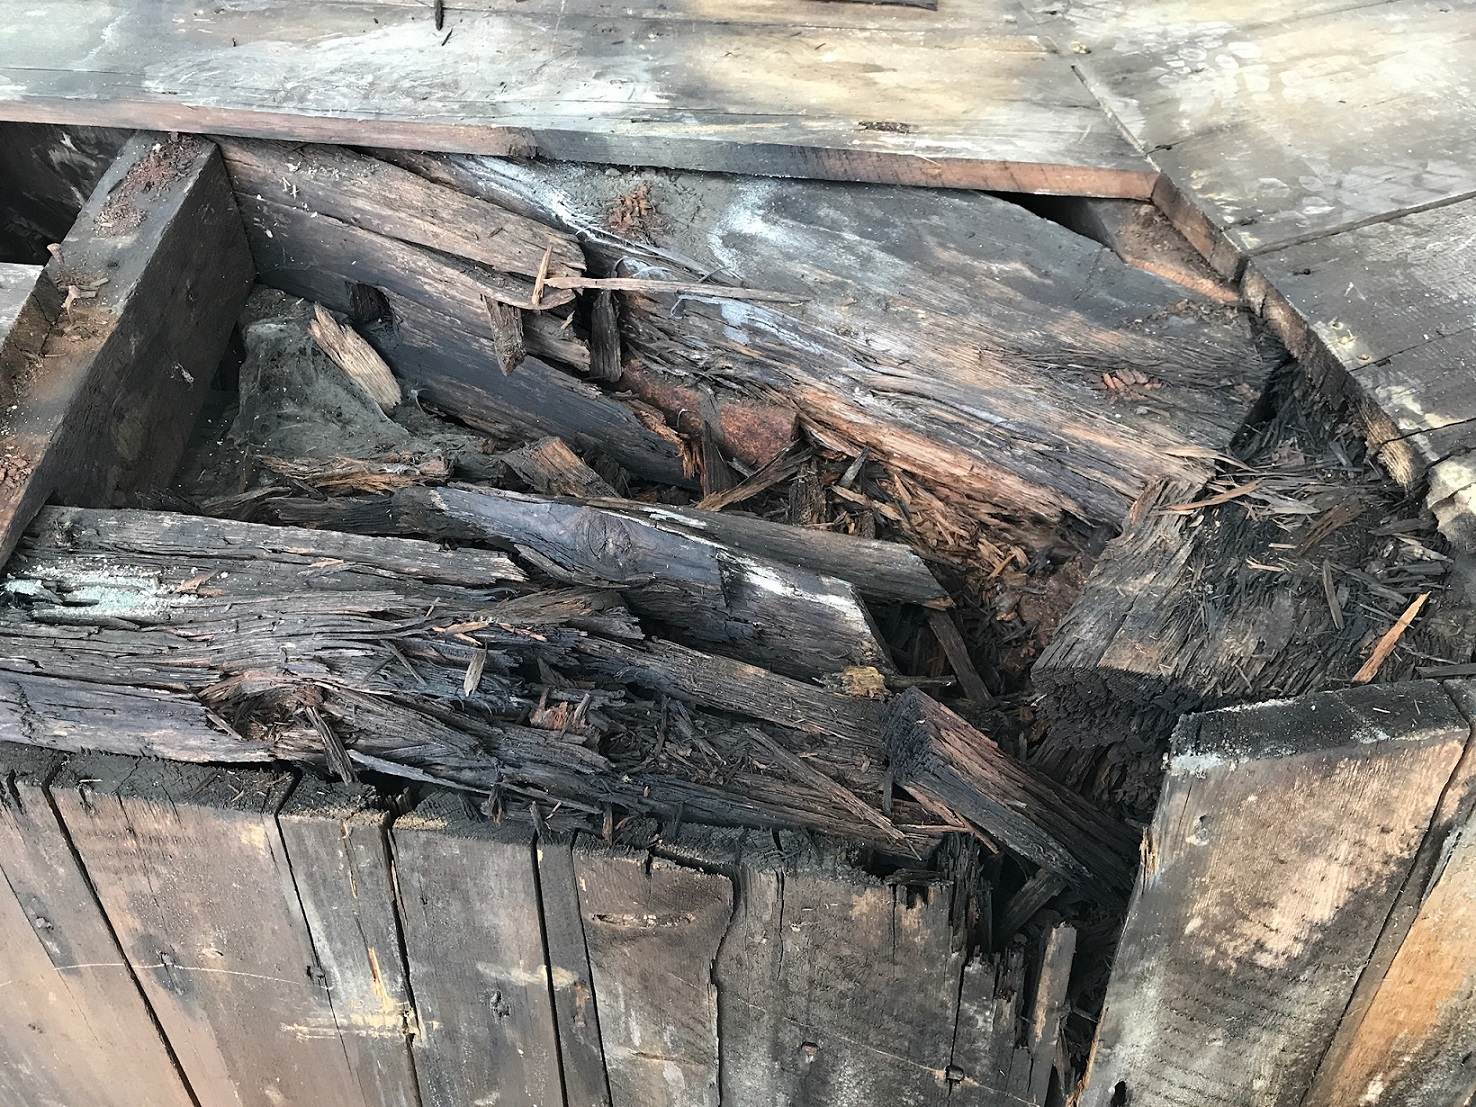
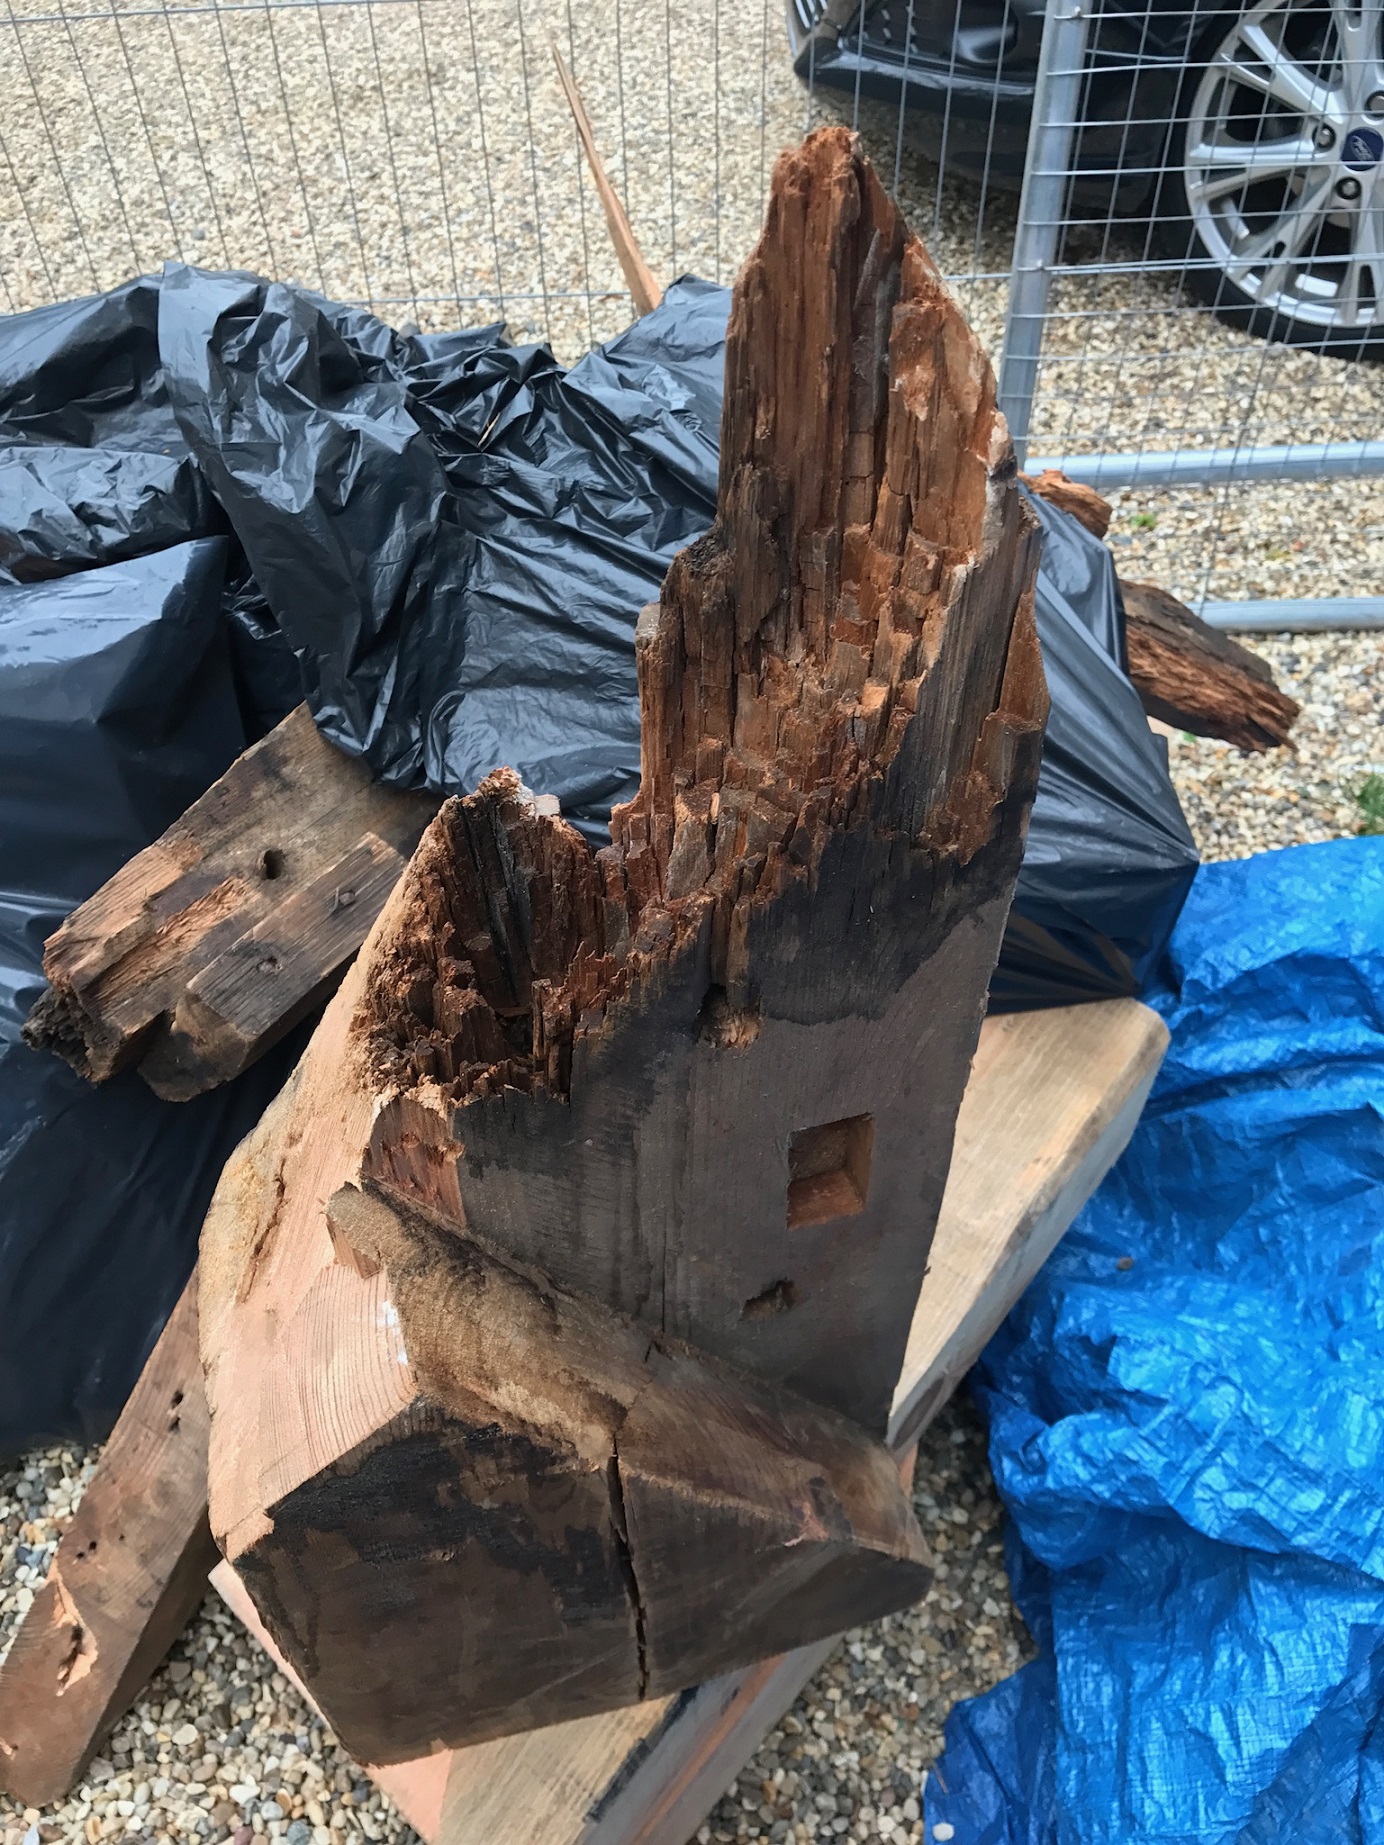
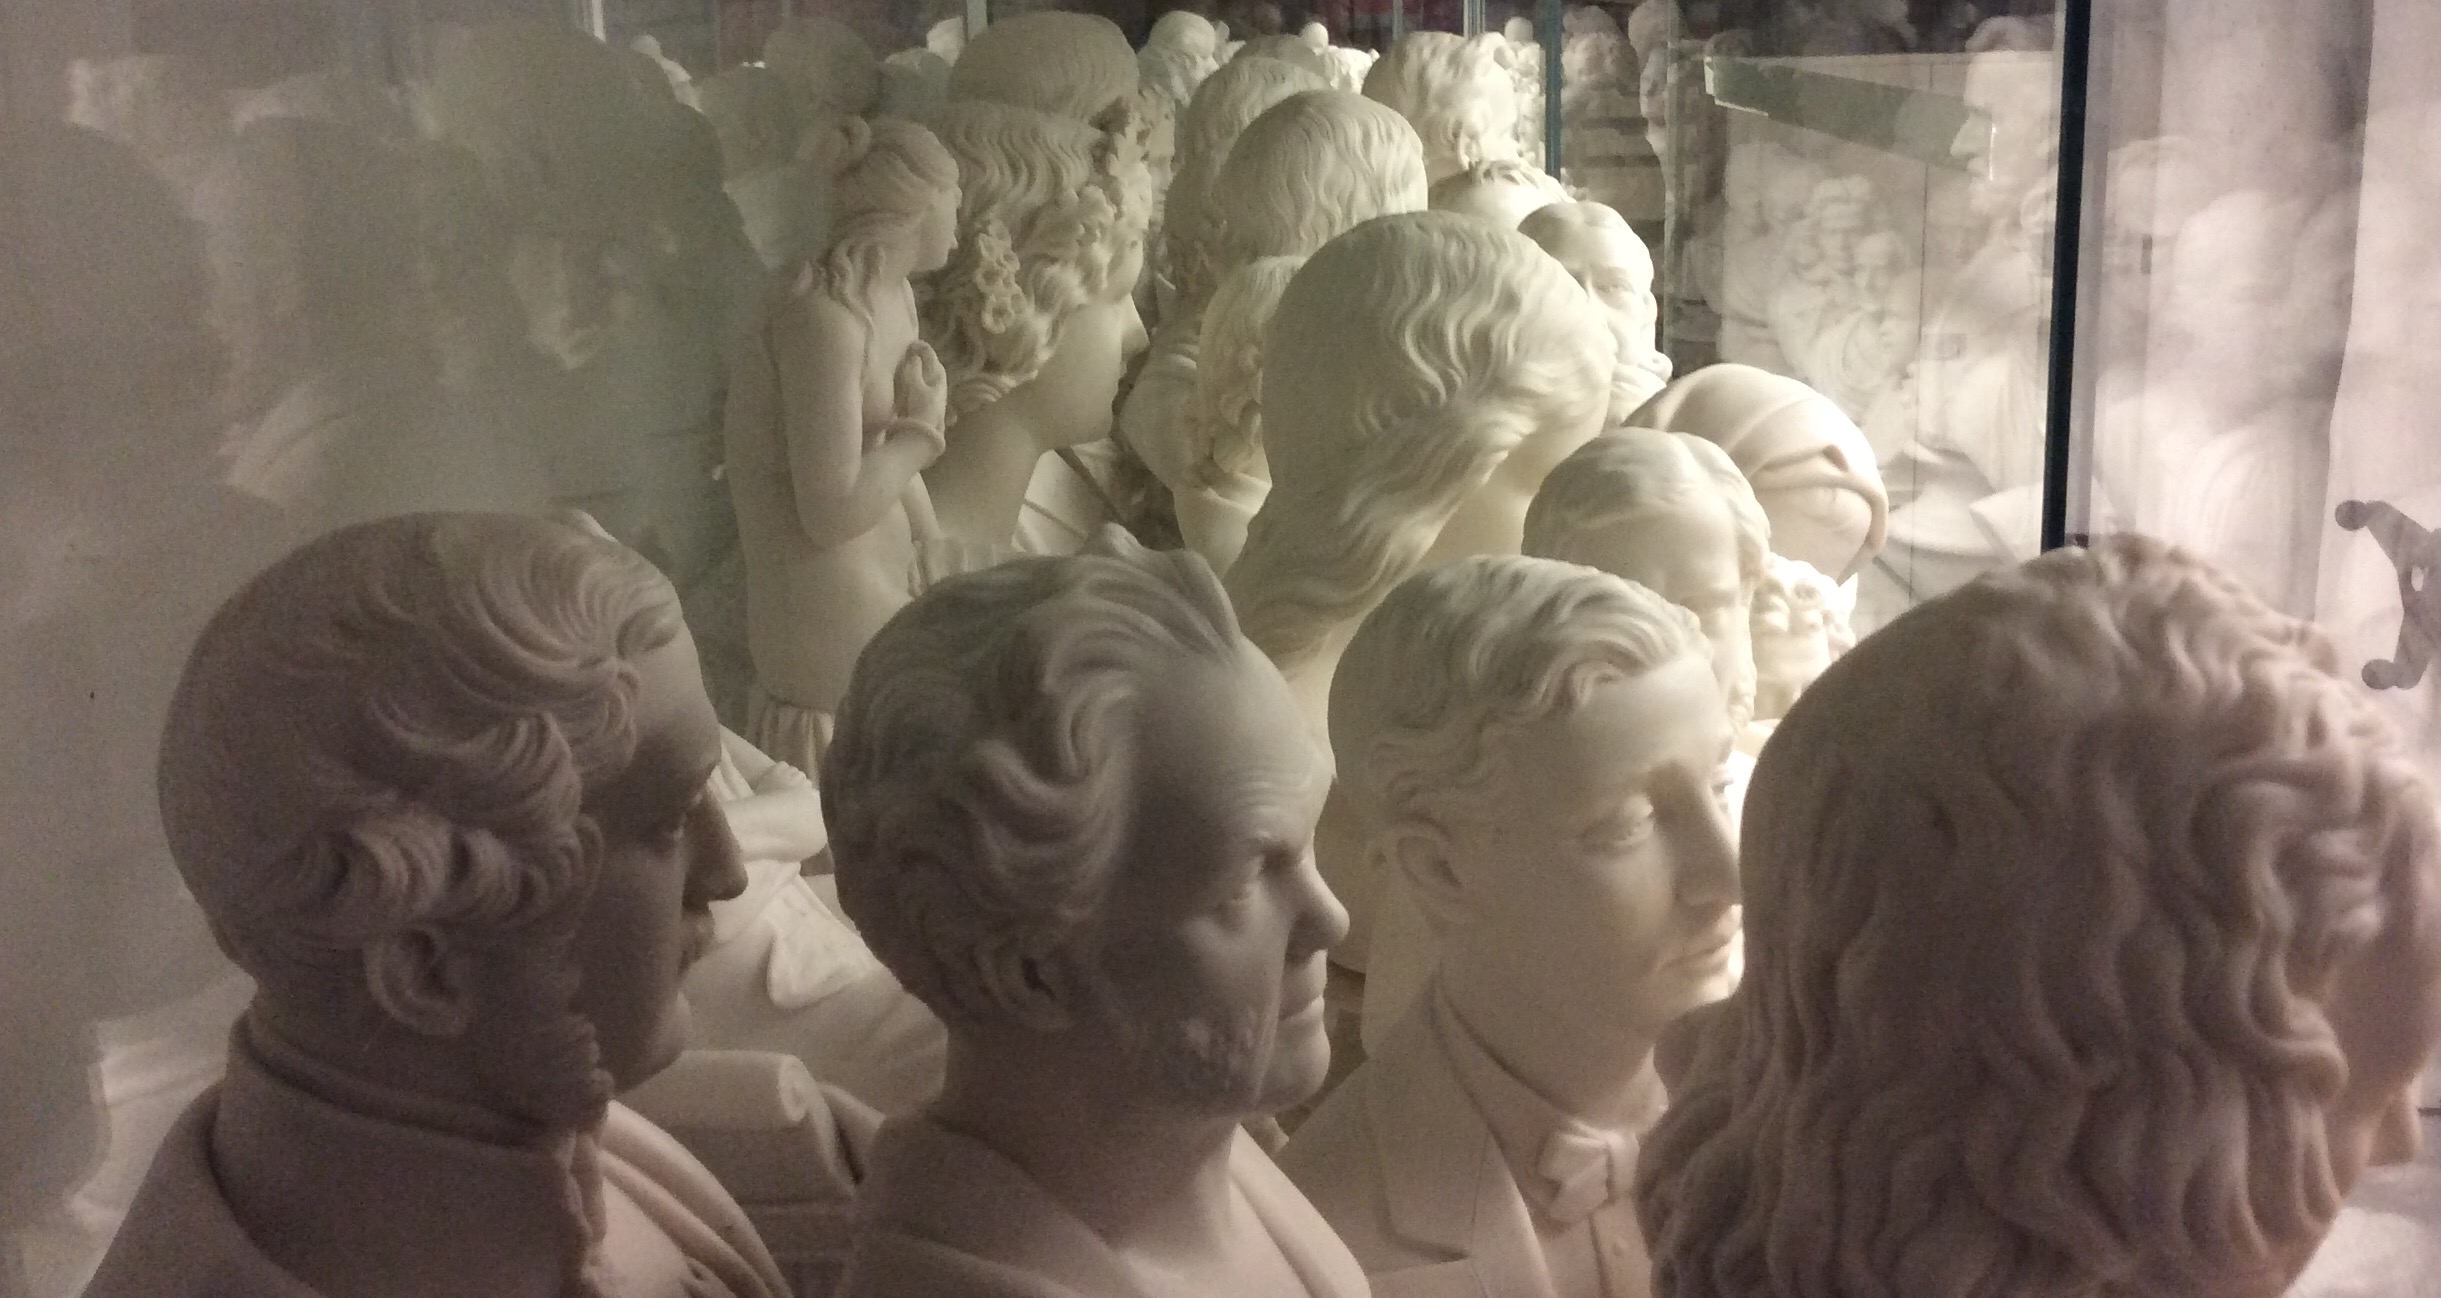
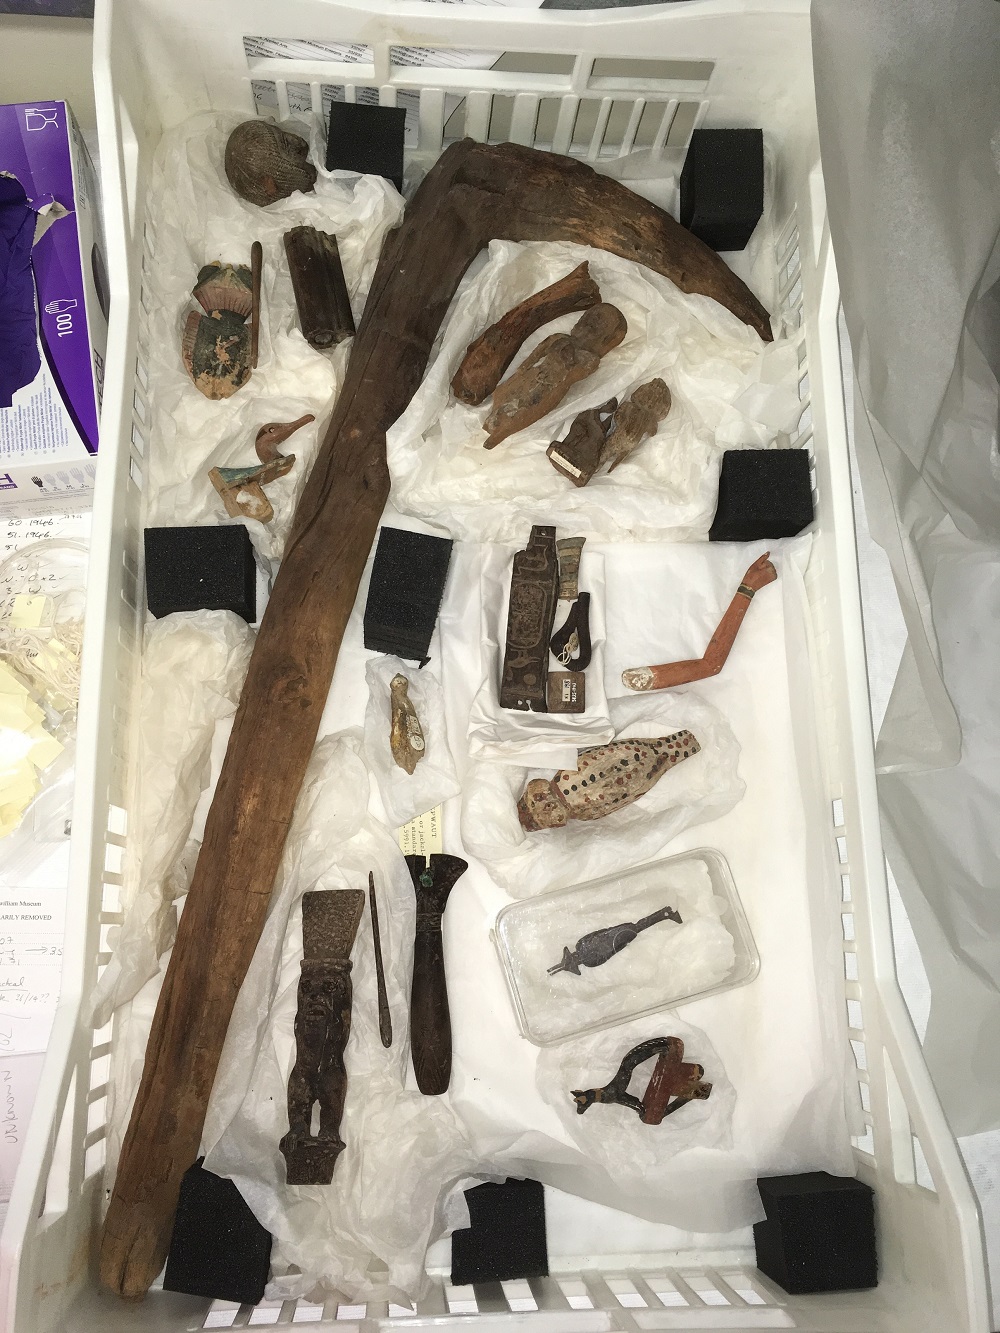 How the objects have been stored previously.